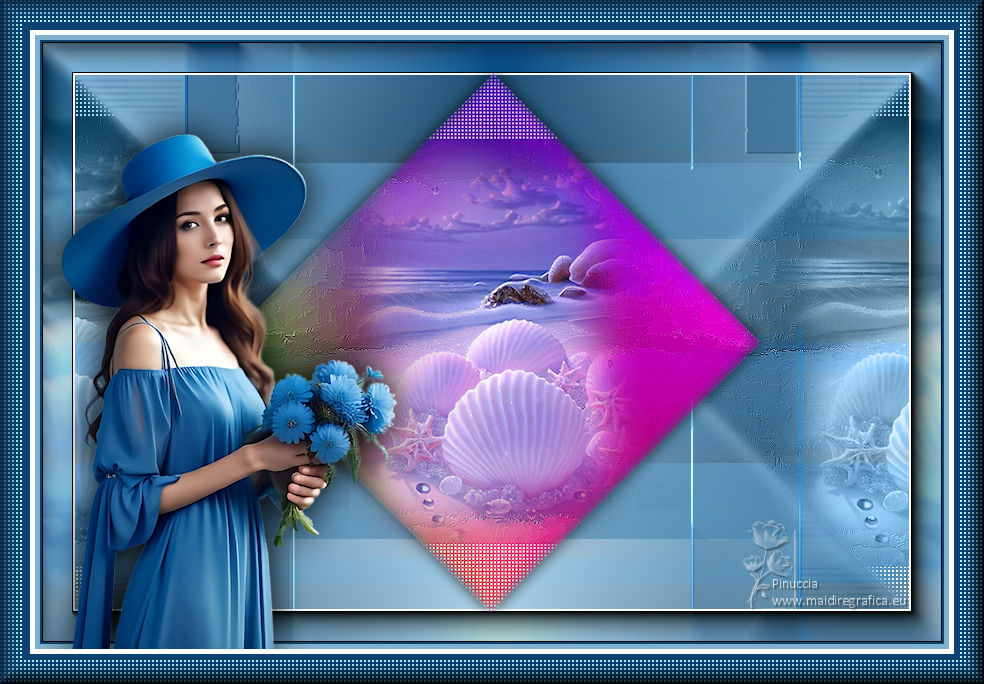
|
TOP ABSTRACTOR


This tutorial was translated with PSPX9 and PSP2020, but it can also be made using other versions of PSP.
Since version PSP X4, Image>Mirror was replaced with Image>Flip Horizontal,
and Image>Flip with Image>Flip Vertical, there are some variables.
In versions X5 and X6, the functions have been improved by making available the Objects menu.
In the latest version X7 command Image>Mirror and Image>Flip returned, but with new differences.
See my schedule here
 French translation here French translation here
 Your versions here Your versions here
For this tutorial, you will need:

Thanks for the tubes Kamil and Coly and for the mask Narah.
(you find here the links to the material authors' sites)

consult, if necessary, my filter section here
Filters Unlimited 2.0 here
Xero - Abstractor here
Simple - Quick Tile here
Simple - Left Right Wrap (Bonus) here
&Sandflower Special "v" - Color Gradient (to import in Unlimited) here
AFS IMPORT - sqborder2 here
AAA Frames - Foto Frame here
Filters Simple and VM Toolbox can be used alone or imported into Filters Unlimited.
(How do, you see here)
If a plugin supplied appears with this icon  it must necessarily be imported into Unlimited it must necessarily be imported into Unlimited

You can change Blend Modes according to your colors.
In the newest versions of PSP, you don't find the foreground/background gradient (Corel_06_029).
You can use the gradients of the older versions.
The Gradient of CorelX here

Copy the preset Emboss 3 in the Presets Folder.
Copy the selection in the Selections Folder.
Open the mask in PSP and minimize it with the rest of the material.
1. Open a new transparent image 900 x 600 pixels.
Set your foreground color to #b0dbf3,
and your background color to #0c4372.
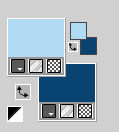
Set your foreground color to a Foreground/Background Gradient, style Linear.
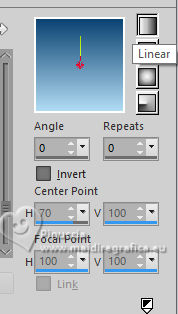
Flood Fill  the transparent image with your Gradient. the transparent image with your Gradient.
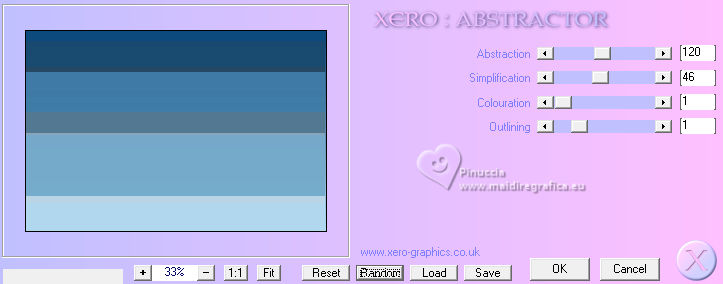
2. Effects>Plugins>Xero - Abstractor.
3. Effects>Plugins>Simple - Quick Tile.
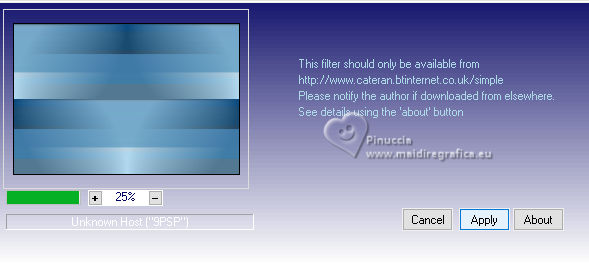
4. Selections>Load/Save Selection>Load Selection from Disk.
Look for and load the selection sel.394.nines
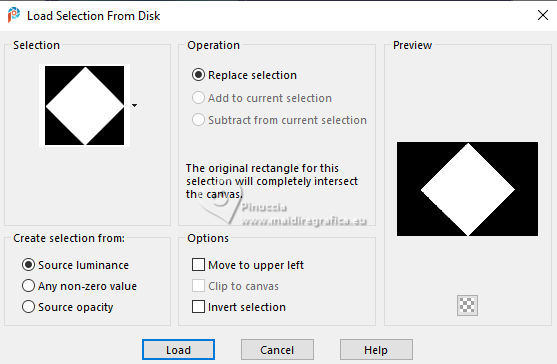
Selections>Promote Selection to Layer.
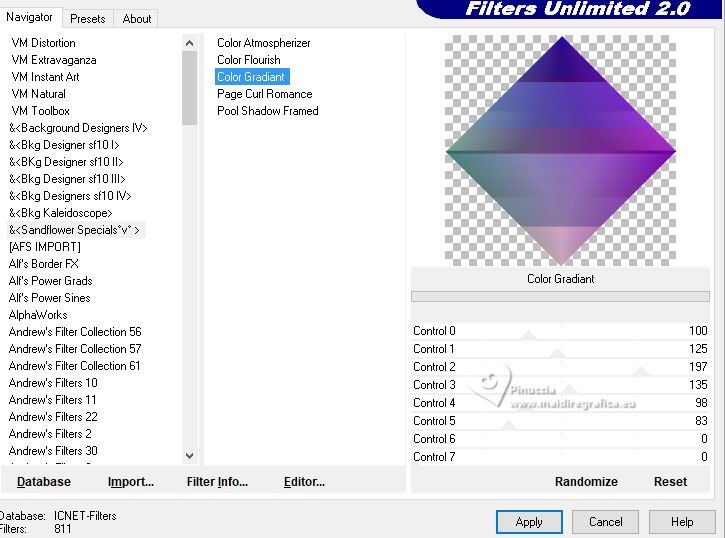
5. Effects>Plugins>Filters Unlimited 2.0 - &Sandflower Special Special "v" - Color Gradiant
6. Effects>Art Media Effects>Brush Strokes - color #505050.
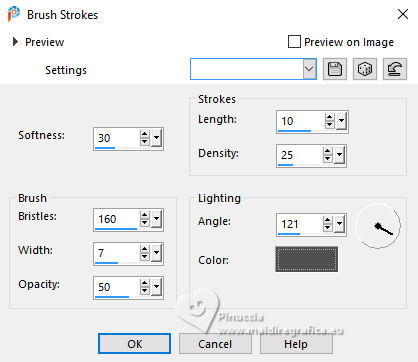
Adjust>Sharpness>Sharpen More.
7. Open the landscape paysgete28-coly 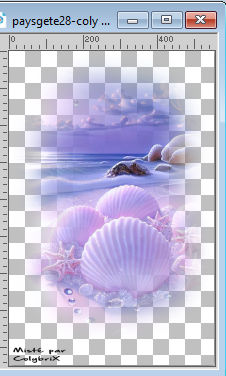
Erase the watermark and go to Edit>Copy.
Go back to your work and go to Edit>Paste as new layer.
Image>Resize, to 65%, resize all layers not checked.
8. Activate the layer below, Promoted Selection.
Selections>Invert.
Press CANC on the keyboard 
Selections>Select None.
9. Activate your top layer (the landscape).
Layers>Merge>Merge Down.
10. Effects>Plugins>AFS IMPORT - sqborder2.
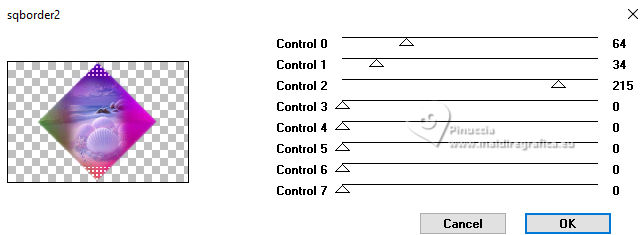
11. Effects>3D Effects>Drop Shadow, color black.
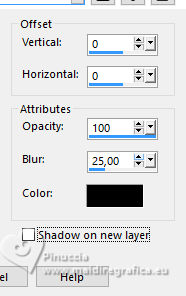
12. Layers>Duplicate.
Close this layer and activate the layer below of the original.
13. Effects>Plugins>Filters Unlimited 2.0 - Simple - Left Right Wrap.
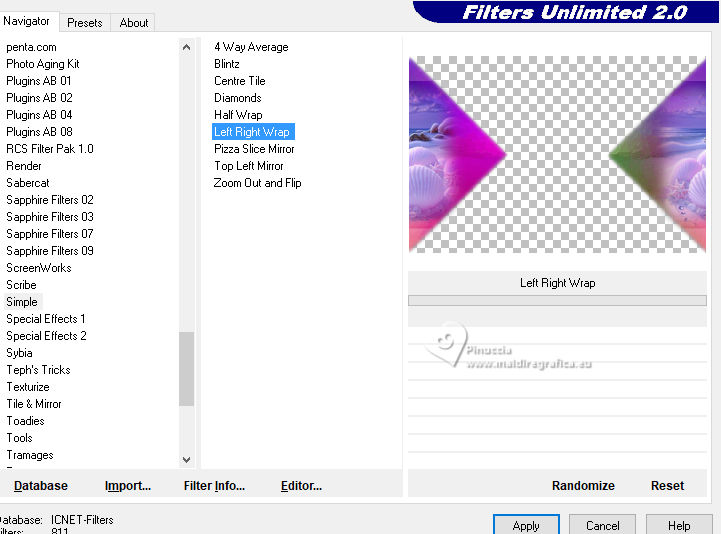
Change the Blend Mode of this layer to Luminance (legacy).
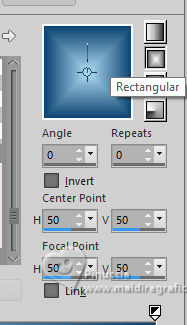
14. Change the settings of your Gradient, style Rectangular.
15. Activate your bottom layer, Raster 1.
Layers>New Raster Layer.
Flood Fill  the layer with your Gradient. the layer with your Gradient.
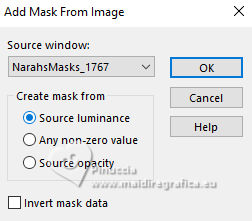
16. Layers>New Mask layer>From image
Open the menu under the source window and you'll see all the files open.
Select the mask NarahsMask_1767
Layers>Merge>Merge Group.
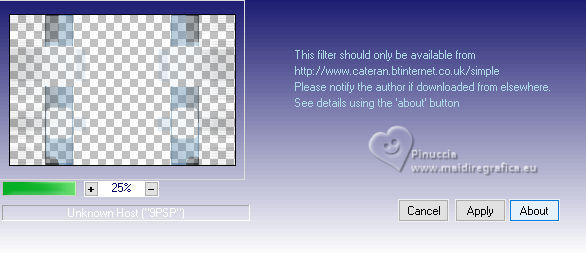
17. Effects>Plugins>Simple - Quick Tile.
18. Effects>User Defined Filter - select the preset Emboss 3

19. Layers>Merge>Merge visible (your top layer is still closed).
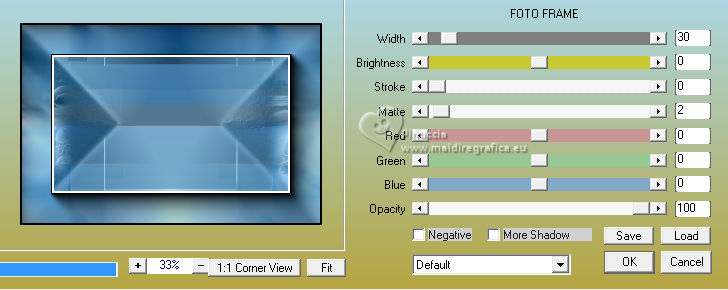
20. Effects>Plugins>AAA Frames - Foto Frame.
21. Open and activate your top layer.
Image>Resize, to 90%, resize all layers not checked.
22. Layers>Merge>Merge All.
23. Image>Add borders, 2 pixels, symmetric, background color #0c4372.
Image>Add borders, 5 pixels, symmetric, color #80b1cf.
24. Open the tube KamilTube805 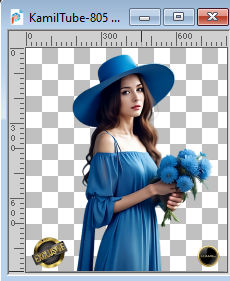
Erase the watermark and go to Edit>Copy.
Go back to your work and go to Edit>Paste as new layer.
Image>Resize, to 60%, resize all layers not checked.
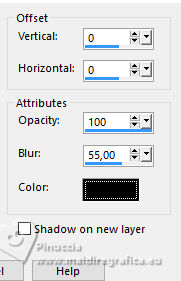
25. Effects>3D Effects>Drop Shadow, color #000000.
26. Sign your work on a new layer.
Add the author and translator's watermarks.
27. Layers>Merge>Merge All.
28. Image>Add borders, 2 pixels, symmetric, color #ffffff.
Image>Add borders, 30 pixels, symmetric, background color #0c4372.
29. Activate your Magic Wand Tool 
and click in the last border to select it.
30. Effects>Plugins>AFS IMPORT - sqborder2.
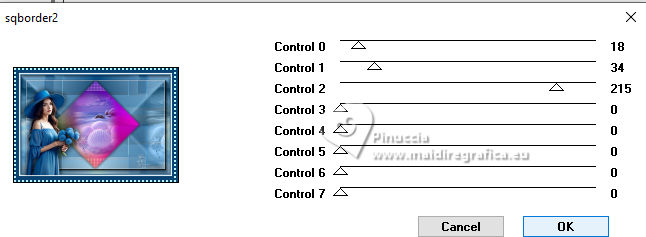
31. Effects>3D Effects>Buttonize - background color #0c4372.
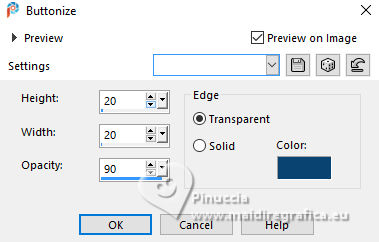
Selections>Select None.
32. Sign as jpg.
For the tube of this version thanks Luz Cristina
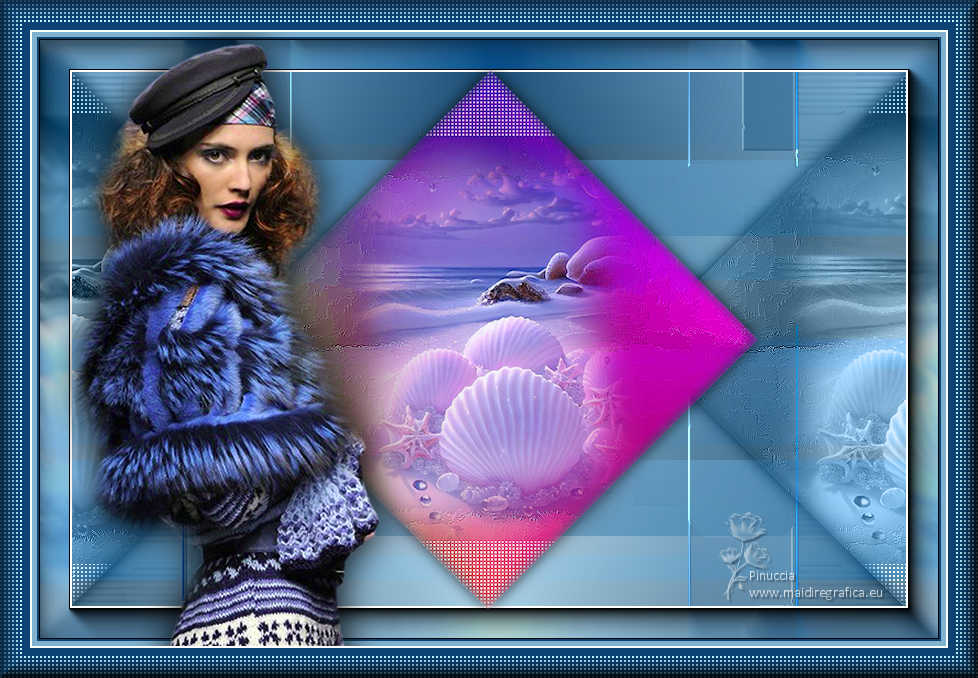
 Your versions here Your versions here

If you have problems or doubts, or you find a not worked link, or only for tell me that you enjoyed this tutorial, write to me.
27 April 2024

|

