|
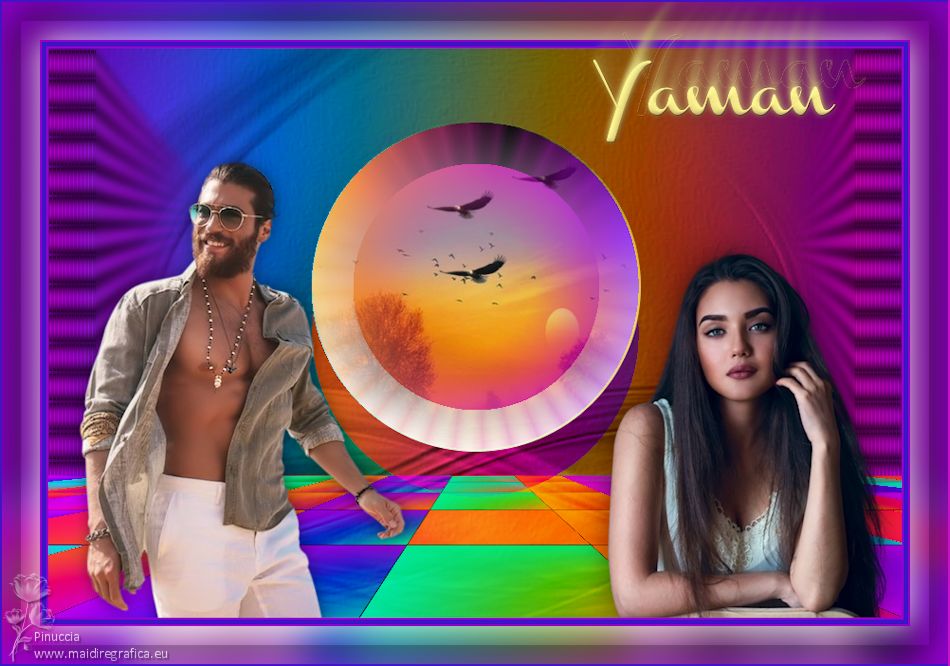
TAG YAMAN


This tutorial was translated with PSPX7 but it can also be made using other versions of PSP.
Since version PSP X4, Image>Mirror was replaced with Image>Flip Horizontal,
and Image>Flip with Image>Flip Vertical, there are some variables.
In versions X5 and X6, the functions have been improved by making available the Objects menu.
In the latest version X7 command Image>Mirror and Image>Flip returned, but with new differences.
See my schedule here
 French translation here French translation here
 Your versions ici Your versions ici
For this tutorial, you will need:

Tube 3303-can yaman -LB TUBES
Tube 2018-225Nadege
Renee-TUBES-Paysage 7
imagen NHDesings-Texture(184)
Texto_Yaman_nines
(you find here the links to the material authors' sites)

consult, if necessary, my filter section here
Filters Unlimited 2.0 here
Toadies - Living Sine (Linear), Plain Mosaic Blur, Sucking Toad Bevel III here
Mura's Meister - Pers pective Tiling here
Alien Skin Eye Candy 5 Impact - Motion Trail here
Filters Toadies can be used alone or imported into Filters Unlimited.
(How do, you see here)
If a plugin supplied appears with this icon  it must necessarily be imported into Unlimited it must necessarily be imported into Unlimited

You can change Blend Modes according to your colors.
In the newest versions of PSP, you don't find the foreground/background gradient (Corel_06_029).
You can use the gradients of the older versions.
The Gradient of CorelX here

Copy the Preset Emboss 3 in the Presets Folder.
Copy the Selection in the Selection Folder.
1. Open a new transparent image 900 x 600 pixels.
2. Set your foreground color to #f8eb8b,
and your background color to #2d00fc.
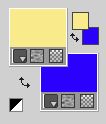
Set your foreground color to a Foreground/Background Gradient, style Sunburst.

Flood Fill  the transparent image with your gradient. the transparent image with your gradient.
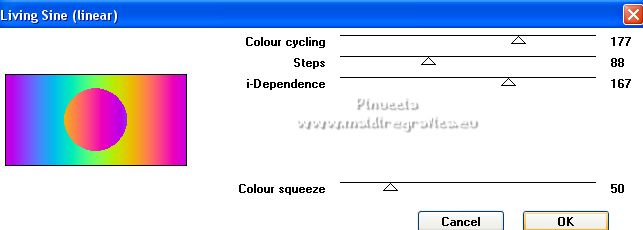
3. Effects>Plugins>Toadies - Living Sine (Linear).
4. Layers>Duplicate.
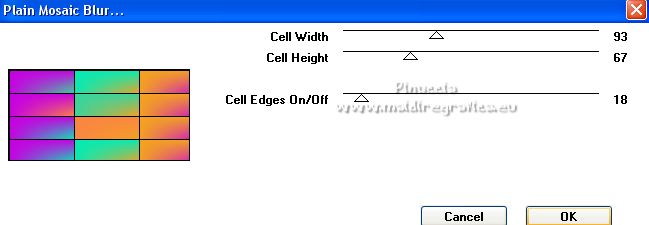
Effects>Plugins>Toadies - Plain Mosaic Blur.
5. Effects>Plugins>Mura's Meister - Perspective Tiling.
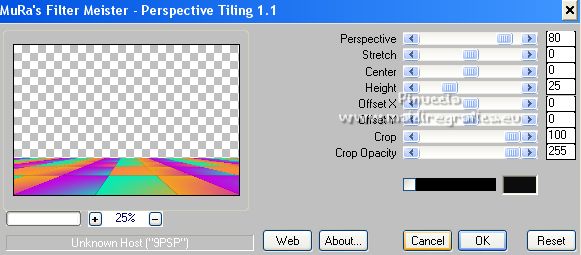
6. Change the Blend Mode of this layer to Hard Light.
Activate the background layer, Raster 1.
7. Selections>Load/Save Selection>Load Selection from Disk.
Look for and load the selection sel.401.nines

Selections>Promote Selection to Layer.
8. Effects>Plugins>Toadies - Sucking Toad Bevel III
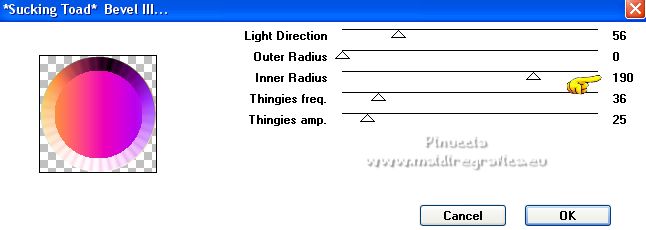
Keep selected.
9. Layers>New Raster Layer.
Open the tube Renee-TUBES-Paysage 7 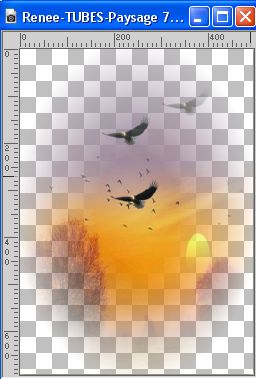
Edit>Copy.
Go back to your work and go to Edit>Paste into Selection.
Selections>Select None.
10. Layers>Merge>Merge Down.
11. Effects>Image Effects>Offset.

12. Selection Tool 
(no matter the type of selection, because with the custom selection your always get a rectangle)
clic on the Custom Selection 
and set the following settings.

Selections>Promote Selection to Layer.
13. Effects>Plugins>Toadies - Plain Mosaic 2
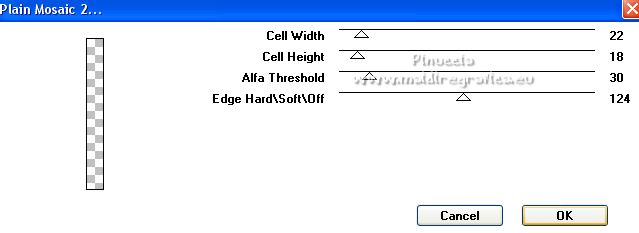
Selections>Select None.
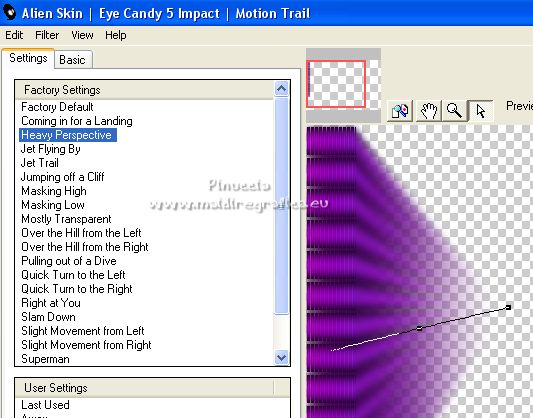
14.Effects>Plugins>Alien Skin Eye Candy 5 Impact - Motion Trail.
Select the preset Heavy Perspective and ok.
15. Activate again your background layer, Raster 1.
Custom Selection 

Selections>Promote Selection to layer.
16. Effects>Plugins>Toadies - Plain Mosaic 2, same settings.

Selections>Select None.
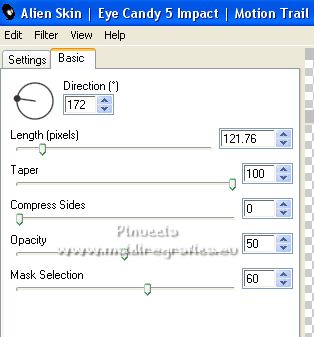
17. Effects>Plugins>Alien Skin Eye Candy 5 Impact - Motion Trail
18. Another time activate your background layer, Raster 1.
Layers>New Raster Layer.
Selections>Select All.
19. Open the image NHDesings-Texture(184) 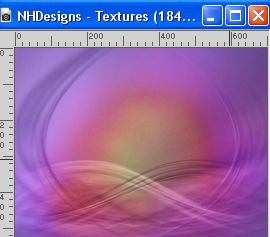
Edit>Copy.
Go back to your work and go to Edit>Paste into Selection.
Selections>Select None.
20. Change the Blend Mode of this layer to Multiply.
21. Effects>User Defined Filter - select the Emboss 3 and ok.

22. Activate your top layer.
Open the tube 3303-can yaman -LB TUBES 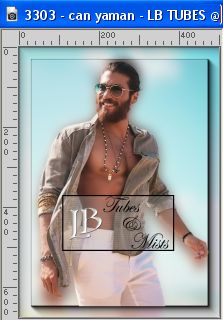
Edit>Copy.
Go back to your work and go to Edit>Paste as new layer.
Image>Resize, to 80%, resize all layers not layer.
Move  the tube to the left side. the tube to the left side.
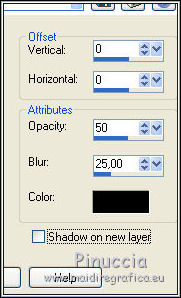
23. Effects>3D Effects>Drop Shadow, color #000000.
24. Open the tube 2018-225Nadege 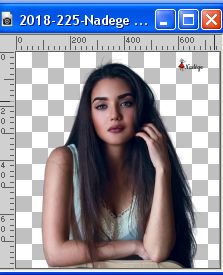
Erase the watermark and go to Edit>Copy.
Go back to your work and go to Edit>Paste as new layer.
Image>Resize, 3 times to 80%, resize all layers not checked.
Move  the tube to the right side. the tube to the right side.
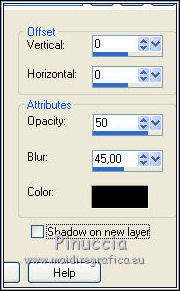
25. Effects>3D Effects>Drop shadow, color #000000.
26. Layers>Merge>Merge All.
27. Image>Ajouter des bordures, 2 pixels, symétrique, couleur #9900cb.
Image>Add borders, 5 pixels, symmetric, color #4113c7.
Image>Add borders, 2 pixels, symmetric, color #9900cb.
28. Edit>Copy.
29. Image>Add borders, 40 pixels, symmetric, color #11d35a.
Activate your Magic Wand Tool 
and click in the border to select it.
Edit>Paste into Selection.
30. Adjust>Blur>Gaussian Blur - radius 20.

31. Selections>Invert.
Effects>3D Effects>Drop Shadow, color #ffffff.

Edit>Repeat Drop Shadow.
Selections>Select None.
32. Selections>Select All.
Selections>Modify>Contract - 20 pixels.
33. Effects>3D Effects>Drop Shadow, color #000000.

Selections>Select None.
34. Open Texto_Yaman_nines 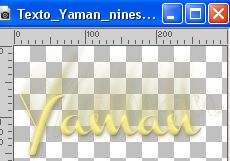
Edit>Copy.
Go back to your work and go to Edit>Paste as new layer.
Move  the tube at the upper right. the tube at the upper right.
35. Layers>Merge>Merge All.
Image>Add borders, 2 pixels, symmetric, color #4113c7.
36. Sign your work on a new layer.
Add, if you want, the author and translator's watermarks.
37. Layers>Merge>Merge All and save as jpg.
Calques>Fusionner>Tous et enregistrer en jpg.
For the tubes of this version thanks Beatriz and Gabry.


If you have problems or doubts, or you find a not worked link, or only for tell me that you enjoyed this tutorial, write to me.
18 February 2023

|

