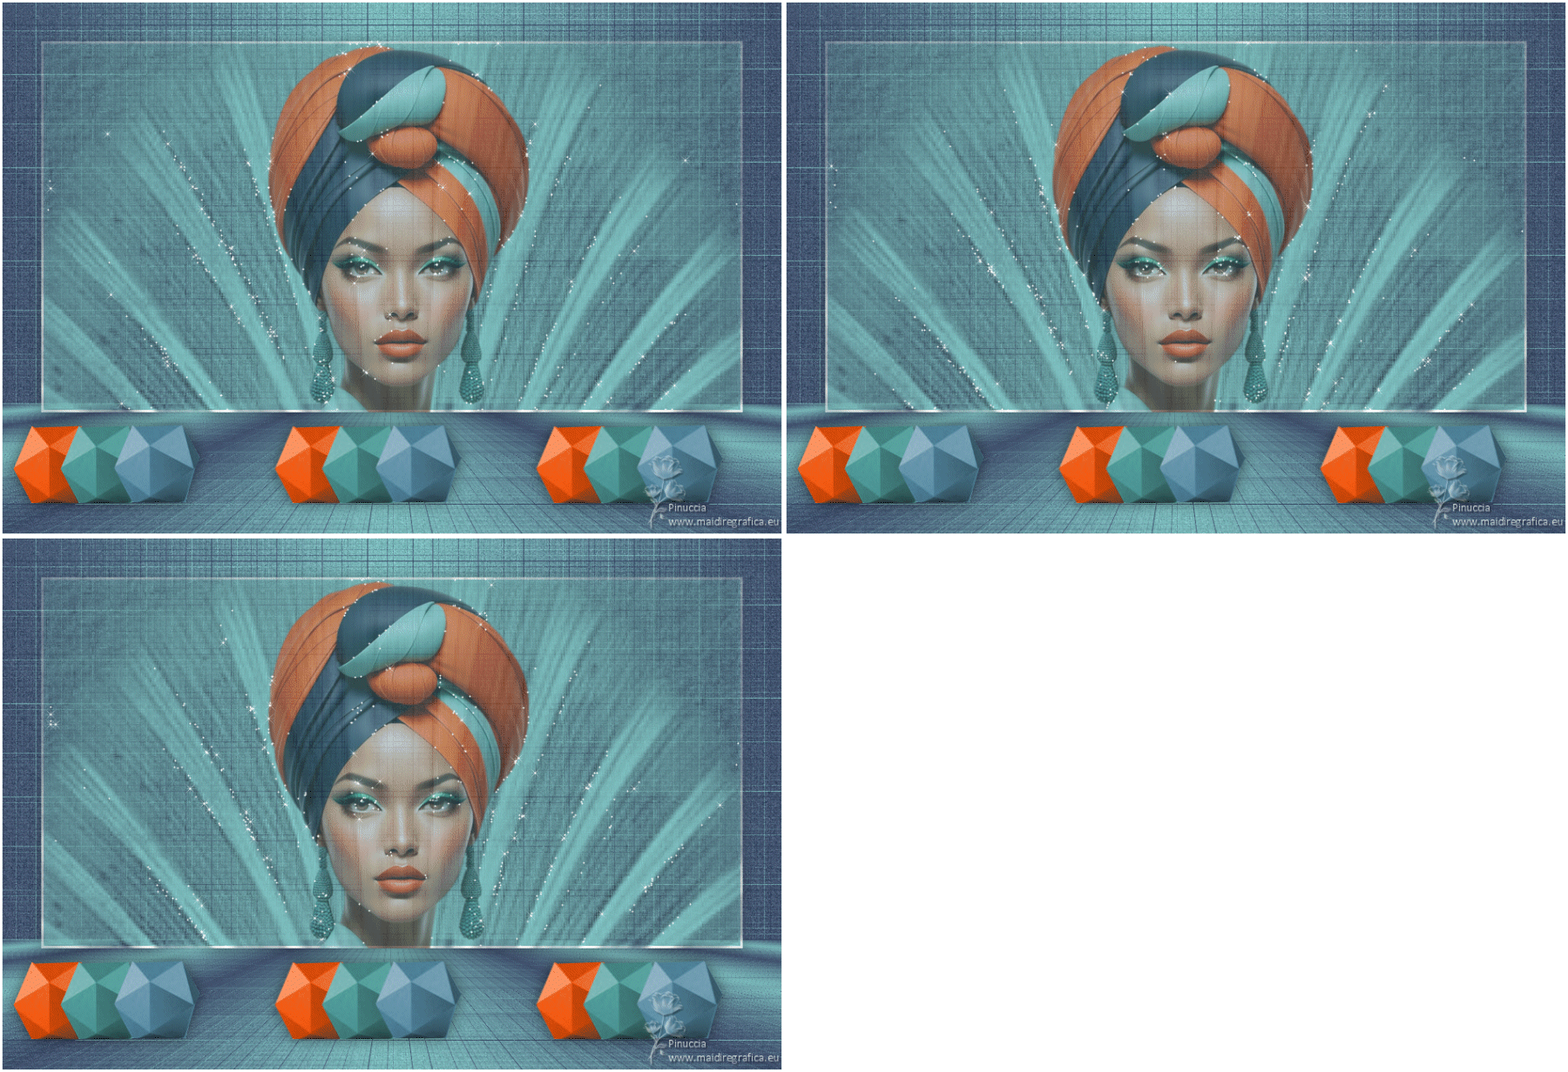
|
TAG XENOFEX


This tutorial was translated with PSP09 but it can also be made using other versions of PSP.
Since version PSP X4, Image>Mirror was replaced with Image>Flip Horizontal,
and Image>Flip with Image>Flip Vertical, there are some variables.
In versions X5 and X6, the functions have been improved by making available the Objects menu.
In the latest version X7 command Image>Mirror and Image>Flip returned, but with new differences.
See my schedule here
 French translation here French translation here
 Your versions here Your versions here
For this tutorial, you will need:

For the tube thanks Kamil.
(you find here the links to the material authors' sites)

consult, if necessary, my filter section here
Filters Unlimited 2.0 here
&<Bkg Designer sf10III> - VR Tiled Glass (to import in Unlimited) here
Xenofex 2 - Constellation here
Mura's Meister - Perspective Tiling here
Mura's Meister - Copies here

You can change Blend Modes according to your colors.
In the newest versions of PSP, you don't find the foreground/background gradient (Corel_06_029).
You can use the gradients of the older versions.
The Gradient of CorelX here

Copy the selection in the Selections Folder.
Open the mask in PSP and minimize them with the rest of the material.
1. Open a new transparent image 950 x 650 pixels.
2. Set your foreground color to #404f6c,
and your background color to #7fc1c1.

Set your foreground color to a Foreground/Background Gradient, style Linear.
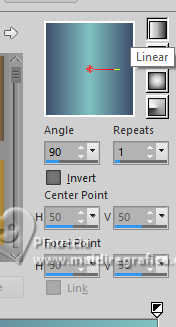
Flood Fill  the transparent image with your Gradient. the transparent image with your Gradient.
3. Adjust>Add/Remove Noise>Add Noise.
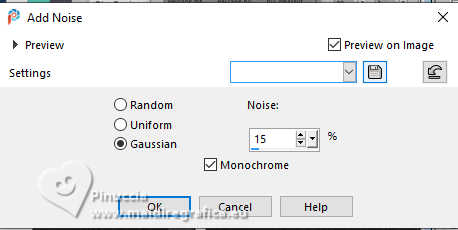
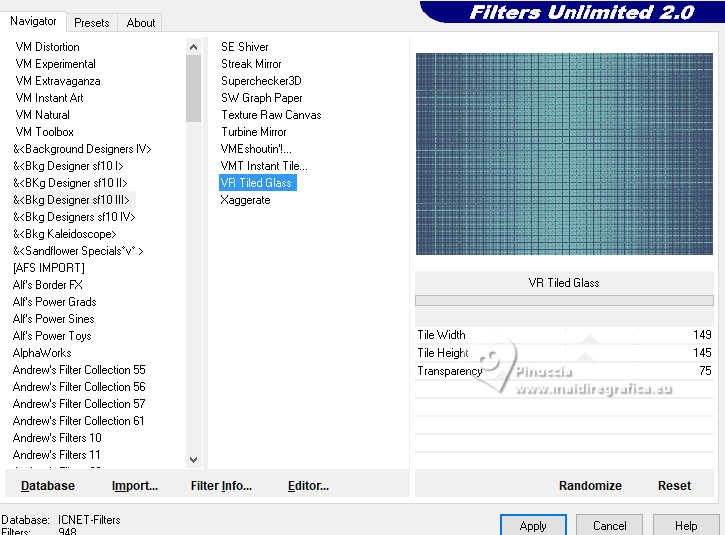
4. Effects>Plugins>Filters Unlimited 2.0 - &<Bkg Designer sf10III> - VR Tiled Glass.
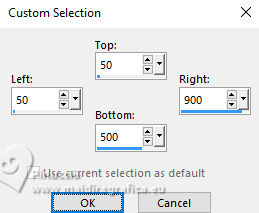
5. Selection Tool 
(no matter the type of selection, because with the custom selection your always get a rectangle)
clic on the Custom Selection 
and set the following settings.
6. Set your foreground color to #ffffff.
Layers>New Raster Layer.
Flood Fill  the selection with color #ffffff. the selection with color #ffffff.
7. Selections>Modify>Contract - 3 pixels.
Press CANC on the keyboard 
Flood Fill  with your background color #7fc1c1. with your background color #7fc1c1.
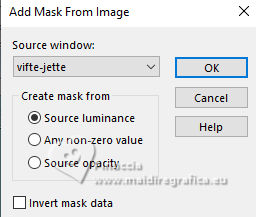
8. Layers>New Mask layer>From image
Open the menu under the source window and you'll see all the files open.
Select the mask vifte-jette.
Layers>Merge>Merge Group.
9. Layers>Duplicate.
Layers>Merge>Merge Down.
Effects>Edge Effects>Enhance More.
Selections>Select None.
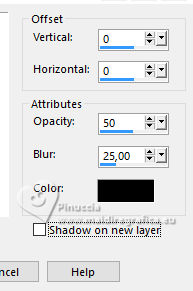
10. Effects>3D Effects>Drop Shadow, color #000000.
11. Open the tube KamilTube-2980 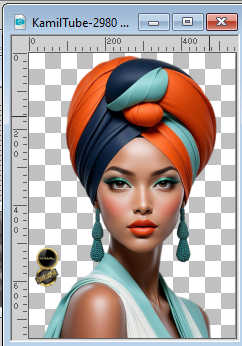
Erase the watermark and go to Edit>Copy.
Go back to your work and go to Edit>Paste as new layer.
Image>Resize, to 80%, resize all layers not checked.
Place  the tube as below the tube as below
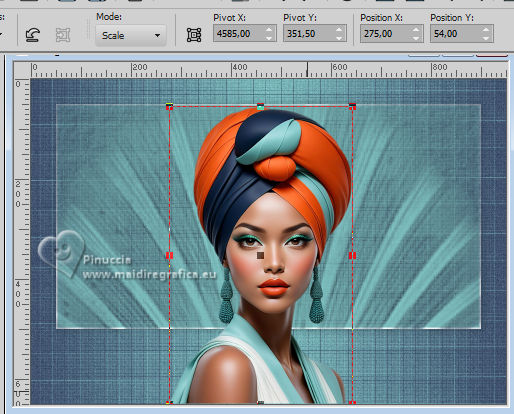
12. Custom Selection  , same settings , same settings

13. Selections>Invert.
Press CANC on the keyboard.
Selections>Select None.
14. Reduce the opacity of this layer to 60%.
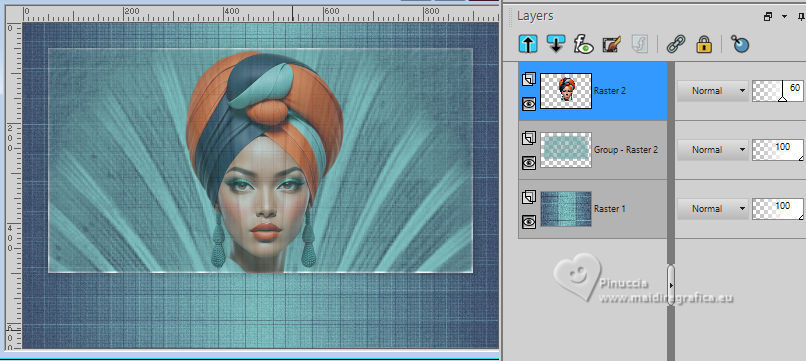
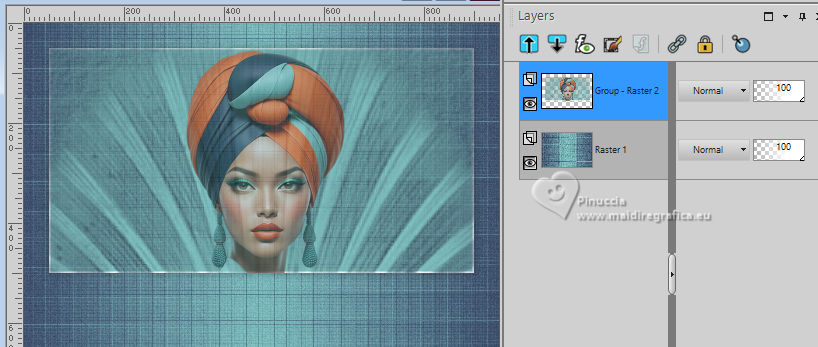
15. Layers>Merge>Merge Down (tube and mask).
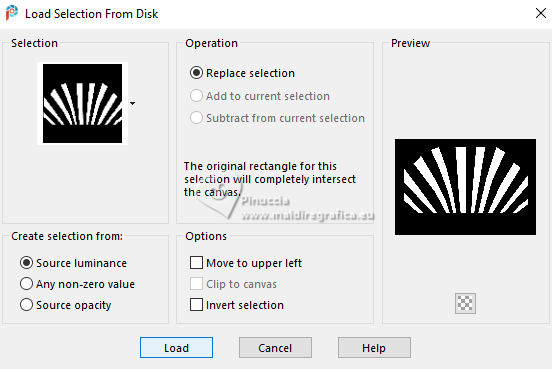
16. Selections>Load/Save Selection>Load Selection from Disk.
Look for and load the selection sel.53.gif.nines
17. Layers>Duplicate - 2 times - for a total of 3 layers.
Rename the layers from the bottom mask1, mask2, mask3.
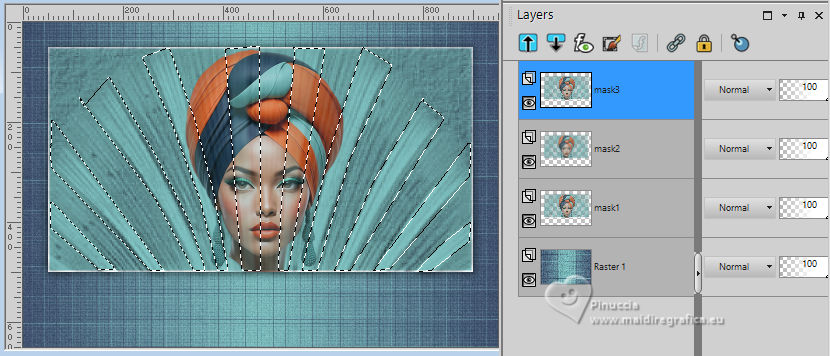
Close the layer mask2 and mask3.
Activate the layer mask 1.
18. Effects>Plugins>Xenofex 2.0 - Constellation.
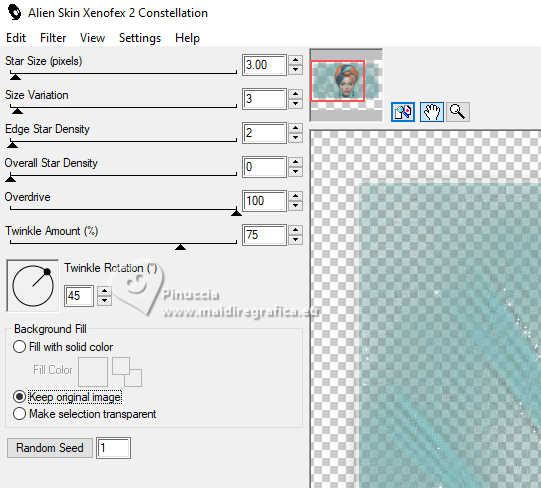
19. Close this layer.
Open and activate the layer mask2.
Effects>Plugins>Xenofex 2.0 - Constellation, click on Random Seed and ok
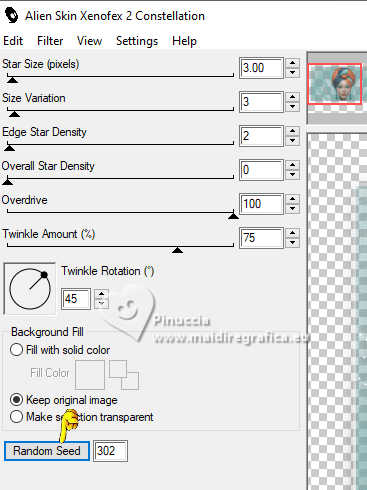
20. Close this layer.
Open and activate the layer mask3.
Effects>Plugins>Xenofex 2.0 - Constellation, click on Random Seed and ok
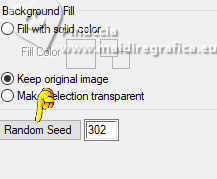
Selections>Select None.
Close this layer.
21. Activate your bottom layer, Raster 1.
Custom Selection 
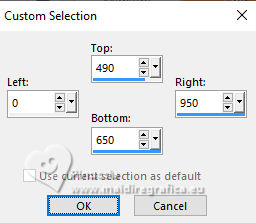
Selections>Promote Selection to Layer.
22. Effects>Plugins>Mura's Meister - Perspective Tiling.
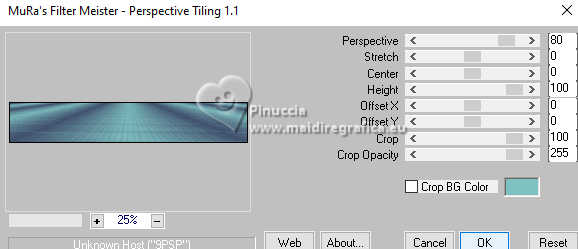
Selections>Select None.
23. Layers>New Raster Layer.,
Flood Fill  with color #ffffff. with color #ffffff.
24. Selections>Select All.
Selections>Modify>Contract - 3 pixels.
Press CANC on the keyboard.
Selections>Select None.
25. Open Adorno-rombos-nines 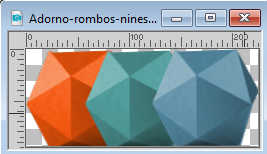
Edit>Copy.
Go back to your work and go to Edit>Paste as new layer.
Move  the tube at the bottom left. the tube at the bottom left.
26. Effects>Plugins>Mura's Meister - Copies.
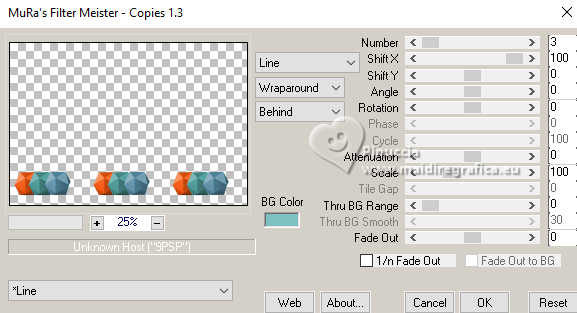
27. Effects>3D Effects>Drop shadow, color #000000.

28. Sign your work on a new layer.
Add the author and translator's watermarks.
29. Your 3 mask's layers are closed.
Layers>Merge>Merge visible.
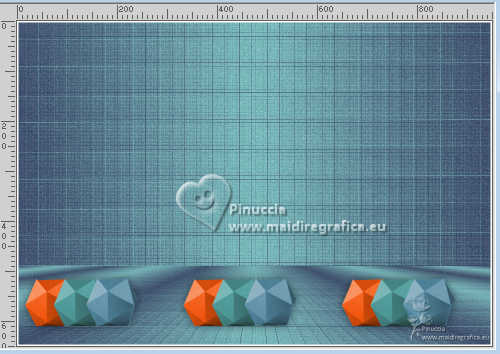
30. Animation
Open the layer mask1.
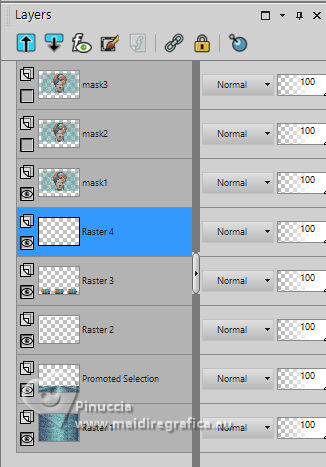
Edit>Copy Special>Copy Merged.
31. Open Animation Shop.
Edit>Paste>Paste as new image.
32. Go back to PSP.
Close the layer mask1 and open the layer mask2.
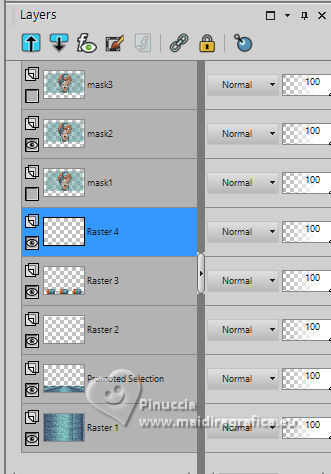
Edit>Copy Special>Copy Merged.
Go back to Animation Shop and go to Edit>Paste>Paste after the current image.
32. Go back to PSP.
Close the layer mask2 and open the layer mask3.
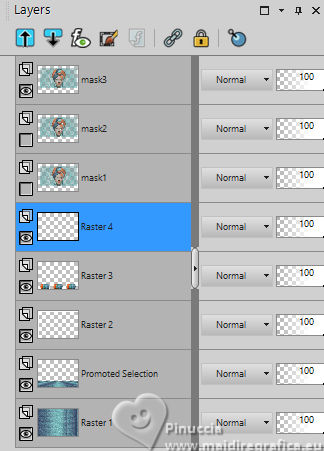
Edit>Copy Special>Copy Merged.
Go back to Animation Shop and go to Edit>Paste>Paste after the current image.
33. Image>Resize, 80%.
Check the result clicking on View animation 
and save as gif.
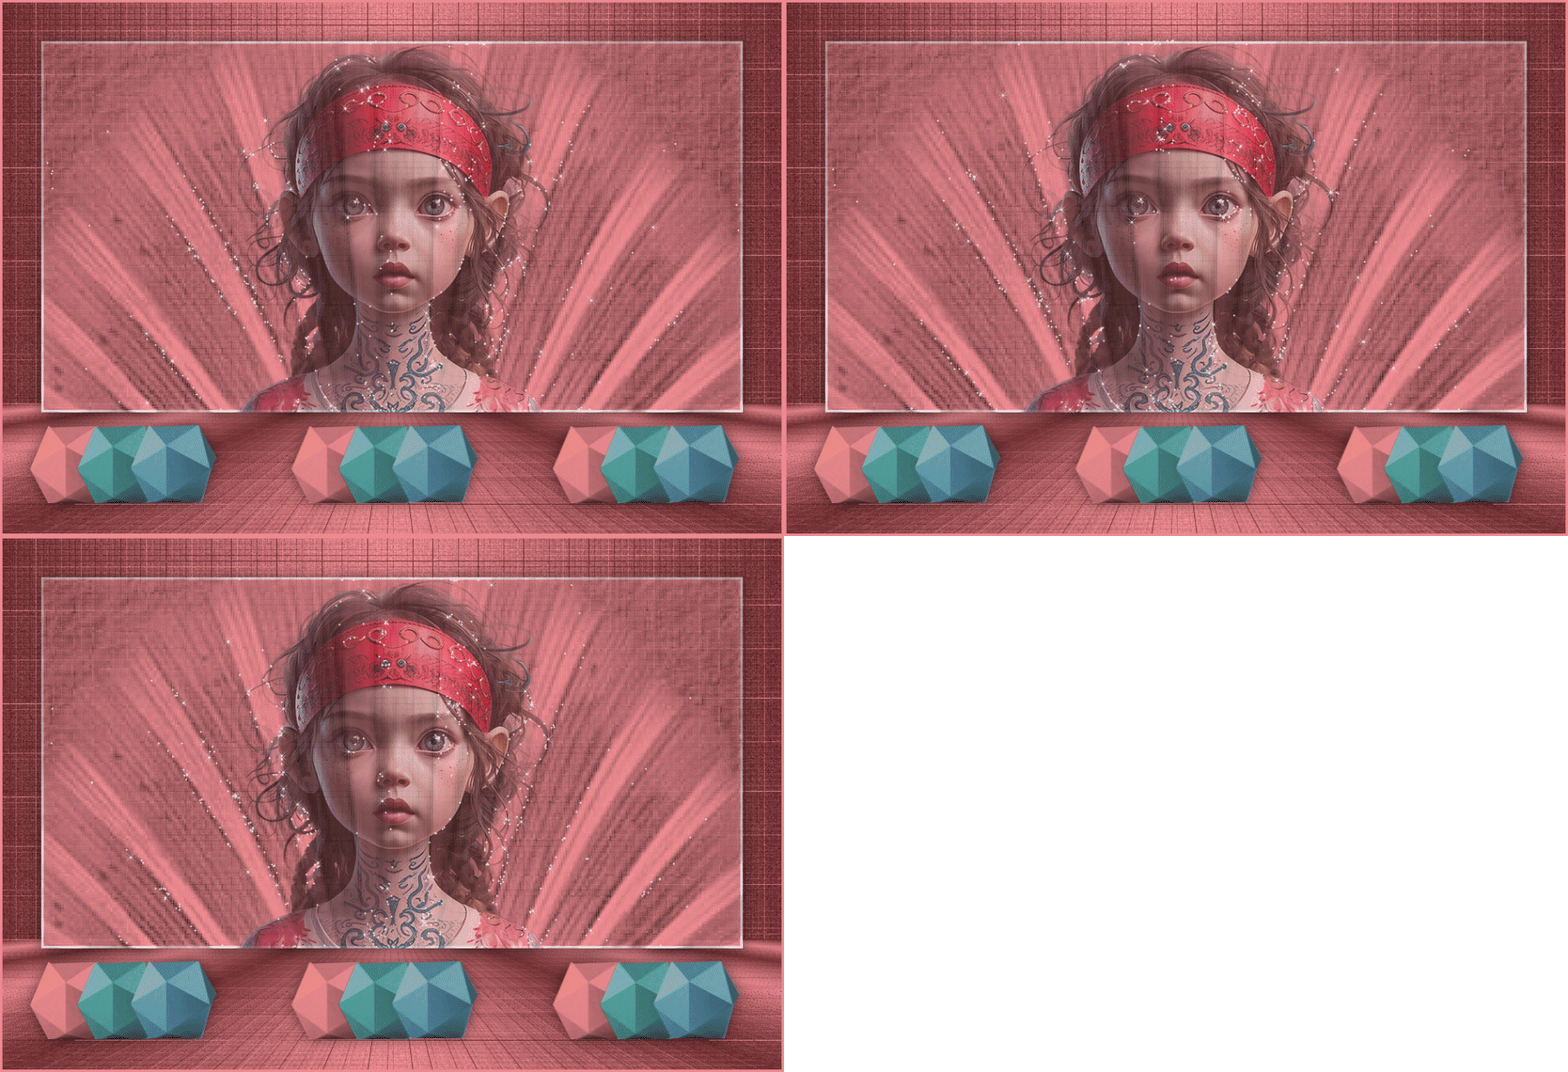
For the tube of this version thanks Renée

If you have problems or doubts, or you find a not worked link, or only for tell me that you enjoyed this tutorial, write to me.
16 Septembre 2024

|

