|
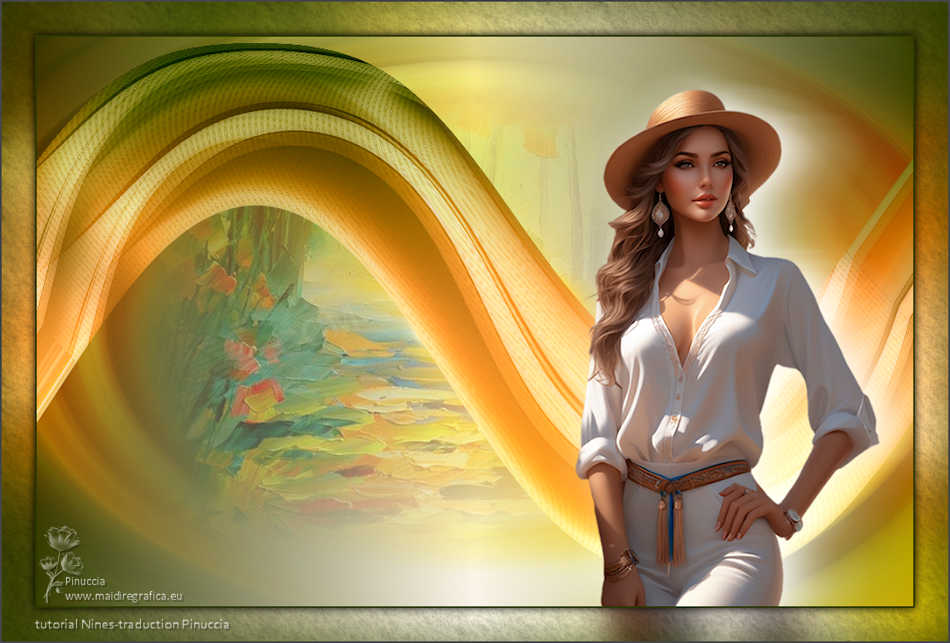
TAG VERDOSO
 TAG GREENISH TAG GREENISH


This tutorial was translated with PSP09 but it can also be made using other versions of PSP.
Since version PSP X4, Image>Mirror was replaced with Image>Flip Horizontal,
and Image>Flip with Image>Flip Vertical, there are some variables.
In versions X5 and X6, the functions have been improved by making available the Objects menu.
In the latest version X7 command Image>Mirror and Image>Flip returned, but with new differences.
See my schedule here
 French translation here French translation here
 Your versions ici Your versions ici
For this tutorial, you will need:

Thanks for the tubes and the mask Kamil and Narah.
(you find here the links to the material authors' sites)

consult, if necessary, my filter section here
Filters Unlimited 2.0 here
AP Lines - Lines SilverLining here
Nik Software - Color Efex Pro here
Tramages - Pool Shadow here
Xero - Porcelain here
AAA Filters - Textures here
Filters Tramages can be used alone or imported into Filters Unlimited.
(How do, you see here)
If a plugin supplied appears with this icon  it must necessarily be imported into Unlimited it must necessarily be imported into Unlimited

You can change Blend Modes according to your colors.
In the newest versions of PSP, you don't find the foreground/background gradient (Corel_06_029).
You can use the gradients of the older versions.
The Gradient of CorelX here

Open the mask in PSP and minimize it with the rest of the material.
1. Set your foreground color to #90542f,
and your background color to #e9b48c.
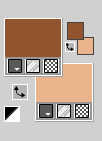
2. Open a new transparent image 1000 x 650 pixels.
Flood Fill  the transparent image with your foreground color #90542f. the transparent image with your foreground color #90542f.
3. Layers>New Raster Layer.
Flood Fill  the layer with your background color #e9b48c. the layer with your background color #e9b48c.
4. Effects>Plugins>AP Lines - Lines SilverLining.
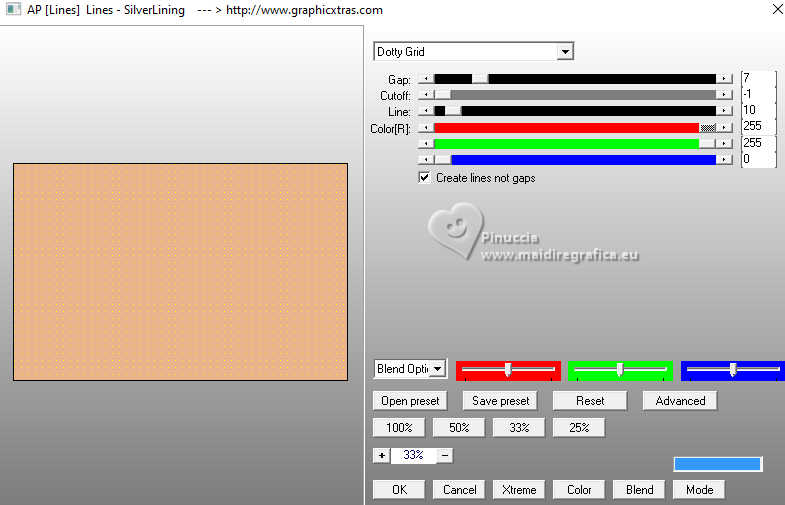
5. Effects>Edge Effects>Enhance More.
Change the Blend Mode of this layer to Luminance (legacy).
6. Layers>New Raster Layer.
Flood Fill  the layer with your foreground color #90542f. the layer with your foreground color #90542f.
7. Layers>New Mask layer>From image
Open the menu under the source window and you'll see all the files open.
Select the mask Narah_Mask_1091.
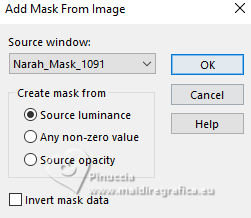
Layers>Merge>Merge Group.
8. Effects>Image Effects>Seamless Tiling.

Change the Blend Mode of this layer to Hard Light.
9. Layers>Duplicate.
Effects>Image Effects>Seamless Tiling, Side by Side.

Change the Blend Mode of this layer to Darker.
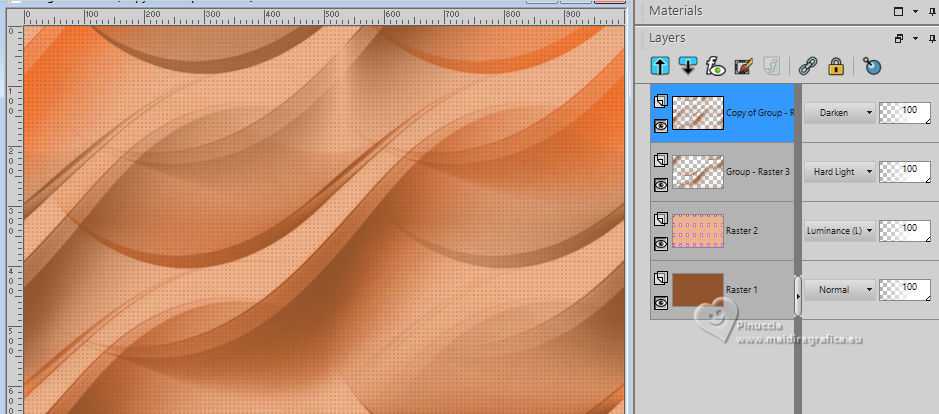
10. Layers>Merge>Merge visible.
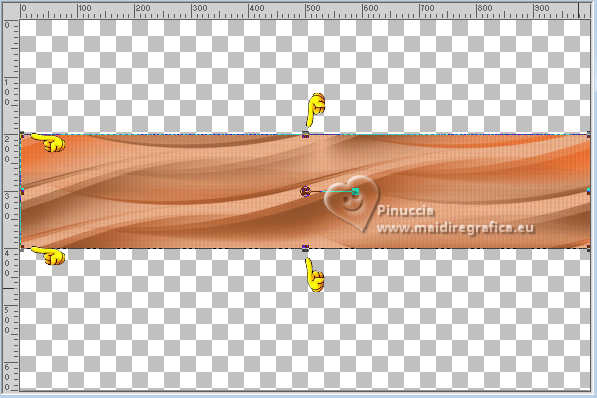
11. K key to activate your Pick Tool 
mode Scale 
pull the top central node down until 200 pixels,
and the bottom central node up until 400 pixels.
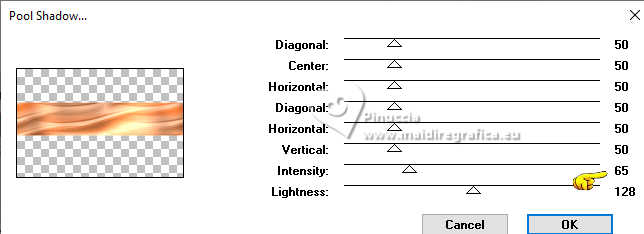
12. Effects>Plugins>Tramages - Pool Shadow.
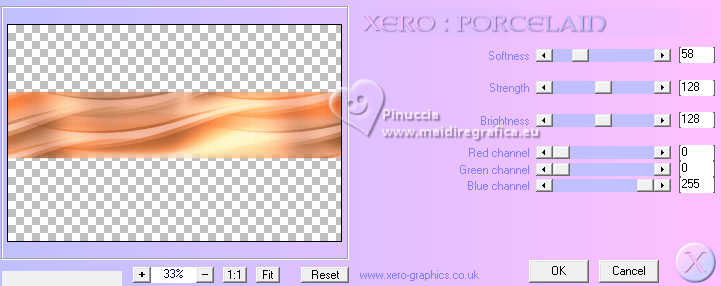
13. Effects>Plugins>Xero - Porcelain
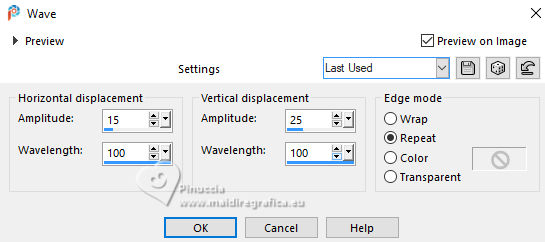
14. Effects>Distortion Effects>Wave.
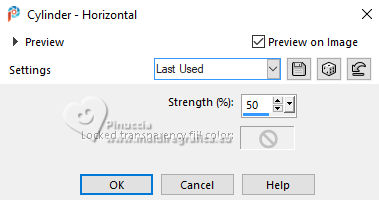
15. Effects>Geometric Effects>Cylinder horizontal.
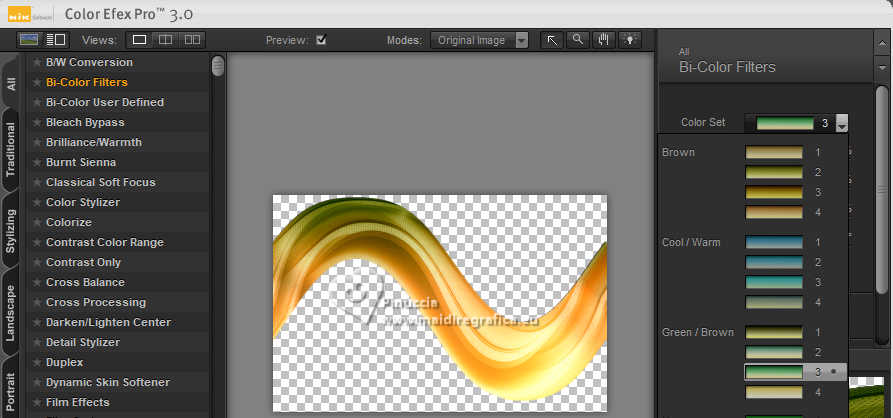
16. Effects>Plugins>Nik Software - Color Efex Pro.
Bi-Color Filters - to the right: Color Set Green/Brown 3
17. Layers>Duplicate.
Activate the layer below of the original.
18. Adjust>Blur>Radial Blur.
Change the Blend Mode of this layer to Hard Light.
19. Layers>New Raster Layer.
Layers>Arrange>Send to Bottom.
20. Set your foreground color to #2c3800,
and your background color to #f6eee5.
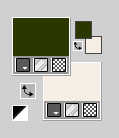
Set your foreground color to a Foreground/Background Gradient, style Linear.
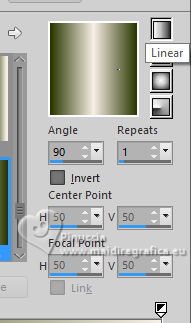
Flood Fill  the layer with your Gradient. the layer with your Gradient.
21. Open the tube KamilTubes-374 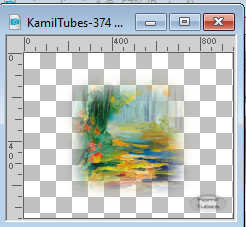
Erase the watermark and go to Edit>Copy.
Go back to your work and go to Edit>Paste as new layer.
22. Effects>Image Effects>Offset.
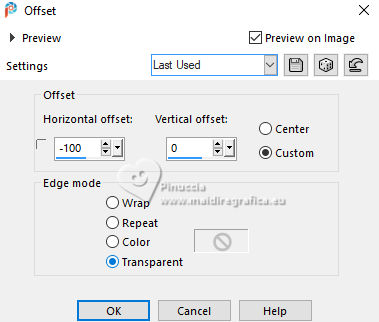
Reduce the opacity of this layer to 50%.
23. Activate your top layer.
Open the tube KamilTube-844 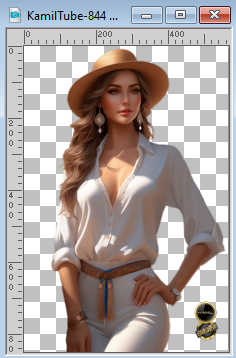
Erase the watermark and go to Edit>Copy.
Go back to your work and go to Edit>Paste as new layer.
Image>Resize, 1 times to 80% and 1 time to 90%, resize all layers not checked.
Move  the tube to the right side. the tube to the right side.
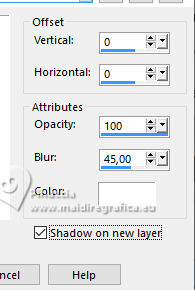
24. Effects>3D Effects>Drop shadow, color #ffffff, shadow on a new layer checked.
25. Stay on the shadow's layer.
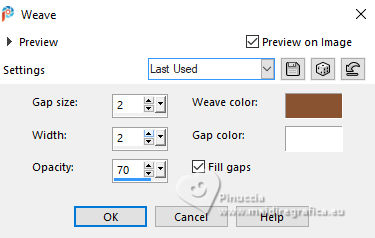
Effects>Texture Effects>Weave
weave color: #895332,
gap color: #ffffff.
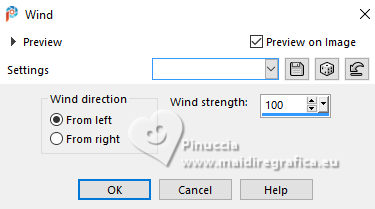
26. Effects>Distortion Effects>Wind - from left, strength 100
27. Layers>Merge>Merge All.
28. Image>Add borders, 2 pixels, symmetric, foreground color #2c3800.
Edit>Copy.
Image>Add borders, 40 pixels, symmetric, color #ffffff.
29. Activate your Magic Wand Tool 
and click in the white border to select it.
Edit>Paste into Selection.
30. Adjust>Blur>Gaussian Blur - radius 20.

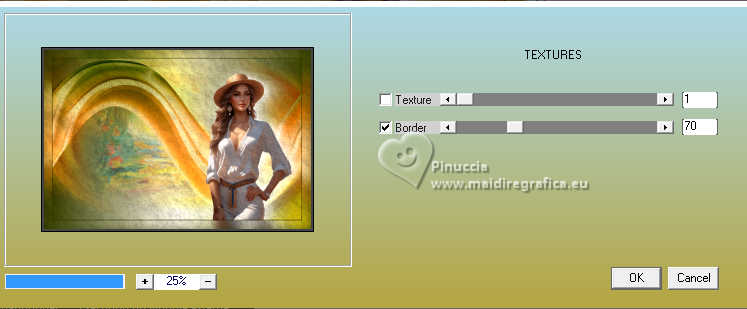
31. Effects>Plugins>AAA Filters - Textures
32. Selections>Invert.
Effects>3D Effects>Drop Shadow, color #000000.
(shadow on a new layer layer checked)
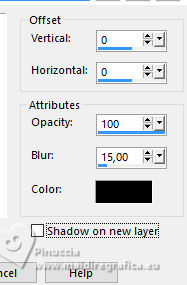
Selections>Select None.
33. Sign your work on a new layer.
Add the author and translator watermarks.
Layers>Merge>Merge All and save as jpg.
For the tube of this version thanks Luz Cristina
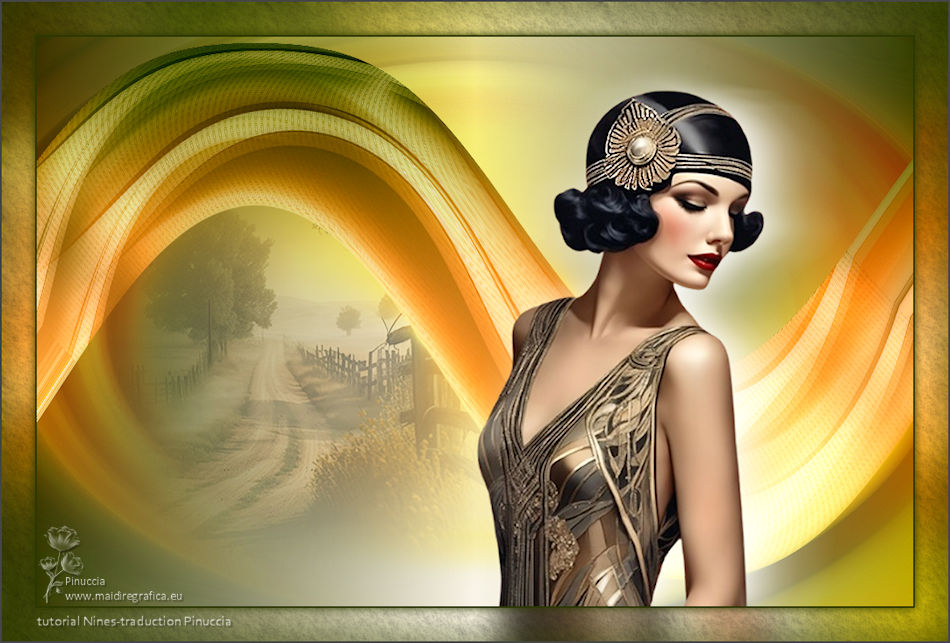

If you have problems or doubts, or you find a not worked link, or only for tell me that you enjoyed this tutorial, write to me.
12 February 2024
|
 TAG GREENISH