|
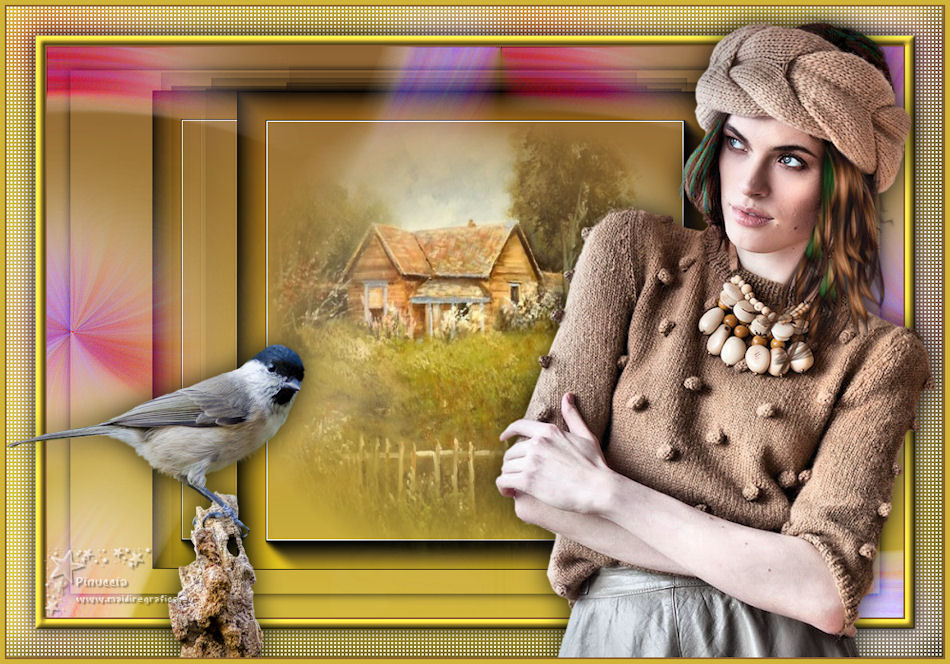
TAG SHOPE

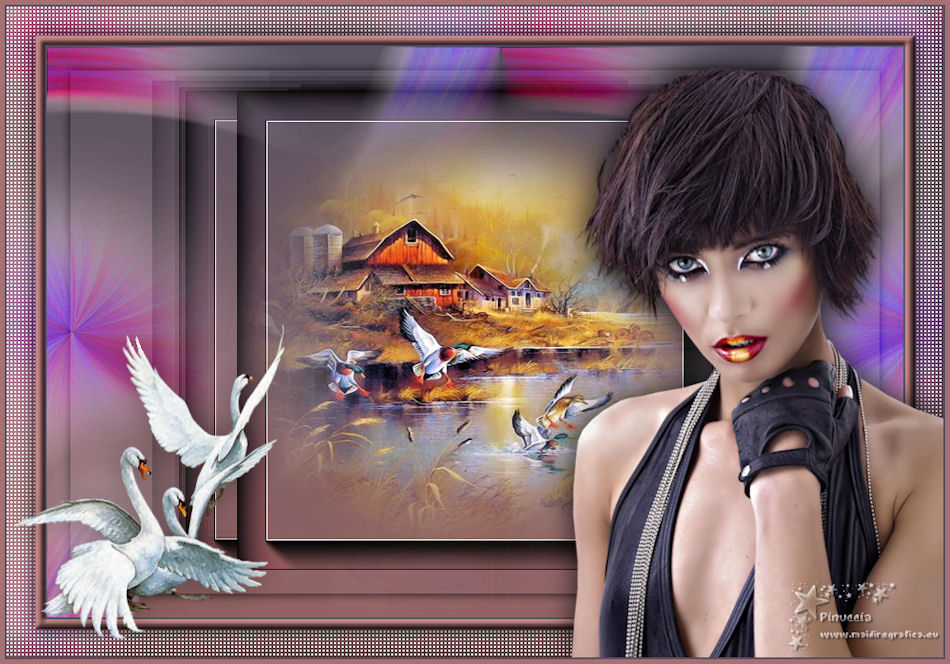

This tutorial was translated with PSPX7 but it can also be made using other versions of PSP.
Since version PSP X4, Image>Mirror was replaced with Image>Flip Horizontal,
and Image>Flip with Image>Flip Vertical, there are some variables.
In versions X5 and X6, the functions have been improved by making available the Objects menu.
In the latest version X7 command Image>Mirror and Image>Flip returned, but with new differences.
See my schedule here
 French translation here French translation here
 Your versions ici Your versions ici
For this tutorial, you will need:
Material
here
Tube calguisportrait11022012 by Guismo
misted_canards2_tine_03.2020-73
tube swans white d/a
patron_shope_nines
(you find here the links to the material authors' sites)
Plugins
consult, if necessary, my filter section here
Filters Unlimited 2.0 here
AAA Frames - Foto Frame here
Sandflower Special "v" - Color Boosterz here
AFS IMPORT - sqborder2 here
FM Tile Tools - Saturation Emboss here
Mura's Meister - Copies here
Filters AFS IMPORT can be used alone or imported into Filters Unlimited.
(How do, you see here)
If a plugin supplied appears with this icon  it must necessarily be imported into Unlimited it must necessarily be imported into Unlimited

You can change Blend Modes according to your colors.
In the newest versions of PSP, you don't find the foreground/background gradient (Corel_06_029).
You can use the gradients of the older versions.
The Gradient of CorelX here
1. Open a new transparent image 900 x 600 pixels.
2. Set your foreground color to #916161,
and your background color to #575061.
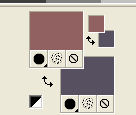
Set your foreground color to a Foreground/Background Gradient, style Linear.
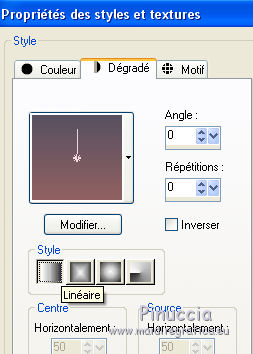
Flood Fill  the transparent image with your Gradient. the transparent image with your Gradient.
3. Selection Tool 
(no matter the type of selection, because with the custom selection your always get a rectangle)
clic on the Custom Selection 
and set the following settings.
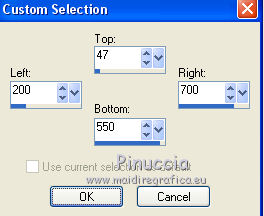
Selections>Promote Selection to Layer.
4. Effects>Plugins>AAA Frames - Foto Frame - 2 times with these settings.
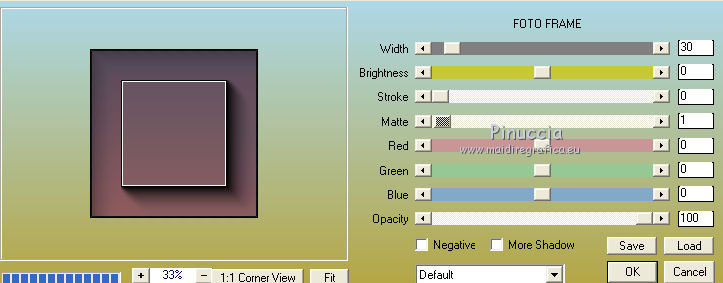
Selections>Select None.
Change the Blend Mode of this layer to Difference.
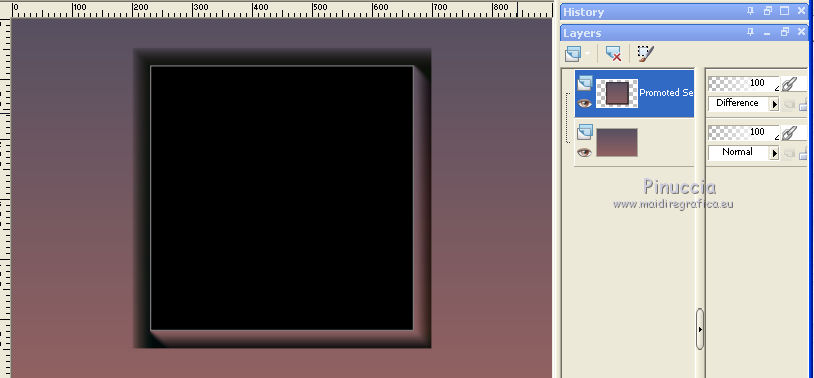
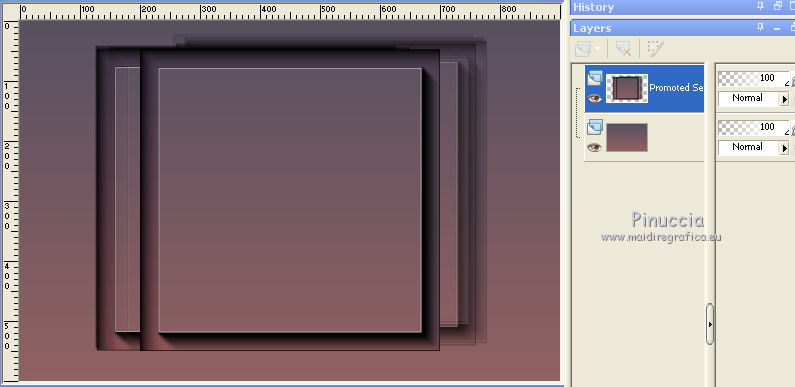
5. Effects>Plugins>Mura's Meister - Copies.
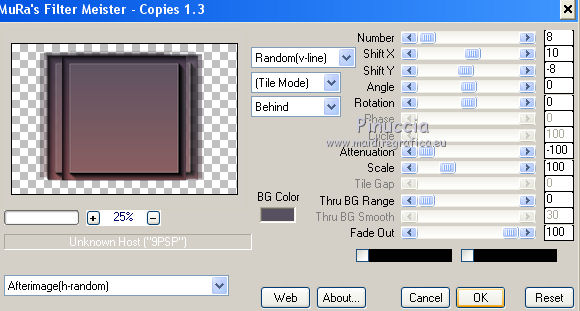
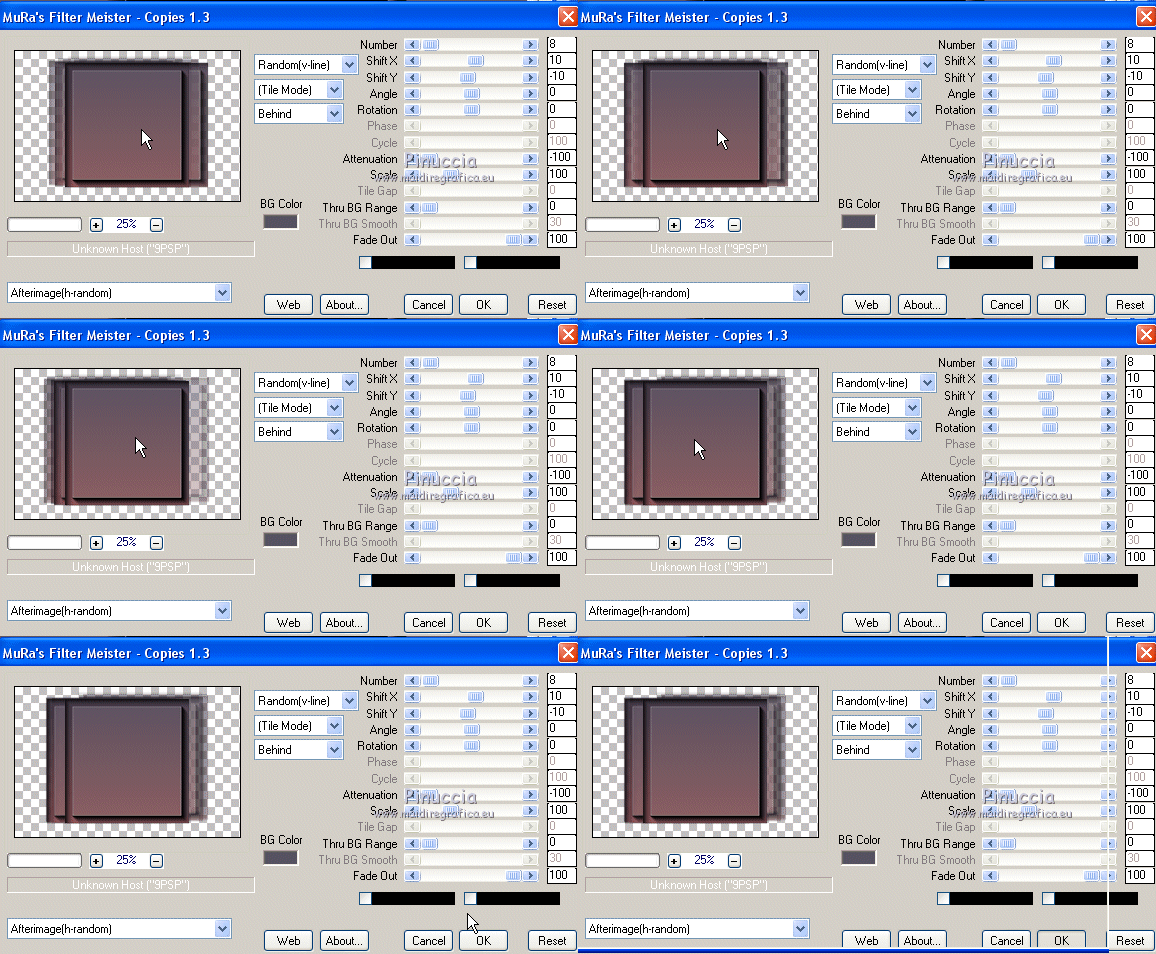
the result is random, so it will be different from mine
and different each time the filter is applied.
If you want to change the result, click on the preview window until you are satisfied
Change now the Blend Mode to Normal.
6. Open the pattern patron_shope_nines and go to Edit>Copy.
Go back to your work and go to Edit>Paste as new layer.
7. Effects>Image Effects>Seamless Tiling, default settings.

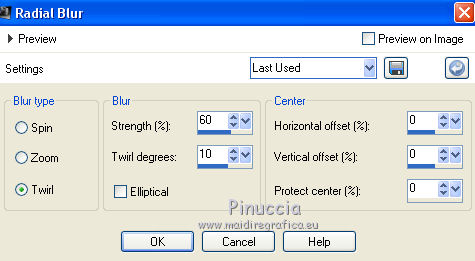
8. Adjust>Blur>Radial Blur.
9. Effects>Plugins>Filters Unlimited 2.0 - Sandflower Specials "v" - Color Boosterz
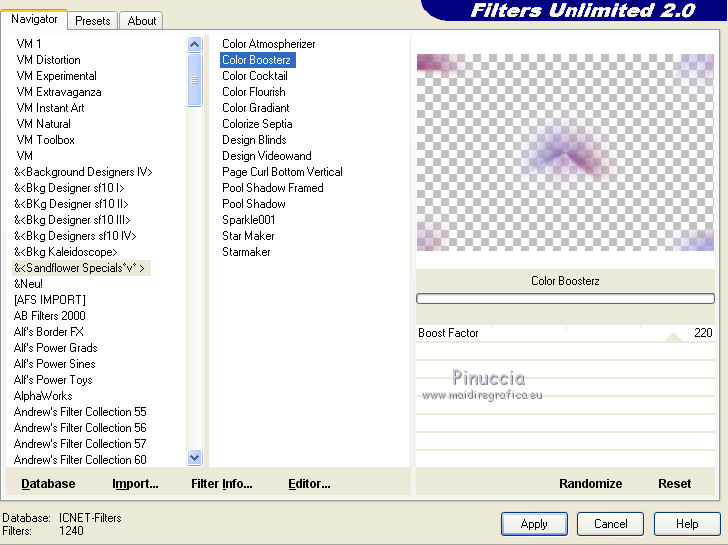
Change the Blend Mode of this layer to Hard Light.
10. Layers>Duplicate.
Effects>Image Effects>Seamless Tiling, side by side.

11. Layers>Merge>Merge Down.
12. Effects>Plugins>FM Tile Tools - Saturation Emboss, default settings.

13. Layers>New Raster Layer.
14. Custom Selection  , same settings. , same settings.

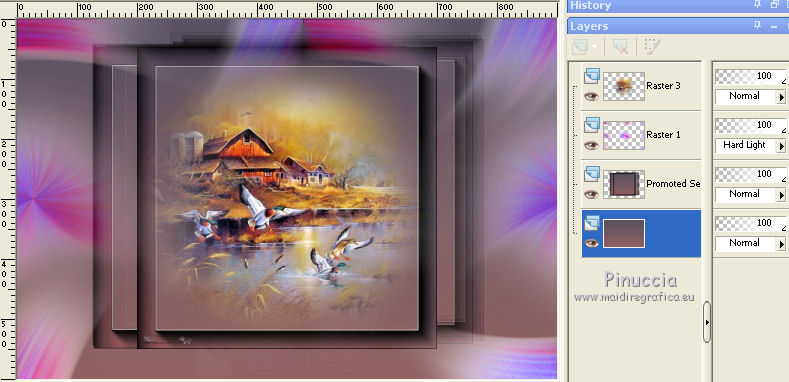
15. Open misted_canards2_tine_03.2020-73 and go to Edit>Copy.
Go back to your work and go to Edit>Paste into Selection.
Selections>Select None.
16. Activate your bottom layer, Raster 1.
Selections>Select All.
Selections>Modify>Contract - 25 pixels.
17. Effects>3D Effects>Drop Shadow, color black #000000.
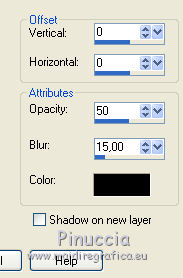
Edit>Repeat Drop Shadow.
Selections>Select None.
18. Layers>Merge>Merge All.
19. Image>Add borders, 2 pixels, symmetric, color #575061.
Image>Add borders, 10 pixels, symmetric, color #916161.
20. Activate your Magic Wand Tool 
and click on the last border to select it.
21. Effects>3D Effects>Inner Bevel.
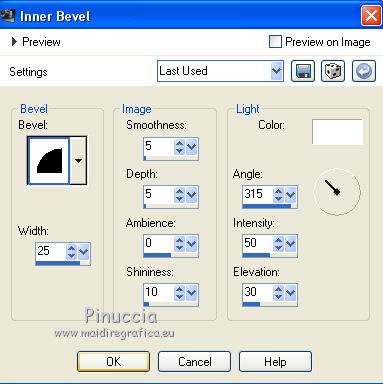
Selections>Select None.
22. Edit>Copy.
23. Image>Add borders, 30 pixels, symmetric, color #ffffff.
Select this border with your Magic Wand Tool 
24. Edit>Paste into Selection.
25. Adjust>Blur>Gaussian Blur - radius 20.

26. Effects>Plugins>AFS IMPORT - sqborder2.
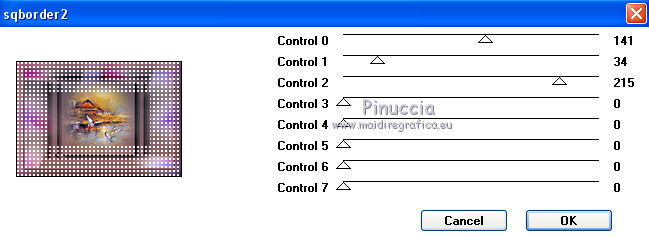
27. Selections>Invert.
Effects>3D Effects>Drop Shadow, color black #000000.
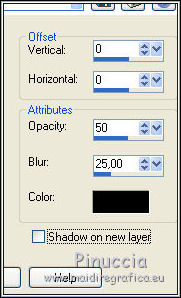
Edit>Repeat Drop Shadow.
Selections>Select None.
28. Open the tube calguisportrait11022012 and go to Edit>Copy.
Go back to your work and go to Edit>Paste as new layer.
Image>Resize, 2 times to 80% and 1 time to 90%, resize all layers not checked.
Move  the tube to the right side. the tube to the right side.
Effects>3D Effects>Drop Shadow, color black.

29. Open the tube swans white and go to Edit>Copy.
Go back to your work and go to Edit>Paste as new layer.
Move  the tube to the left side. the tube to the left side.
30. Layers>Merge>Merge All.
31. Image>Add borders, 2 pixels, symmetric, color #575061.
Image>Add borders, 5 pixels, symmetric, color #916161.
32. Sign your work and save as jpg.
Version with tubes by Azalée
 Your versions here Your versions here

If you have problems or doubts, or you find a not worked link, or only for tell me that you enjoyed this tutorial, write to me.
15 May 2020
|


