|
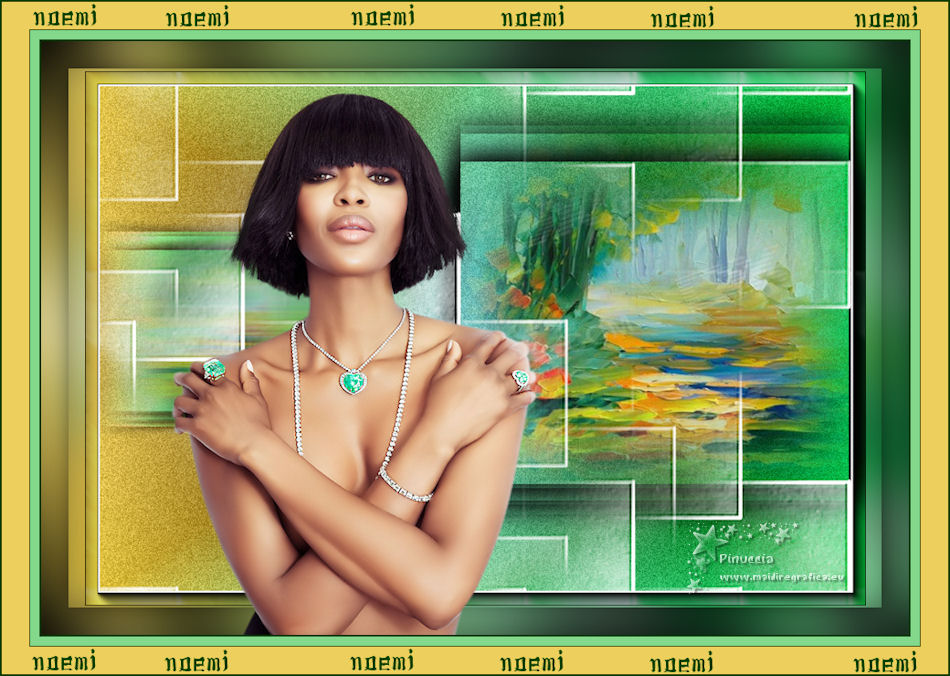
TAG NOEMI


This tutorial was translated with PSPX7 but it can also be made using other versions of PSP.
Since version PSP X4, Image>Mirror was replaced with Image>Flip Horizontal,
and Image>Flip with Image>Flip Vertical, there are some variables.
In versions X5 and X6, the functions have been improved by making available the Objects menu.
In the latest version X7 command Image>Mirror and Image>Flip returned, but with new differences.
See my schedule here
 French translation here French translation here
 Your versions ici Your versions ici
For this tutorial, you will need:
Material
here
3318-Naomi-Campbell-LB TUBES
KamilTubes-374
Ibdm-masque-213
Texto_Noemi_nines
(you find here the links to the material authors' sites)
Plugins
consult, if necessary, my filter section here
Filters Unlimited 2.0 here
Tramages - Pool Shadow here
Mura's Meister - Copies here
Sandflower Special "v" - Color Atmospherizer (to import in Unlimited) here
Graphics Plus - Quick Tile I here
AAA Frames - Foto Frame here
Filters VM Natural and Tramages can be used alone or imported into Filters Unlimited.
(How do, you see here)
If a plugin supplied appears with this icon  it must necessarily be imported into Unlimited it must necessarily be imported into Unlimited

You can change Blend Modes according to your colors.
In the newest versions of PSP, you don't find the foreground/background gradient (Corel_06_029).
You can use the gradients of the older versions.
The Gradient of CorelX here
Copy the Preset Emboss 3 in the Presets Folder.
Copy the Selection in the Selection Folder.
Open the mask in PSp and minimize it with the rest of the material.
1. Open a new transparent image 950 x 650 pixels.
2. Set your foreground color to #004000,
and your background color to #2ca97e.

Set your foreground color to a Foreground/Background Gradient, style Rectangular.
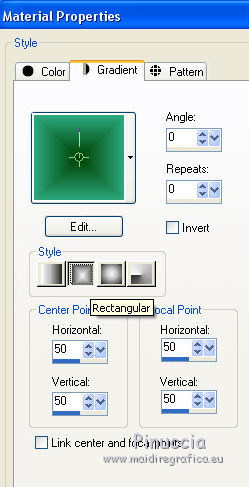
Flood Fill  the transparent image with your Gradient. the transparent image with your Gradient.
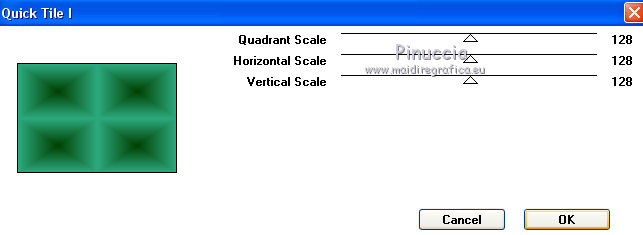
3. Effects>Plugins>Graphics Plus - Quick Tile I, default settings.
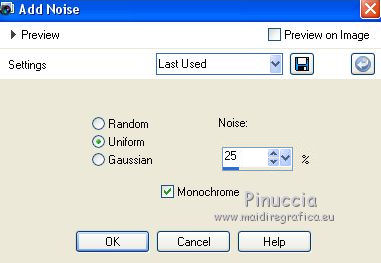
4. Adjust>Add/Remove Noise>Add Noise.
5. Effects>Plugins>Filters Unlimited 2.0 - Sandflower Special °v°- Color Atmospherizer, default settings.
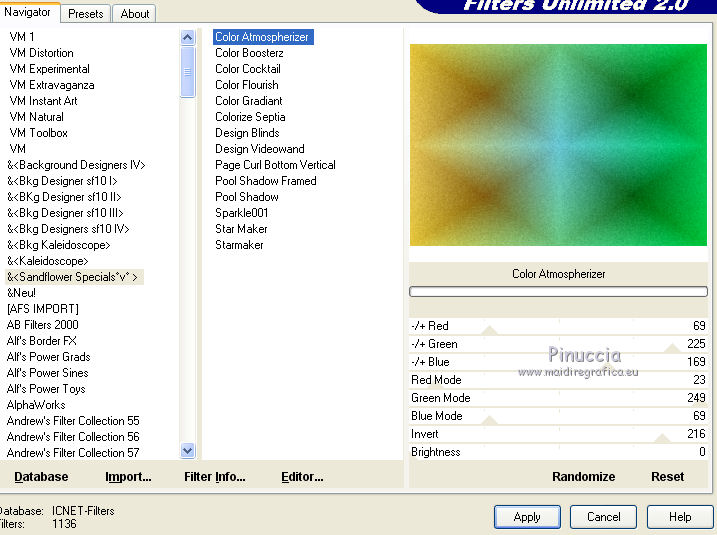
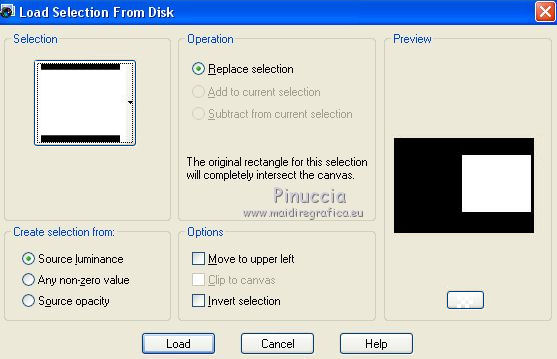
6. Selections>Load/Save Selection>Load Selection from Disk.
Look for and load the selection sel.374.nines.
Selections>Promote Selection to Layer.
Keep selected.
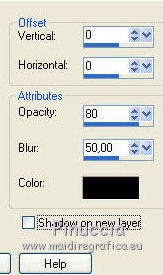
7. Effects>3D Effects>Drop Shadow, color #000000.
8. Open the tube KamilTubes-374;
for my example, before copying the tube, I selected the landscape
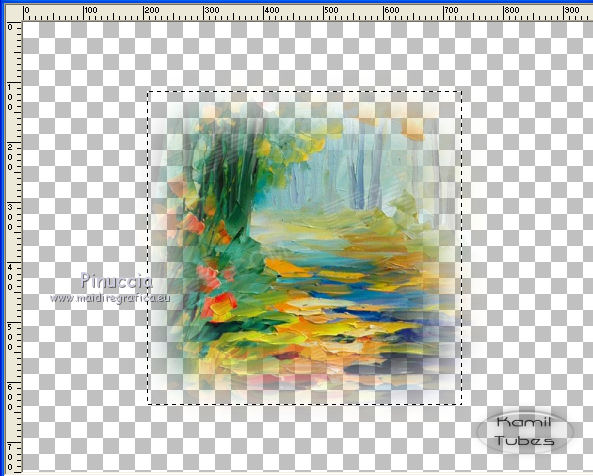
Edit>Copy.
Go back to your work and go to Edit>Paste into Selection.
Selections>Select None.
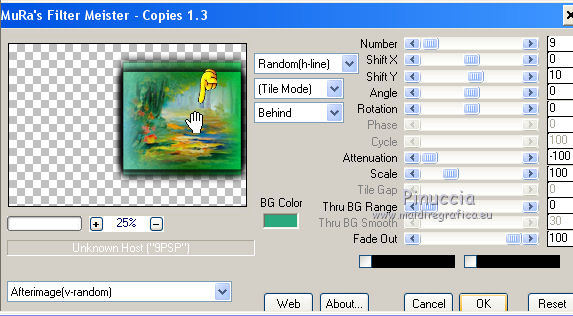
9. Effects>Plugins>Mura's Meister - Copies
The result is Random, so the it will not be the same as mine;
if you want to change it, click on the preview window until you see the one you prefer.
10. Layers>Duplicate.
Image>Resize, to 50%, resize all layers not checked.
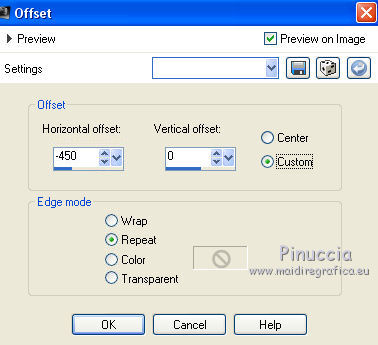
11. Effects>Image Effects>Offset
12. Effects>Distortion Effects>Wind - from left, wind strength 100

Edit>Repeat Wind.
13. Set your background color to #ffffff.
Layers>New Raster Layer.
Flood Fill  the layer with color #ffffff. the layer with color #ffffff.
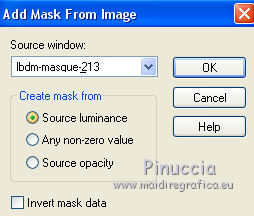
14. Layers>New Mask layer>From image
Open the menu under the source window and you'll see all the files open.
Select the mask Ibdm-masque-213.
Layers>Merge>Merge Group.
15. Effects>Image Effects>Seamless Tiling, default settings

16. Effects>User Defined Filter - select the preset Emboss 3 and ok.

17. Layers>Duplicate.
18. Layers>Merge>Merge visible.
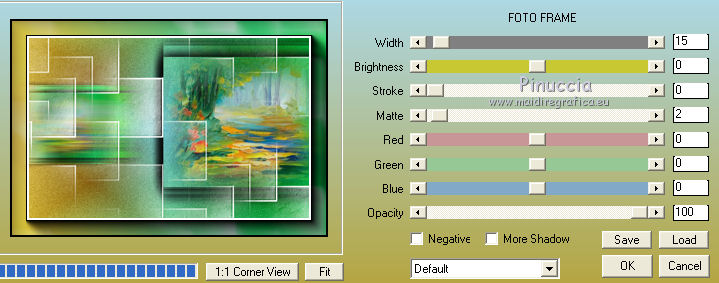
19. Effects>Filters>AAA Frames - Foto Frame.
20. Edit>Copy.
21. Image>Resize, to 90%, resize all layers not checked.
22. Layers>New Raster Layer.
Layers>Arrange>Send to Bottom.
23. Selections>Select All.
Edit>Paste into Selection.
24. Adjust>Blur>Gaussian Blur, radius 30.

25. Selections>Modify>Contract - 30 pixels.
Selections>Invert.
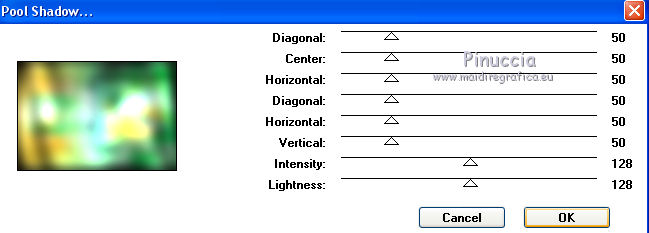
26. Effects>Plugins>Tramages - Pool Shadow, default settings
26. Selections>Invert.
Effects>3D Effects>Drop Shadow, color #000000.

Selections>Select None.
27. Activate your top layer.
Open the tube 3318-Naomi-Campbell-LB TUBES, erase the watermark and go to Edit>Copy.
Go back to your work and go to Edit>Paste as new layer.
Place  correctly the tube. correctly the tube.
28. Layers>Merge>Merge All.
29. Image>Add borders, 2 pixels, symmetric, foreground color #004000.
Image>Add borders, 10 pixels, symmetric, color #83d88b.
Image>Add borders, 1 pixel, symmetric, foreground color #004000.
Image>Add borders, 30 pixels, symmetric, color #eccf5c.
30. OpenTexto_Noemi_nines and go to Edit>Copy.
Go back to your work and go to Edit>Paste as new layer.
31. Layers>Merge>Merge All.
32. Image>Add borders, 2 pixels, symmetric, foreground color #004000.
33. Image>Resize, to 95%, resize all layers cheched.
34. Sign your work and save as jpg.
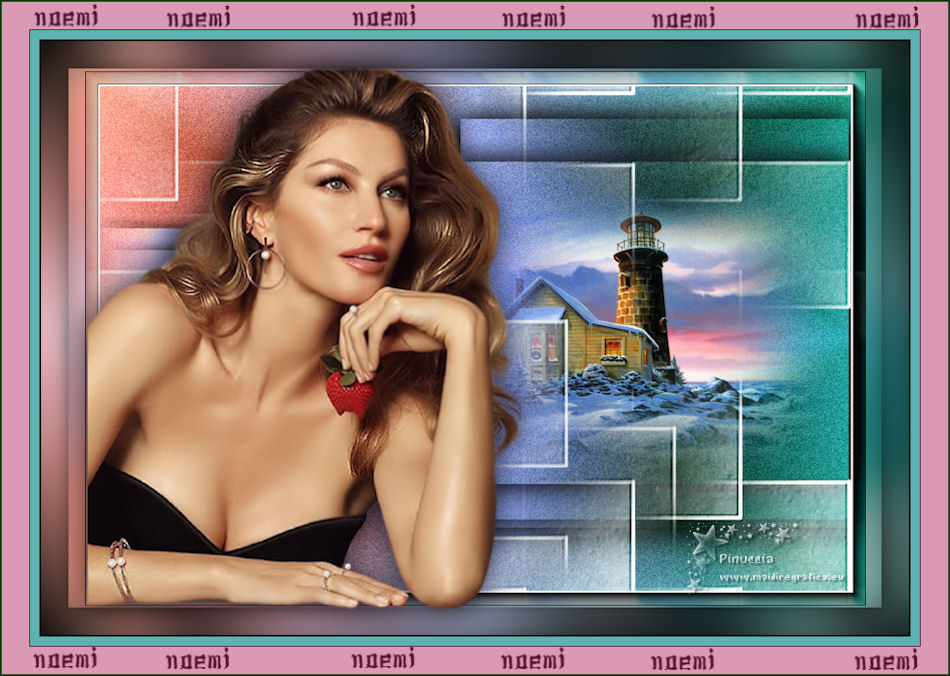
Version with tube by Silvie; Kivanc tube is mine
 Your versions here Your versions here

If you have problems or doubts, or you find a not worked link, or only for tell me that you enjoyed this tutorial, write to me.
14 February 2021

|

