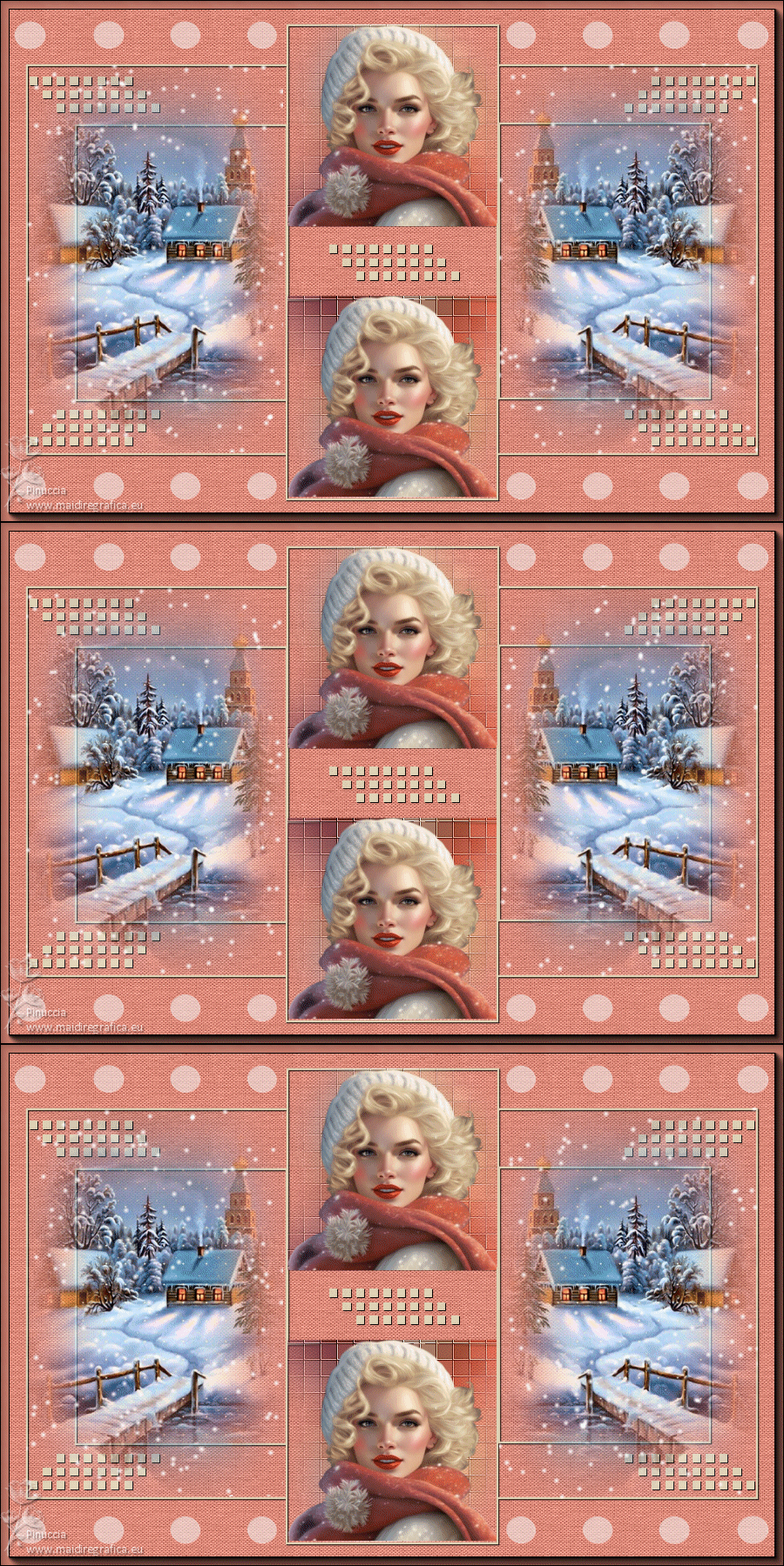
|
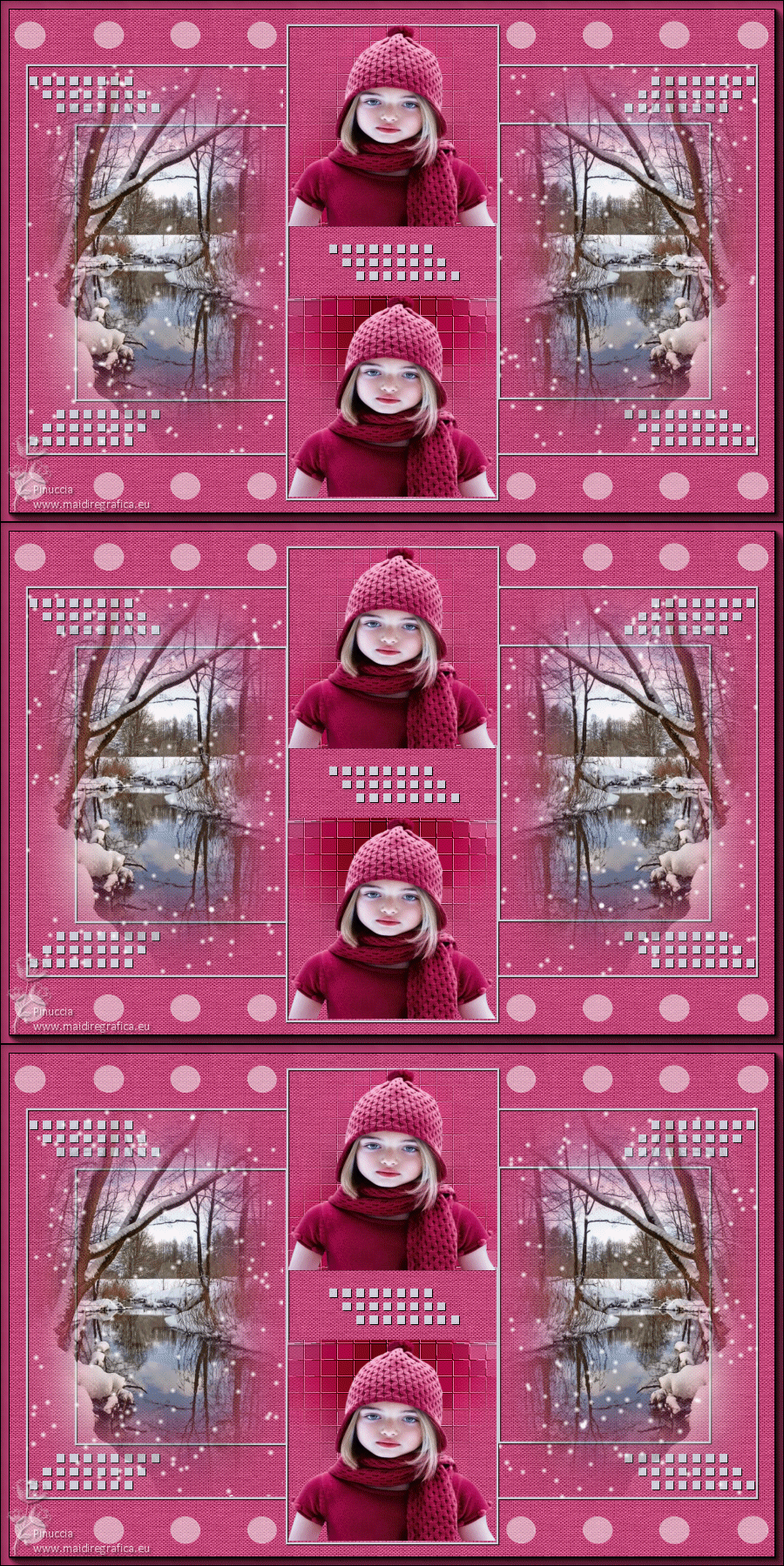
TAG MODEL


This tutorial was translated with PSPX7 but it can also be made using other versions of PSP.
Since version PSP X4, Image>Mirror was replaced with Image>Flip Horizontal,
and Image>Flip with Image>Flip Vertical, there are some variables.
In versions X5 and X6, the functions have been improved by making available the Objects menu.
In the latest version X7 command Image>Mirror and Image>Flip returned, but with new differences.
See my schedule here
 French translation here French translation here
 Your versions ici Your versions ici
For this tutorial, you will need:

LD-model-1364 by Lana
Winter_Scenery41V_mister_Silvie_1712.2022
NarahsMasks_1764
Adorno_model_nines
(you find here the links to the material authors' sites)

consult, if necessary, my filter section here
Filters Unlimited 2.0 here
Xero - Fritillary here
FM Tile Tools - Saturation Emboss here
VDL Adrenaline - Snowflakes here
AAA Frames - Foto Frame here

You can change Blend Modes according to your colors.

Copy the Selection in the Selections Folder.
Open the mask in PSP and minimize it with the rest of the material.
1. Open a new transparent image 900 x 600 pixels.
2. Set your foreground color to #de8b7b,
and your background color to #e2d4b7.
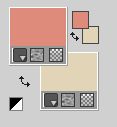
Flood Fill  the transparente image with your foreground color. the transparente image with your foreground color.
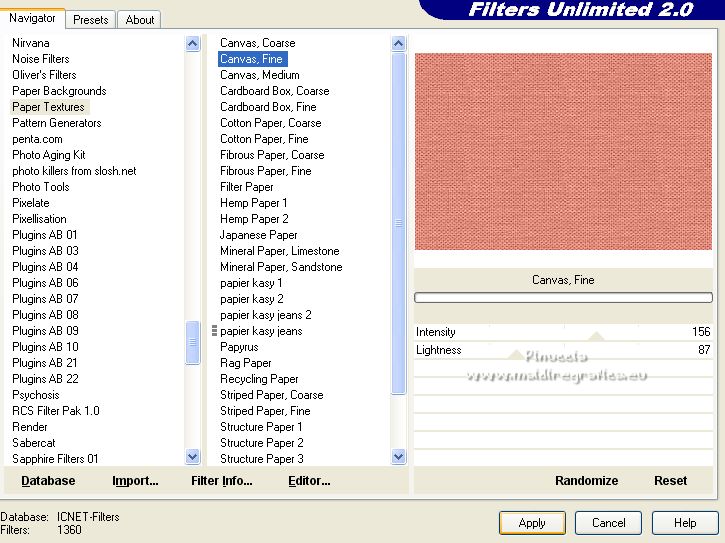
3. Effects>Plugins>Filters Unlimited 2.0 - Paper Texture - Canvas Fine, default settings
4. Layers>New Raster Layer.
Flood Fill  the layer with your background color #e2d4b7. the layer with your background color #e2d4b7.
5. Layers>New Mask layer>From image
Open the menu under the source window and you'll see all the files open.
Select the mask NarahsMasks_1764.
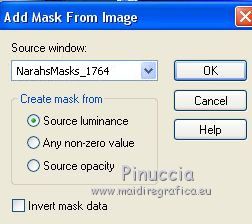
Layers>Merge>Merge Group.
6. Effects>3D Effects>Drop Shadow, color #000000.
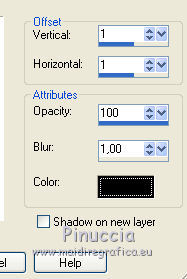
7. Selection Tool 
(no matter the type of selection, because with the custom selection your always get a rectangle)
clic on the Custom Selection 
and set the following settings.
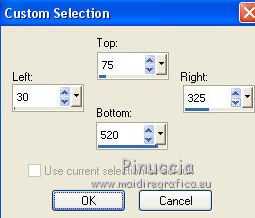
8. Layers>New Raster Layer.
Open Winter_Scenery41V_mister_Silvie_1712.2022 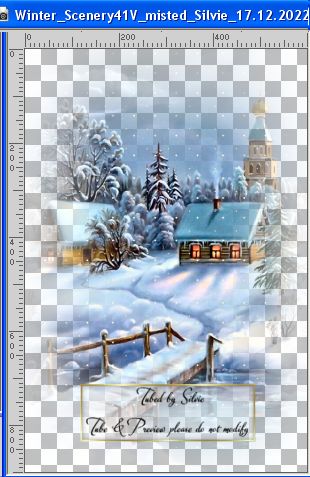
Edit>Copy.
Go back to your work and go to Edit>Paste into Selection.
Selections>Select None.
9. Layers>Duplicate.
Image>Mirror.
Layers>Merge>Merge Down.
10. Custom Selection 
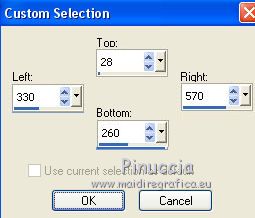
11. Layers>New Raster Layer.
Open the tube LD-model-1364 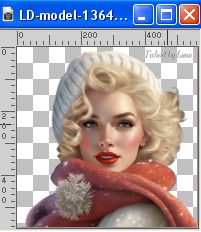
Erase the watermark and go to Edit>Copy.
Go back to your work and go to Edit>Paste into Selection.
12. Adjust>Blur>Gaussian Blur - radius 25.

13. Effects>Plugins>Xero - Fritillary.
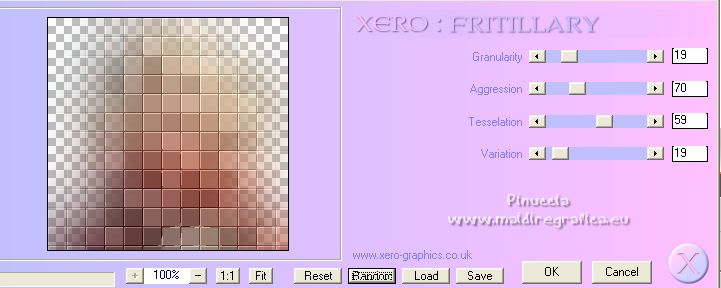
14. Effects>Plugins>FM Tile Tools - Saturation Emboss, default settings.
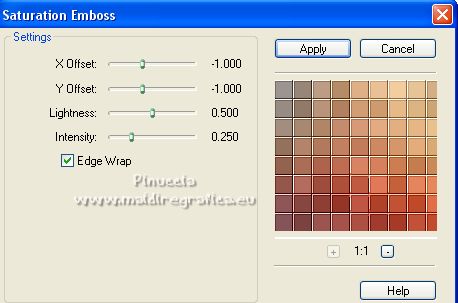
Selections>Select None.
15. Layers>Duplicate.
Image>Flip.
Layers>Merge>Merge Down.
16. Custom Selection  , same settings. , same settings.

17. Layers>New Raster Layer.
Edit>Paste into Selection (the tube LD-model-1364 is still in memory)
Selections>Select None.
18. Layers>Duplicate.
Move  the tube in the bottom frame. the tube in the bottom frame.
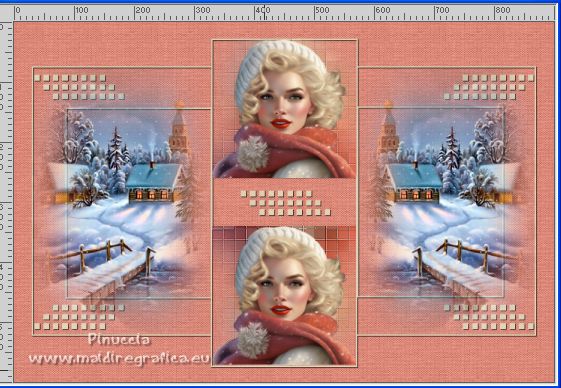
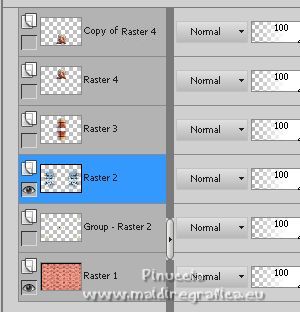
19. Activate your background layer, Raster 1.
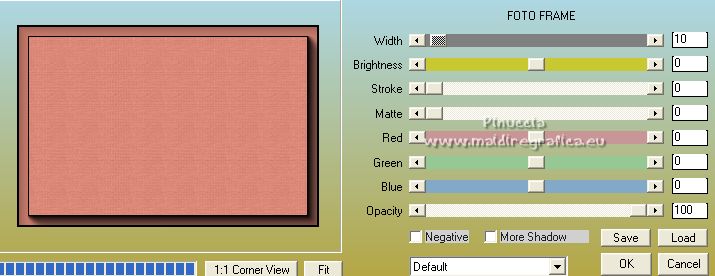
Effects>Plugins>AAA Frames - Foto Frame.
20. Close all the layers except the background layer and the lanscape layer.
Activate the landscape layer, Raster 2.
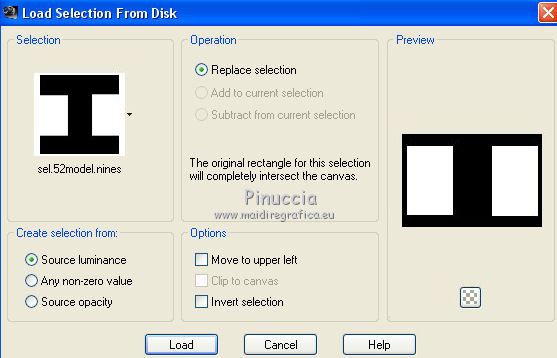
21. Selections>Load/Save Selection>Load selection from disk.
Look for and load the selection sel.52model.nines
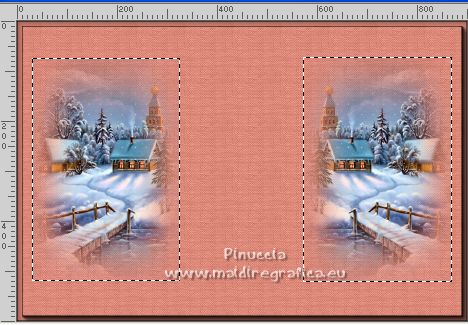
Rename this layer P1.
22. Layers>Duplicate.
Rename this layer P2.
23. Layers>Duplicate.
Rename this layer P3.
24. Activate the layer P1.
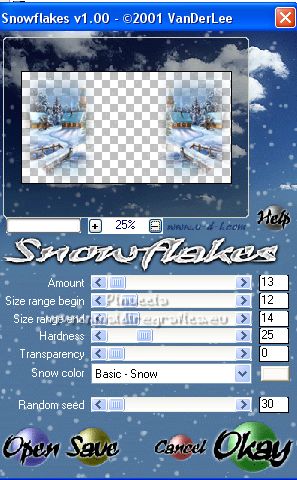
25. Effects>Plugins>VDL Adrenaline - Snowflakes.
26. Activate the layer P2.
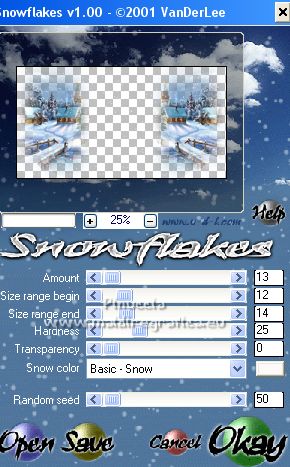
Effects>Plugins>VDL Adrenaline - Snowflakes, Random Seed to 50 and ok.
27. Activate the layer P3.
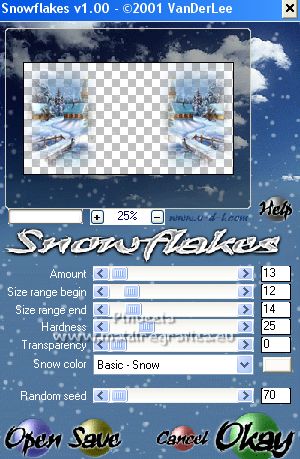
Effects>Plugins>VDL Adrenaline - Snowflakes, Random Seed to 70 and ok.
Selections>Select None.
28. Layers>View>All and activate your top layer.
Open Adorno_model_nines 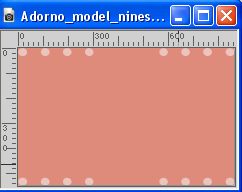
Edit>Copy.
Go back to your work and go to Edit>Paste as new layer.
29. Sign your work on a new layer.
Add, if you want, the author and translator's watermarks.
We'll go to realize the animation.
1. Stay always on the background layer.
Close the layers P2 and P3.
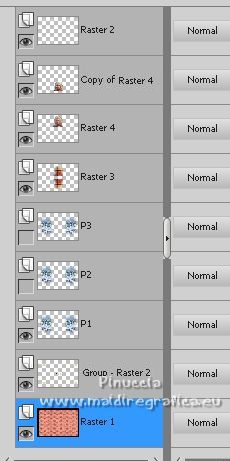
2. Edit>Copy Special>Copy Merged.
Open Animation Shop and go to Edit>Paste>Paste as new animation.
3. Go back to PSP.
Close the layer P1 and open the layer P2.
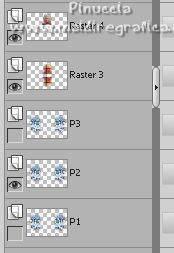
Edit>Copy Special>Copy Merge.
Go back to Animation Shop and go to Edit>Paste>Paste after current frame.
4. In PSP.
Close the layer P2 and open the layer P3.
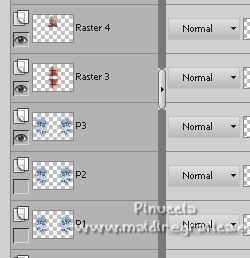
Edit>Copy Special>Copy Merge.
Go to Animation Shop and go to Edit>Paste>Paste after current frame.
And you'll have an animation composed by 3 images.
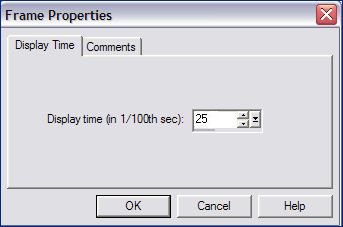
5. Edit>Select All.
Animation>Frame Properties and set to 25.
6. Check your animation clicking on View animation 
and save as gif.
For the tubes of this version thanks Nadège and Silvie
 Your versions here Your versions here

If you have problems or doubts, or you find a not worked link, or only for tell me that you enjoyed this tutorial, write to me.
29 January 2023

|

