|
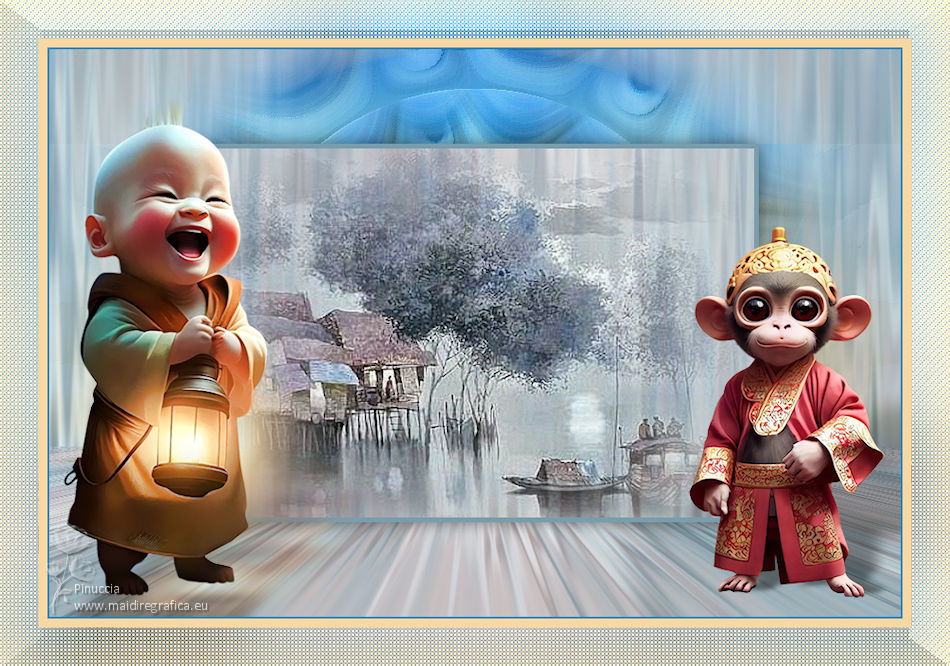
TAG LITTLE TOONS


This tutorial was translated with PSP09 but it can also be made using other versions of PSP.
Since version PSP X4, Image>Mirror was replaced with Image>Flip Horizontal,
and Image>Flip with Image>Flip Vertical, there are some variables.
In versions X5 and X6, the functions have been improved by making available the Objects menu.
In the latest version X7 command Image>Mirror and Image>Flip returned, but with new differences.
See my schedule here
 French translation here French translation here
 Your versions here Your versions here
For this tutorial, you will need:

Thanks for thes tubes LisaT, Nena Silva and Colybrix
(you find here the links to the material authors' sites)

consult, if necessary, my filter section here
Filters Unlimited 2.0 here
Mehdi - Melt, Weaver here
FM Tile Tools - Saturation Emboss here
Filter Factory Gallery D - Tunnel Tile here
Mura's Meister - Perspective Tiling here
Graphics Plus - Button Beveler III here
Alien Skin Eye Candy 5 Impact - Perspective Tiling here
Nik Software - Color Efex Pro here
Filters Factory Gallery and Graphics Plus can be used alone or imported into Filters Unlimited.
(How do, you see here)
If a plugin supplied appears with this icon  it must necessarily be imported into Unlimited it must necessarily be imported into Unlimited

You can change Blend Modes according to your colors.
In the newest versions of PSP, you don't find the foreground/background gradient (Corel_06_029).
You can use the gradients of the older versions.
The Gradient of CorelX here

1. Set your foreground color to #9db0b7,
and your background color to #cad0d0.
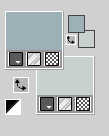
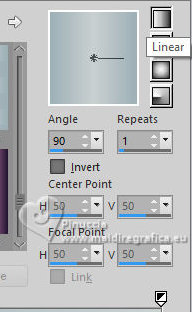
Set your foreground color to a Foreground/Background Gradient, style Linear.
2. Open a new transparent image 900 x 600 pixels.
Flood Fill  the transparent image with your Gradient. the transparent image with your Gradient.
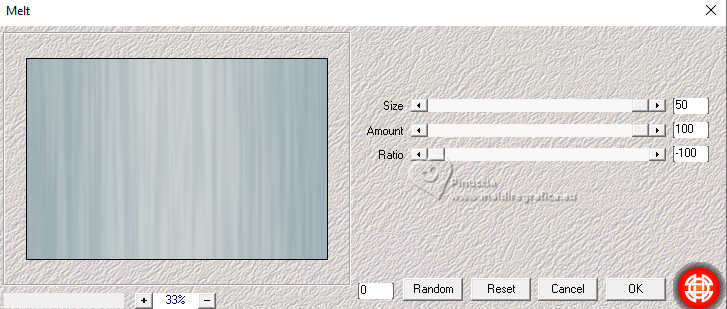
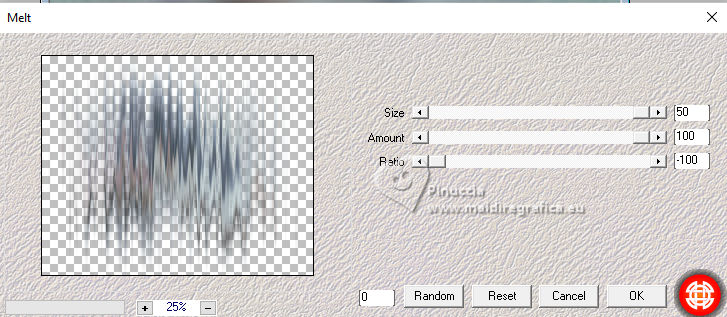
3. Effects>Plugins>Mehdi - Melt.
4. Open the tube ns-paisagem0827 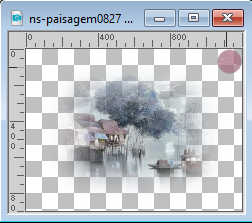
Erase the watermark and go to Edit>Copy.
Go back to your work and go to Edit>Paste as new layer.
5. Adjust>Blur>Gaussian Blur - radius 20.

6. Effects>Plugins>Mehdi - Melt, same settings.
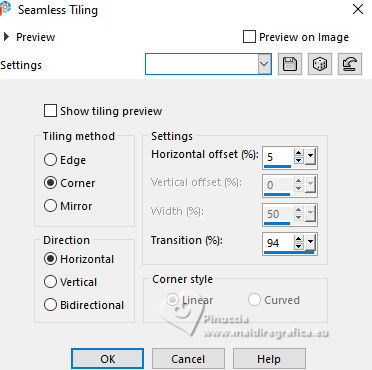
7. Effects>Image Effects>Seamless Tiling.
Change the Blend Mode of this layer to Overlay.
8. Layers>Merge>Merge visible.
9. Selection Tool 
(no matter the type of selection, because with the custom selection your always get a rectangle)
clic on the Custom Selection 
and set the following settings.
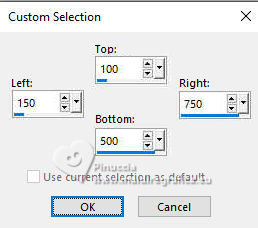
Selections>Promote Selection to layer.
10. Set your foreground color to #7a9dad.
Layers>New Raster Layer.
Flood Fill  the selection with your foreground color #7a9dad. the selection with your foreground color #7a9dad.
11. Selections>Modify>Contract - 5 pixels.
Press CANC on the keyboard 
Keep selected.
12.Edit>Paste as new layer (the tube ns-paisagem0827 is still in memory).
Image>Resize, to 70%, resize all layers not checked.
Place  the tube in the center. the tube in the center.
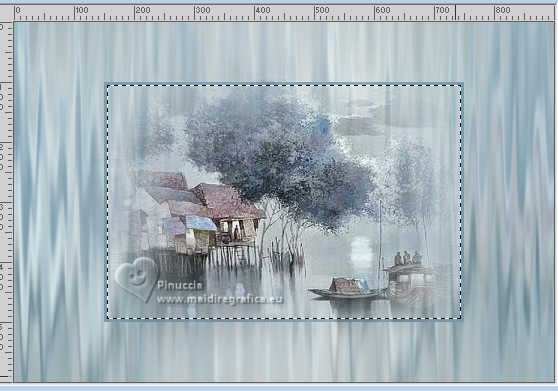
13. Selections>Invert.
Press CANC on the keyboard.
Selections>Select None.
14. Close your background layer, Merged.
Layers>Merge>Merge visible.
15. Effects>3D Effects>Drop Shadow, color #000000.
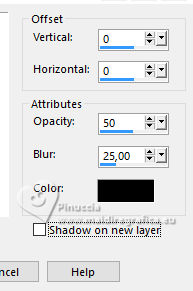
16. Layers>Duplicate.
Layers>Arrange>Move Down.
Adjust>Blur>Radial Blur.
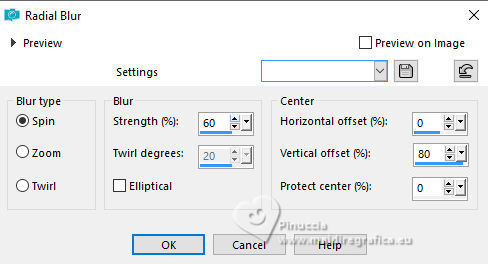
17. Effects>Image Effects>Offset.
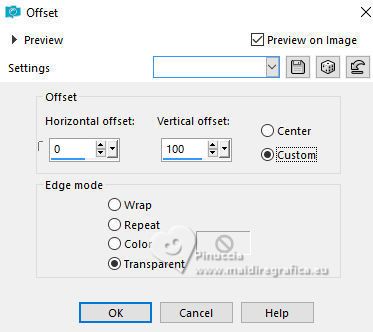
Layers>Duplicate.
Image>Mirror>Mirror vertical (Image>Flip)
Layers>Merge>Merge Down.
18. Effects>Plugins>FM Tile Tools - Saturation Emboss, default settings.

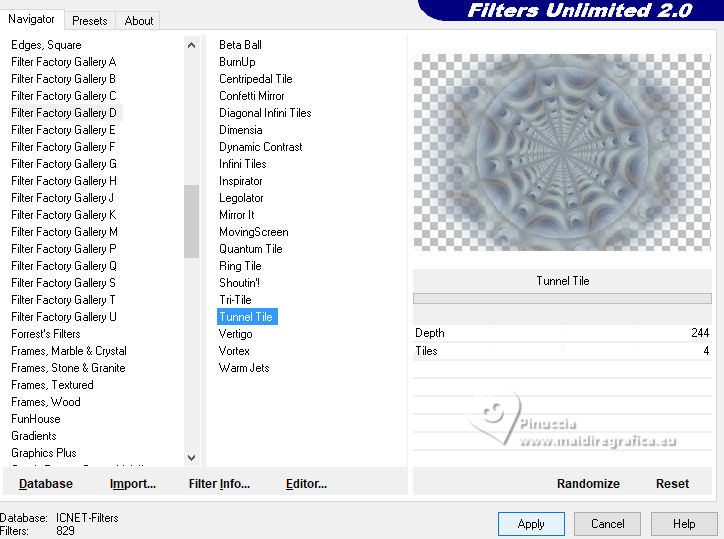
19. Effects>Plugins>Factory Gallery A - Tunnel Tile.
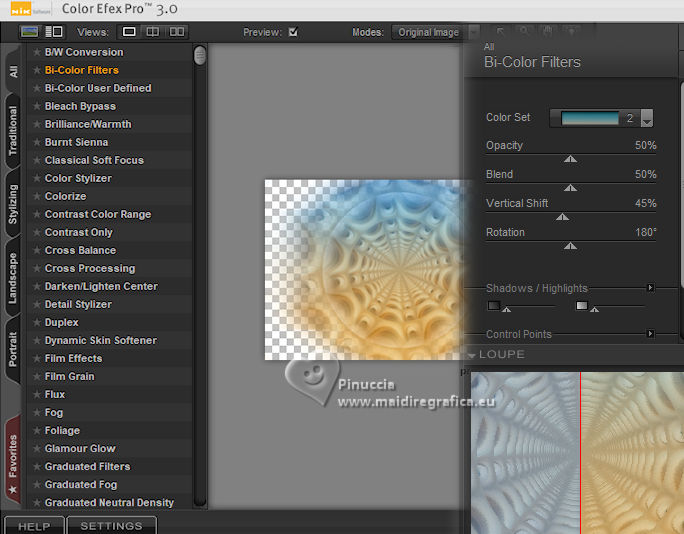
20. Effects>Plugins>Nik Software - Color Efex Pro.
Bi-Color Filters - to the right Color set: Warm 2.
21. Again Effects>Plugins>FM Tile Tools - Saturation Emboss, default settings.

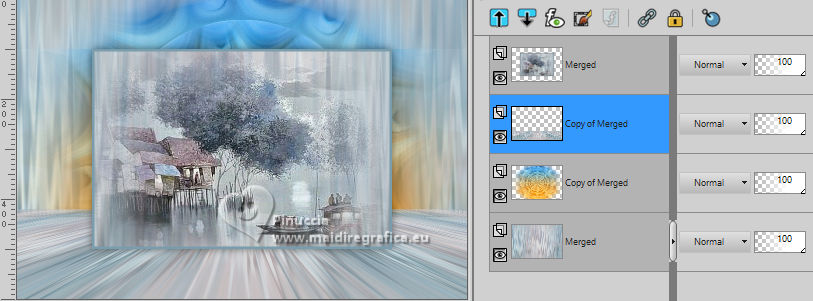
22. Open and activate the closed layer.
Layers>Duplicate.
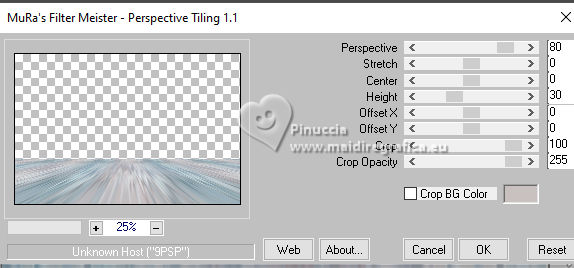
23. Effects>Plugins>Mura's Meister - Perspective Tiling.
24. Activate your Magic Wand Tool 

Click in the transparent part to select it.
Press 2 times CANC on the keyboard.
Selections>Select None.
Layers>Arrange>Move Up
25. Activate your top layer.
Open the tube fantasy_toons_04421 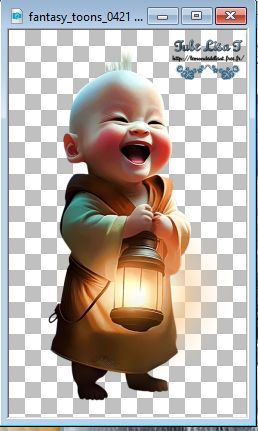
Erase the watermark and go to Edit>Copy.
Go back to your work and go to Edit>Paste as new layer.
Image>Resize, 1 time to 80% and 2 times to 90%, resize all layers not checked.
Move  the tube to the left. the tube to the left.
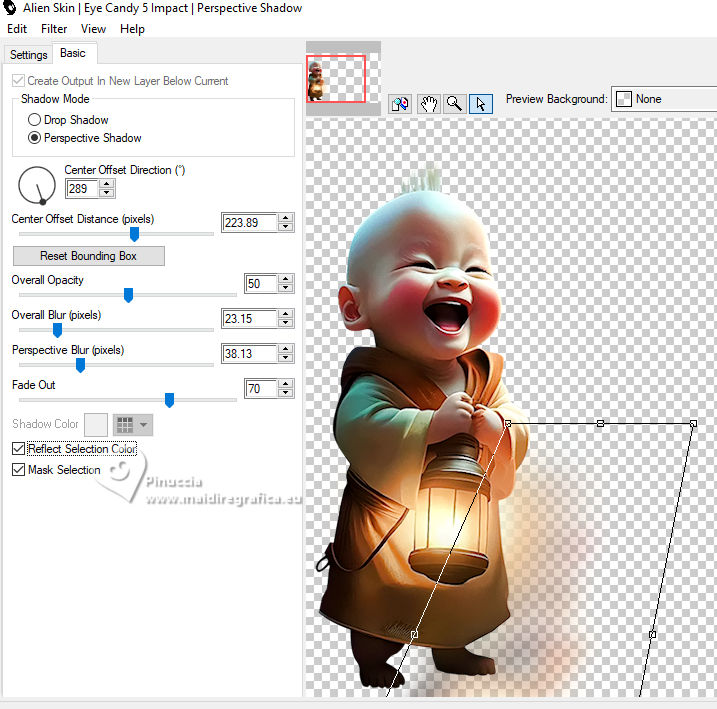
26. Effects>Plugins>Alien Skin eye Candy 5 Impact - Perspective Shadow
Remember that the result of the shadow depends on the position of the tube.
You may need to fix it, using the tool nodes
27. Open decoAsie36-aimal-costume1-coly 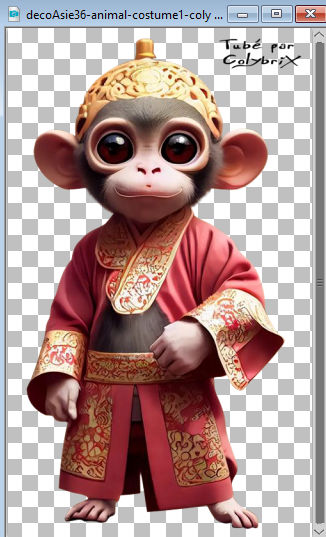
Erase the watermark and go to Edit>Copy.
Go back to your work and go to Edit>Paste as new layer.
Image>Resize, 3 times to 80%, resize all layers not checked.
Move  the tube to the right. the tube to the right.
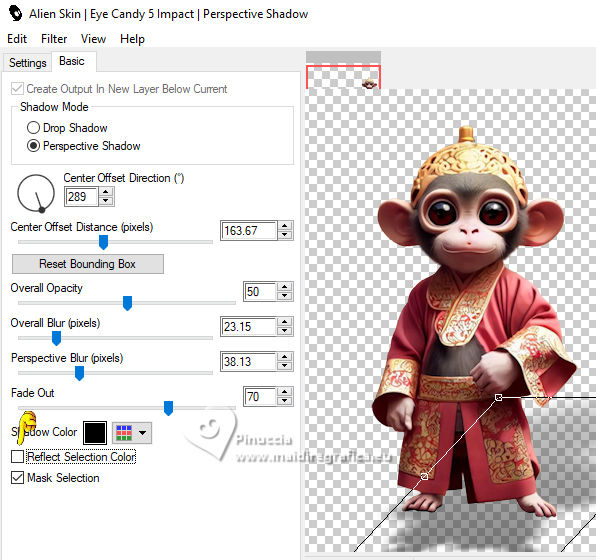
28. Effects>Plugins>Alien Skin eye Candy 5 Impact - Perspective Shadow
Reflect Selection Color checked
fix, if necessary, the result of the shadow
29. Layers>Merge>Merge All.
30. Image>Add borders, 2 pixels, symmetric, color #1e88bf.
Image>Add borders, 10 pixels, symmetric, color #f7d8a2.
31. Edit>Copy
32. Image>Add borders, 40 pixels, symmetric, color #ffffff.
Select this border with your Magic Wand Tool 
(don't forget to set again the feather to 0)
Edit>Paste into Selection .
33.Adjust>Blur>Gaussian Blur - radius 25.

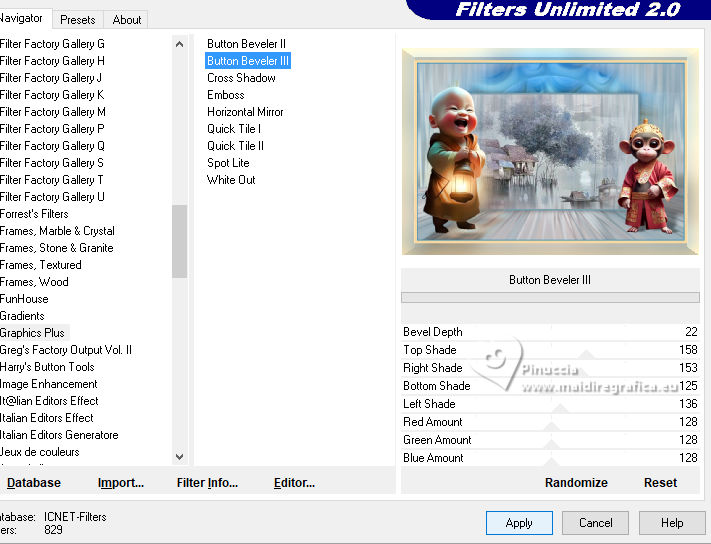
34. Effects>Plugins>Graphics Plus - Button Beveler III.
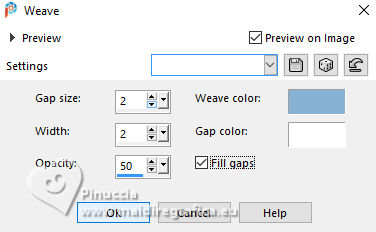
35. Effects>Texture Effects>Weave
weave color #87b2d3
gap color #ffffff.
Adjust>Sharpness>Sharpen .
Selections>Select None.
36. Sign your work.
Add the author and translator's watermark.
37. Layers>Merge>Merge All and save as jpg.

If you have problems or doubts, or you find a not worked link, or only for tell me that you enjoyed this tutorial, write to me.
7 May 2024

|

