|
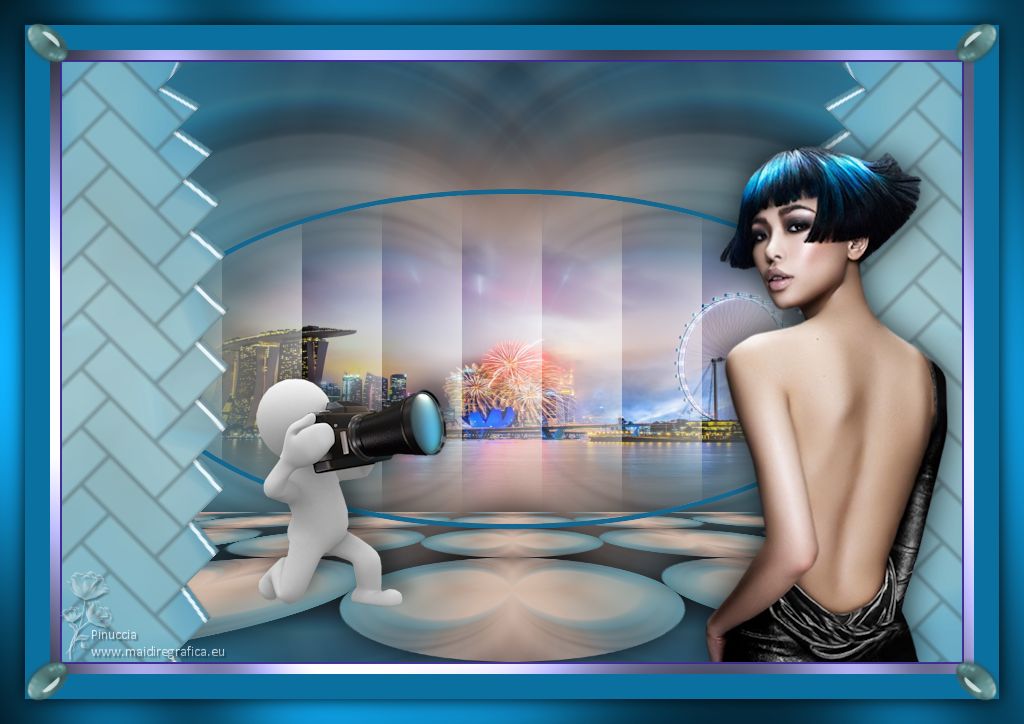
TAG HERRING


This tutorial was translated with PSPX7 but it can also be made using other versions of PSP.
Since version PSP X4, Image>Mirror was replaced with Image>Flip Horizontal,
and Image>Flip with Image>Flip Vertical, there are some variables.
In versions X5 and X6, the functions have been improved by making available the Objects menu.
In the latest version X7 command Image>Mirror and Image>Flip returned, but with new differences.
See my schedule here
 French translation here French translation here
 Your versions ici Your versions ici
For this tutorial, you will need:

Tube 7425-Luz Cristina
28_tubes_divers_animabelle
Adorno_marco_402_nines
(you find here the links to the material authors' sites)

consult, if necessary, my filter section here
Filters Unlimited 2.0 here
&<Bkg Designer sf10IV> - @Drag (à importer sur Unlimited) here
Tramages - Pool Shadow here
Redfield - Jama 3D here
Mura's Meister - Perspective Tiling here
Alien Skin Eye Candy 5 Impact - Glass here
Filters Tramages can be used alone or imported into Filters Unlimited.
(How do, you see here)
If a plugin supplied appears with this icon  it must necessarily be imported into Unlimited it must necessarily be imported into Unlimited

You can change Blend Modes according to your colors.
In the newest versions of PSP, you don't find the foreground/background gradient (Corel_06_029).
You can use the gradients of the older versions.
The Gradient of CorelX here

Copy the Selections in the Selection Folder.
1. Open a new transparent image 900 x 600 pixels.
2. Set your foreground color to #47c7e0,
and your background color to #15678f.
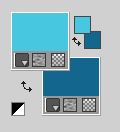
Set your foreground color to a Foreground/Background Gradient, style Linear.
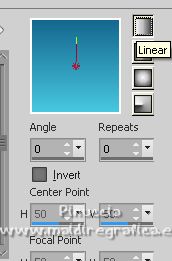
Flood Fill  the transparent image with your gradient. the transparent image with your gradient.
3. Selections>Select All.
Open the tube 7425-Luz Cristina 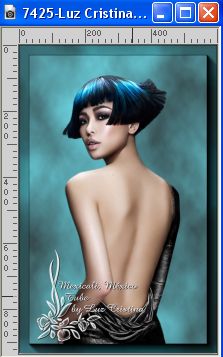
Edit>Copy.
Minimize the tube.
Go back to your work and go to Edit>Paste into Selection.
Selections>Select None.
4. Adjust>Blur>Radial Blur.
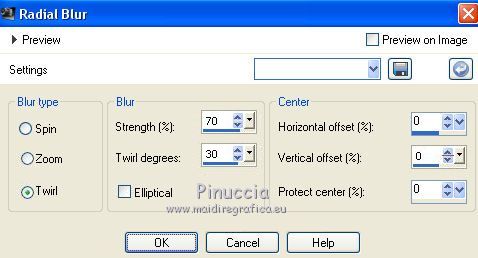
5. Layers>Duplicate.
Image>Mirror.
Reduce the opacity of this layer to 52%.
Layers>Merge>Merge Down.
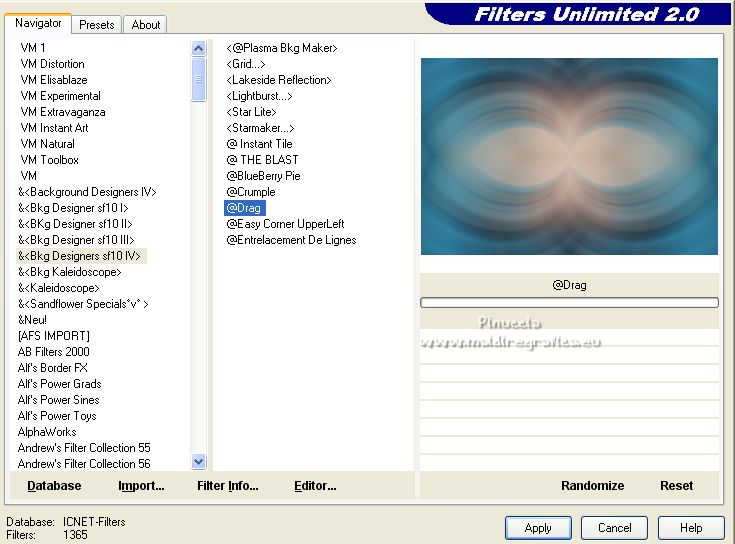
6. Effects>Plugins>Filters Unlimited 2.0 - &<Bkg Designer sf10IV> - @Drag .
7. Layers>Duplicate.
Selections>Load/Save Selection>Load Selection from Disk.
Look for and load the selection sel.402.nines
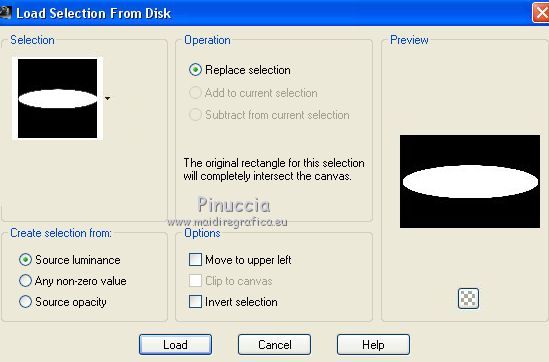
Selections>Promote Selection to Layer.
8. Effects>Plugins>Alien Skin Eye Candy 5 Impact - Glass
Glass color #4bc6f5.
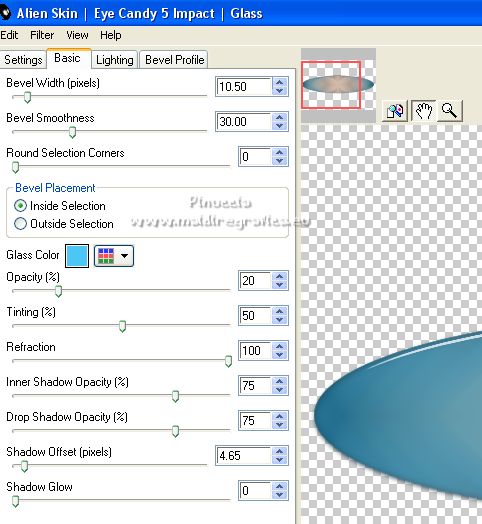
Selections>Select None.
9. Effects>Plugins>Redfield - Jama 3D
Select the preset Herring-Bone and ok.
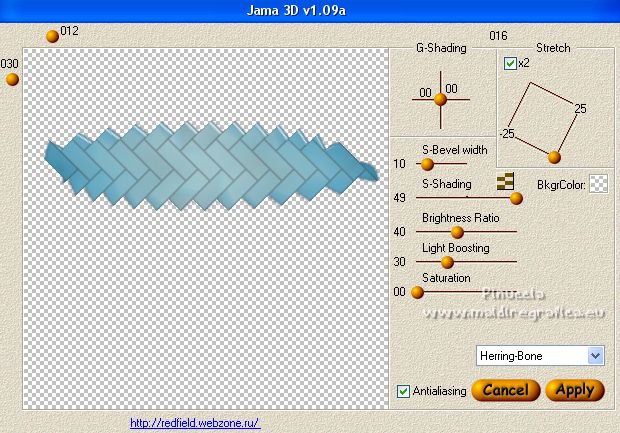
if you avec problems with your PSP version,
I added the effect in the material effetto jama 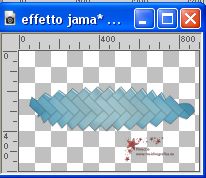
Copy/Paste as new layer and, with your Pick Tool 
set Position X: 48,00 and Position Y: 173,00

10. Image>Free Rotate - 90 degrees to left.

11. Effects>Image Effects>Offset.
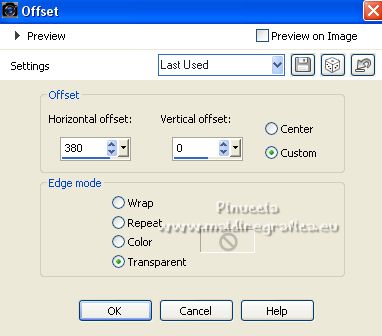
12. Layers>Duplicate.
Image>Mirror.
Layers>Merge>Merge Down.
13. Activate your background layer, Raster 1.
Selections>Load/Save Selection>Load Selection from Disk.
Look for and load the selection sel.402.1nines
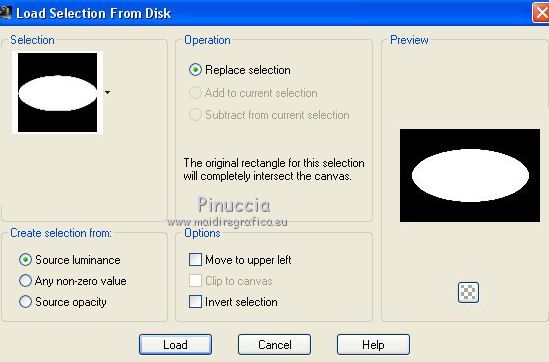
Selections>Promote Selection to layer.
Selections>Select None.
14. Effects>Plugins>Mura's Meister - Perspective Tiling.
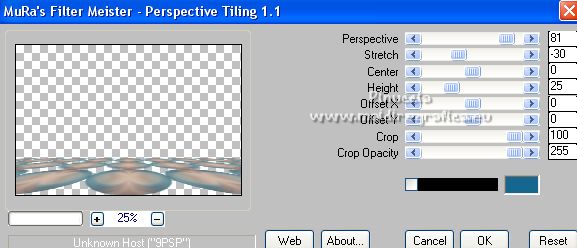
15. Effects>3D Effects>Drop Shadow, color #000000.

16. Activate again your background layer, Raster 1.
Selections>Load/Save Selection>Load Selection from Disk.
Load again the selection sel.402.1nines

17. Layers>New Raster Layer.
Flood Fill  the layer with your background color #15678f. the layer with your background color #15678f.
18. Selections>Modify>Contract - 5 pixels.
Press CANC on the keyboard 
Keep selected.
19. Open the tube KamilTube-355 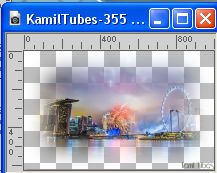
Erase the watermark and go to Edit>Copy.
Go back to your work and go to Edit>Paste into Selection.
20. Effects>Texture Effects>Blinds, color #ffffff.
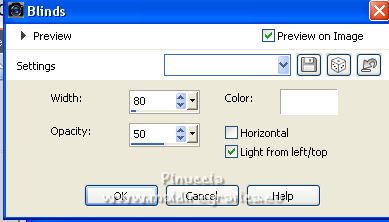
Selections>Select None.
Layers>Arrange>Move Up.
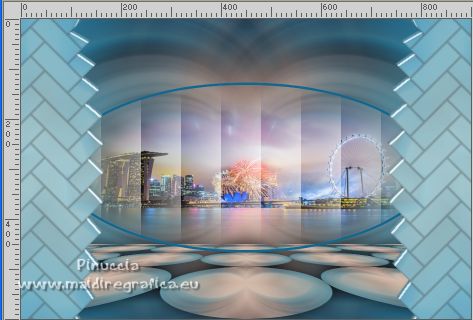
21. Activate your top layer.
Activate again the tube 7425-Luz Cristina
Edit>Copy.
Go back to your work and go to Edit>Paste as new layer.
Image>Resize, 2 times to 80%, resize all layers not checked.
Move  the tube to the right side. the tube to the right side.
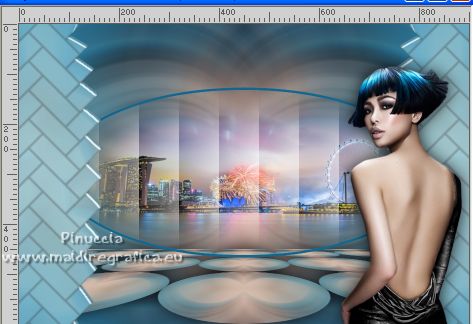
22. Effects>3D Effects>Drop Shadow, color #000000.

23. Open the tube 28_tubes_divers_animabelle 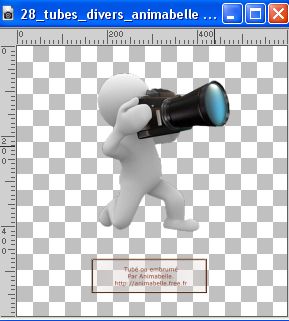
Erase the watermark and go to Edit>Copy.
Go back to your work and go to Edit>Paste as new layer.
Image>Resize, to 65%, resize all layers not checked.
Move  the tube at the bottom left. the tube at the bottom left.
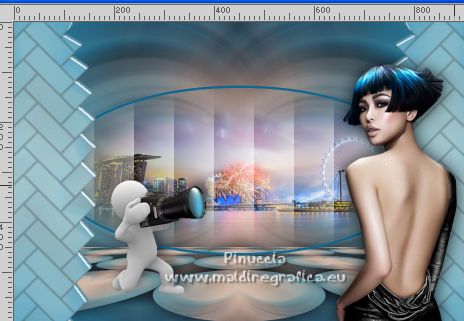
Effects>3D Effects>Drop Shadow, color #000000.
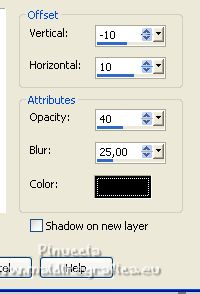
24. Layers>Merge>Merge All.
25. Image>Add borders, 2 pixels, symmetric, color #403095.
Image>Add borders, 10 pixels, symmetric, color #b8b6f5
26. Activate your Magic Wand Tool 
and click in the last border to select it.
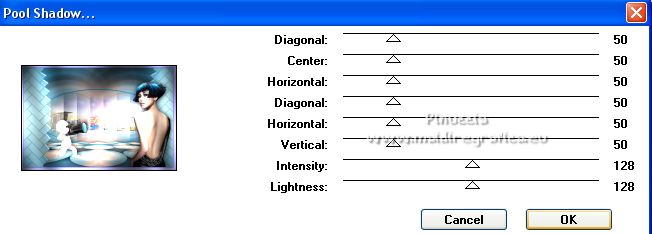
Effects>Plugins>Tramages - Pool Shadow, default settings.
Selections>Select None.
27. Image>Add borders, 50 pixels, symmetric, color 0a70a0.
Selections>Select All.
Selections>Modify>Contract - 25 pixels.
28. Selections>Invert.
Effects>Plugins>Tramages - Pool Shadow, same settings.

29. Selections>Invert.
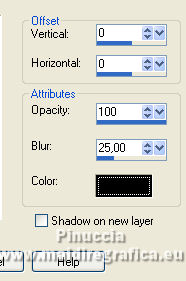
Effects>3D Effects>Drop Shadow, color #000000.
Selections>Select None.
30. Open Adorno_marco_402_nines 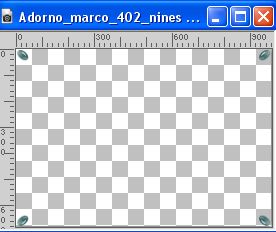
Edit>Copy.
Go back to your work and go to Edit>Paste as new layer.
31. Sign your work on a new layer.
Add, if you want, the author and translator's watermarks.
32. Layers>Merge>Merge All and save as jpg.
Calques>Fusionner>Tous et enregistrer en jpg.
For the tubes of this version thanks Lana et Coly
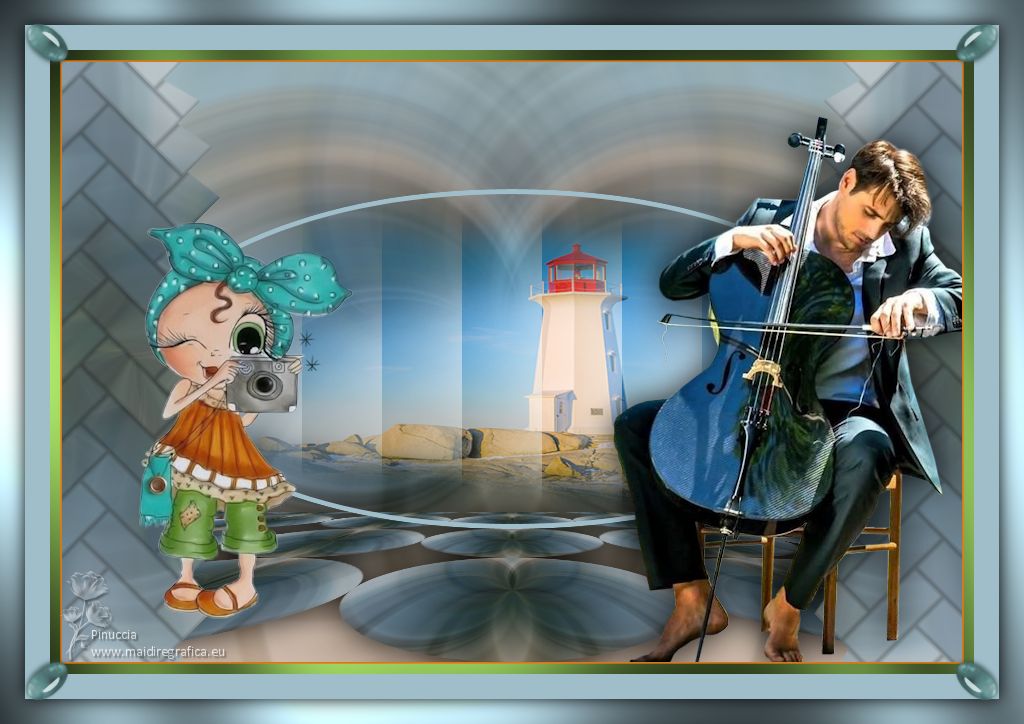

If you have problems or doubts, or you find a not worked link, or only for tell me that you enjoyed this tutorial, write to me.
25 February 2023

|

