|
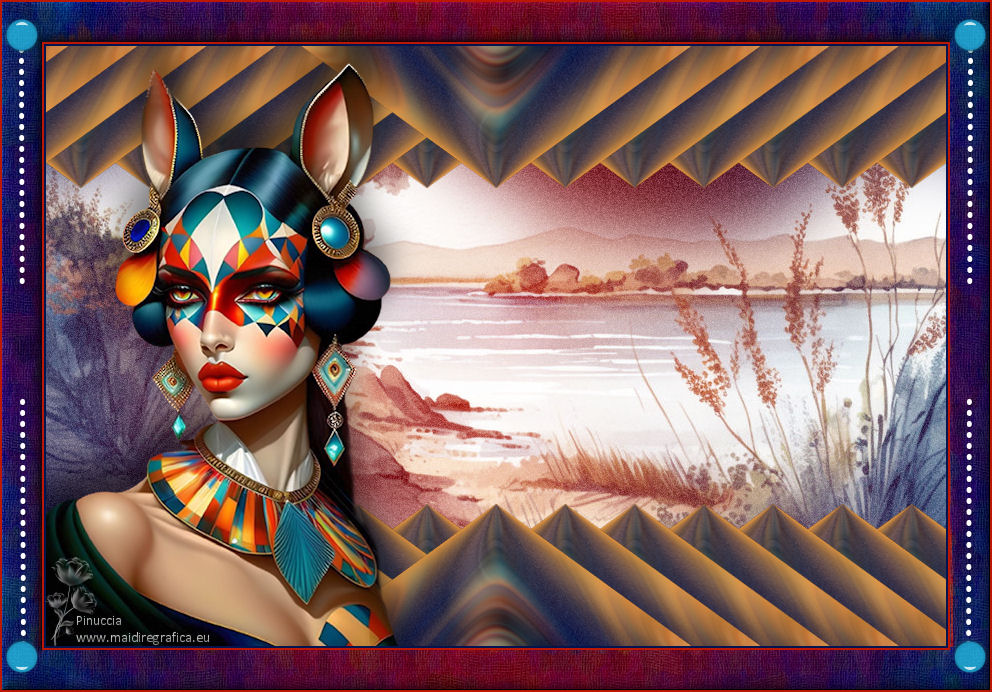
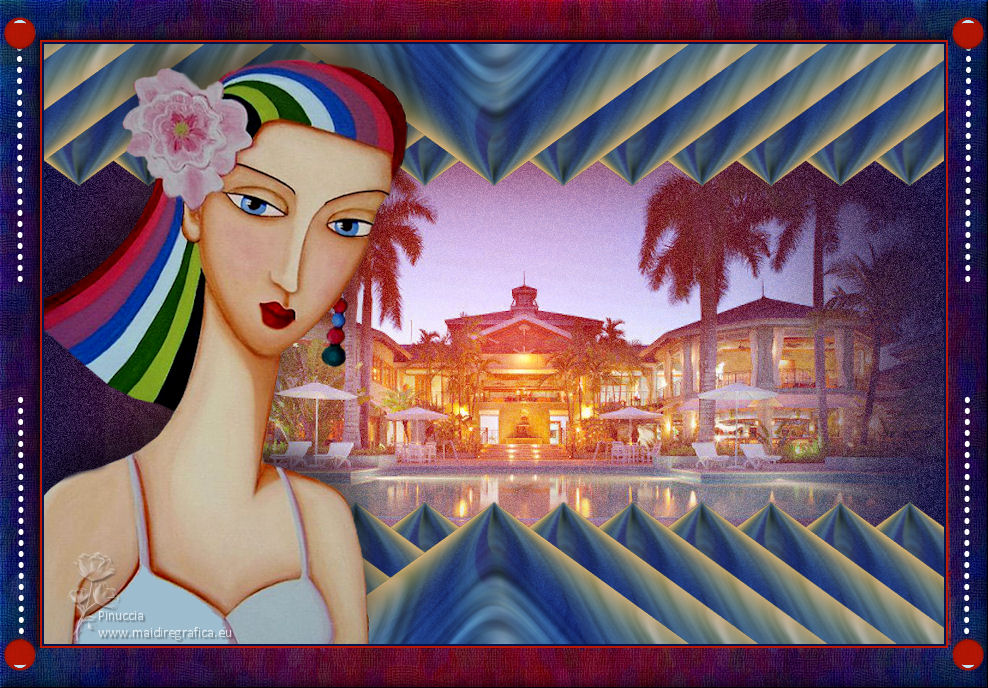
TAG GEOMETRICO


This tutorial was translated with PSPX7 but it can also be made using other versions of PSP.
Since version PSP X4, Image>Mirror was replaced with Image>Flip Horizontal,
and Image>Flip with Image>Flip Vertical, there are some variables.
In versions X5 and X6, the functions have been improved by making available the Objects menu.
In the latest version X7 command Image>Mirror and Image>Flip returned, but with new differences.
See my schedule here
 French translation here French translation here
 Your versions ici Your versions ici
For this tutorial, you will need:

Thanks for the tubes Luz Cristina and Nicole.
(you find here the links to the material authors' sites)

consult, if necessary, my filter section here
Filters Unlimited 2.0 here
Photo Tools - Frosted Edger-Color here
Mura's Meister - Copies here
Virtual Painter 4 here
Filters Photo Tools can be used alone or imported into Filters Unlimited.
(How do, you see here)
If a plugin supplied appears with this icon  it must necessarily be imported into Unlimited it must necessarily be imported into Unlimited

You can change Blend Modes according to your colors.
In the newest versions of PSP, you don't find the foreground/background gradient (Corel_06_029).
You can use the gradients of the older versions.
The Gradient of CorelX here

1. Set your foreground color to #04144e.
Open a new transparent image 900 x 600 pixels.
Flood Fill  the transparent image with your foreground color. the transparent image with your foreground color.
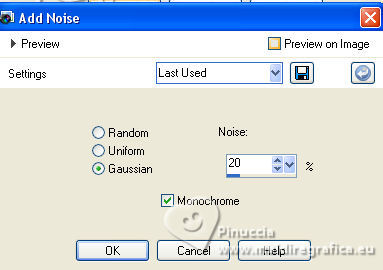
2. Adjust>Add/Remove Noise>Add Noise.
3. Open the tube 8037-Luz Cristina 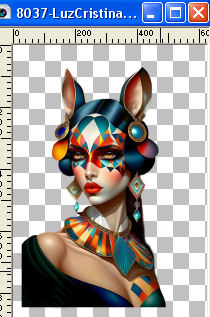
Edit>Copy.
Go back to your work and go to Edit>Paste as new layer.
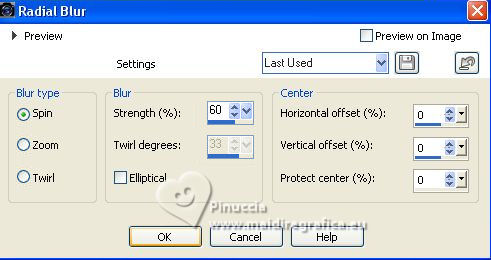
4. Adjust>Blur>Radial Blur.
5. Effects>Image Effects>Seamless Tiling, default settings.

6. Effects>Image Effects>Seamless Tiling, side by side.

7. Layers>Merge>Merge visible.
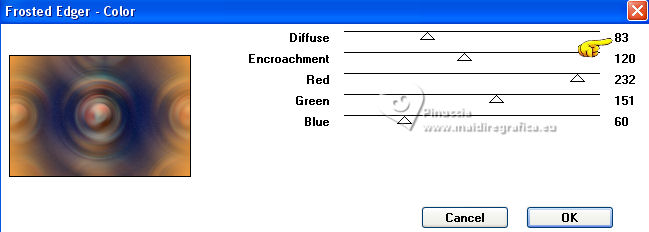
8. Effects>Plugins>Photo Tools - Frosted Edger-Color.
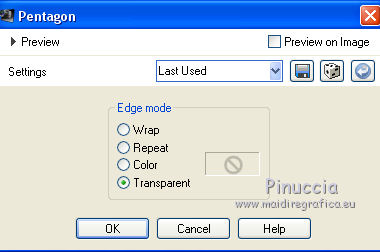
9. Effects>Geometric Effects>Pentagon.
10. Image>Resize, 2 times to 80%, resize all layers not checked.
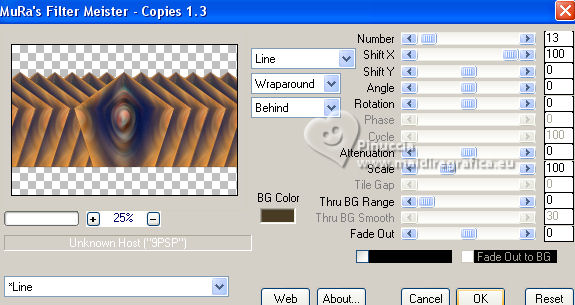
11. Effects>Plugins>Mura's Meister - Copies.
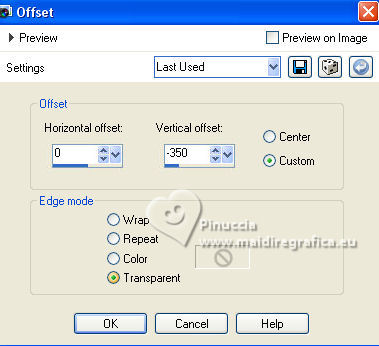
12. Effects>Image Effects>Offset.
13. Layers>Duplicate.
Image>Flip.
14. Layers>New Raster Layer.
Layers>Arrange>Send to Bottom.
15. Keep your foreground color to #04144e,
and set your background color to #ba1704.
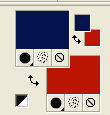
Set your foreground color to a Foreground/Background Gradient, style Sunburst.
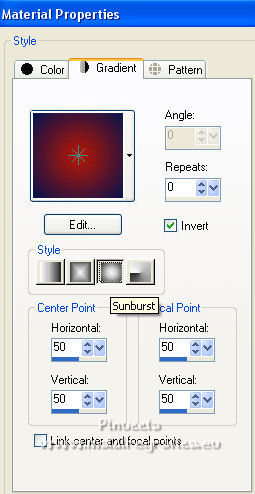
Flood Fill  the layer with your Gradient. the layer with your Gradient.
16. Adjust>Add/Remove Noise>Add Noise, same settings.

17. Open the tube nicole_paysage7_2023 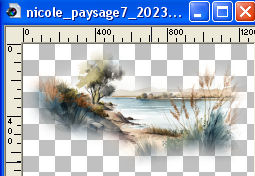
Edit>Copy.
Go back to your work and go to Edit>Paste as new layer.
Don't move it.
Change the Blend Mode of this layer to Screen.
18. Activate your top layer.
Activate again the tube 8037-Luz Cristina
Edit>Copy.
Go back to your work and go to Edit>Paste as new layer.
Image>Resize, to 80%, resize all layers not checked.
Move  the tube to the left. the tube to the left.
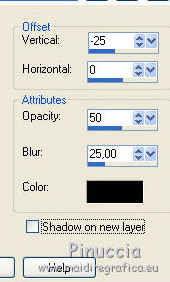
19. Effects>3D Effects>Drop shadow, color #000000.
20. Layers>Merge>Merge All.
21. Image>Add borders, 2 pixels, symmetric, foreground color #04144e.
Image>Add borders, 2 pixels, symmetric, background color #ba1704.
Image>Add borders, 40 pixels, symmetric, color #ffffff.
22. Activate your Magic Wand Tool 
and click in the white border to select it.
Flood Fill  the selection with your Gradient. the selection with your Gradient.
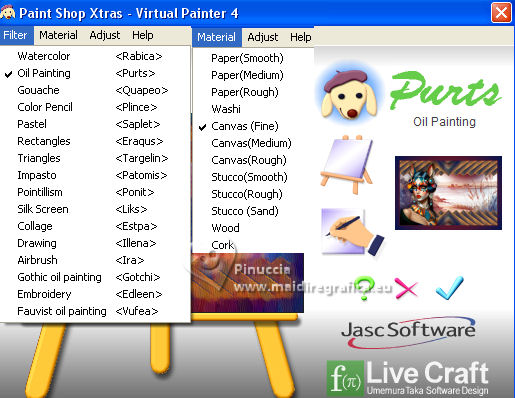
23. Effects>Plugins>Virtual Painter 4
Filter: Oil Painting - Material: Canvas Fine
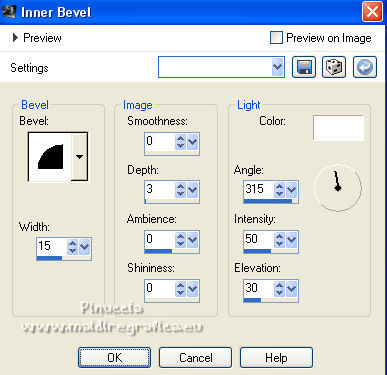
24. Effects>3D Effects>Inner Bevel.
25. Selections>Invert.
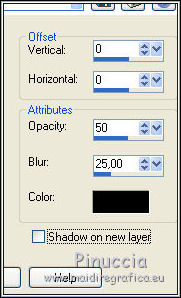
Effects>3D Effects>Drop shadow, color #000000.
Selections>Select None.
26. Open Adorno_416_marco_nines 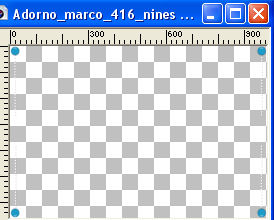
Edit>Copy.
Go back to your work and go to Edit>Paste as new layer.
27. Sign your work on a new layer.
Add the author and translator's watermarks.
28. Layers>Merge>Merge All.
29. Image>Add borders, 2 pixels, symmetric, background color #ba1704.
30. Save as jpg.
For the tubes of this version thanks Luz Cristina and Beatriz

If you have problems or doubts, or you find a not worked link, or only for tell me that you enjoyed this tutorial, write to me.
31 July 2023

|

