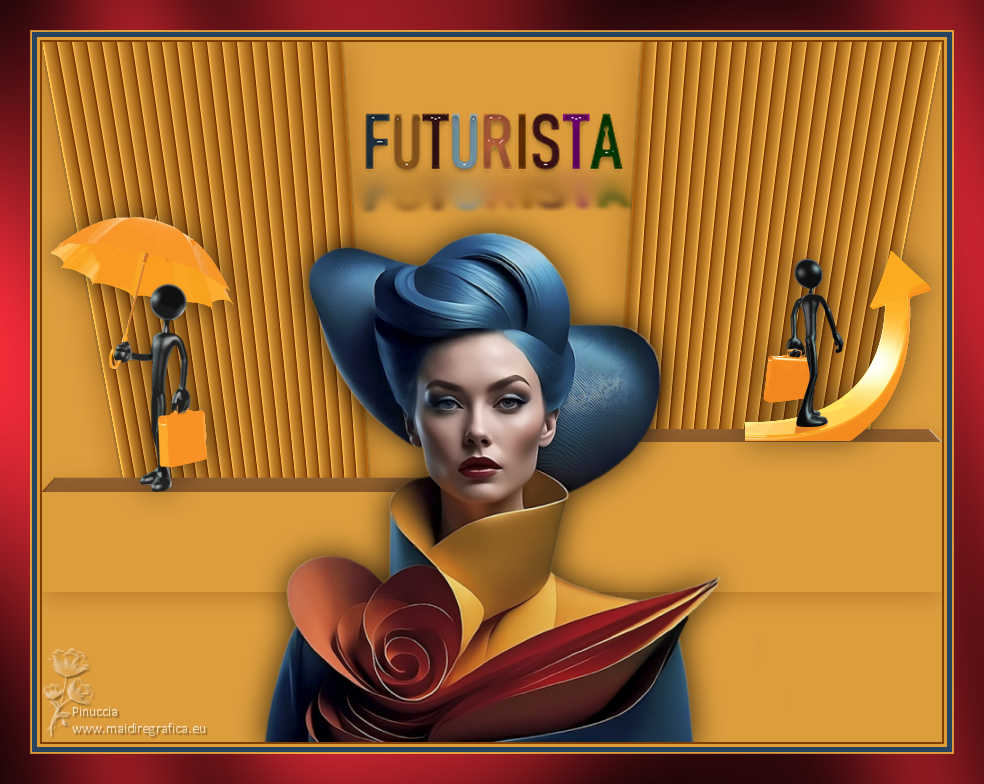
|
TAG FUTURISTA


This tutorial was translated with PSPX7 but it can also be made using other versions of PSP.
Since version PSP X4, Image>Mirror was replaced with Image>Flip Horizontal,
and Image>Flip with Image>Flip Vertical, there are some variables.
In versions X5 and X6, the functions have been improved by making available the Objects menu.
In the latest version X7 command Image>Mirror and Image>Flip returned, but with new differences.
See my schedule here
 French translation here French translation here
 Your versions ici Your versions ici
For this tutorial, you will need:

Thanks for the tubes Kamil and JRINGS.
(you find here the links to the material authors' sites)

consult, if necessary, my filter section here
Filters Unlimited 2.0 ici
Tramages - Pool Shadow ici
Alien Skin Eye Candy 5 Impact - Extrude, Perspective Shadow ici
Filters Tramages can be used alone or imported into Filters Unlimited.
(How do, you see here)
If a plugin supplied appears with this icon  it must necessarily be imported into Unlimited it must necessarily be imported into Unlimited

You can change Blend Modes according to your colors.

1. Open a new transparent image 900 x 600 pixels.
2. Set your foreground color to #de9d3d,
and your background color to #7f3f02.
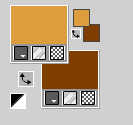
Flood Fill  the transparent image with your foreground color #de9d3d. the transparent image with your foreground color #de9d3d.
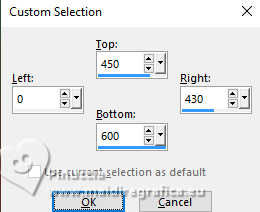
3. Selection Tool 
(no matter the type of selection, because with the custom selection your always get a rectangle)
clic on the Custom Selection 
and set the following settings.
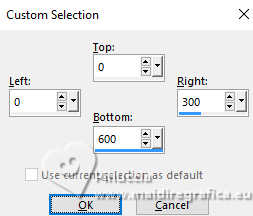
4. Layers>New Raster Layer.
Flood Fill  the selection again with your foreground color #de9d3d. the selection again with your foreground color #de9d3d.
Don't worry if you don't see anything
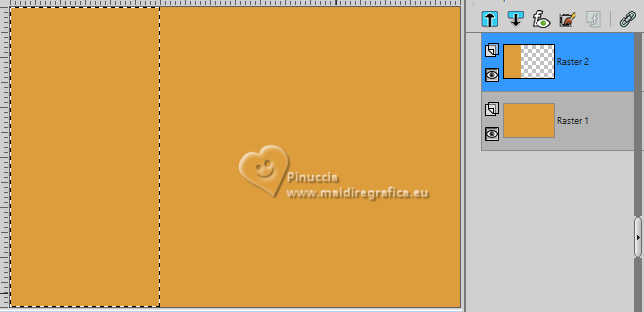
Selections>Select None.
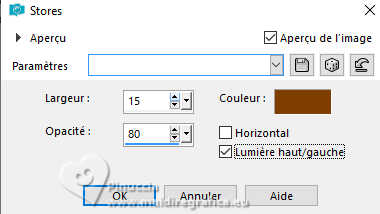
5. Effects>Texture Effets>Blinds - background color #7f3f02.
Selections>Select None.
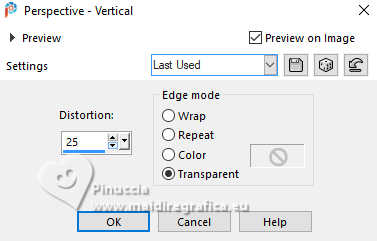
6. Effects>Geometric Effects>Perspective Vertical.
7. Effects>3D Effects>Drop Shadow, background color #7f3f02.

Adjust>Sharpness>Sharpen More.
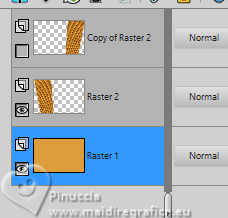
8. Layers>Duplicate.
Image>Mirror>Mirror Horizontal.
Close this layer for a moment.
9. Activate your bottom layer, Raster 1.
Custom Selection 
Selections>Promote Selection to Layer.
Layers>Arrange>Bring to top.
10. Custom Selection 
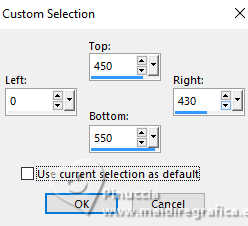
The new selection will replace the previous one.
11. Effects>Plugins>Alien Skin Eye Candy 5 Impact - Extrude
Solid Color: background color #7f3f02
High Color: color #ffffff.
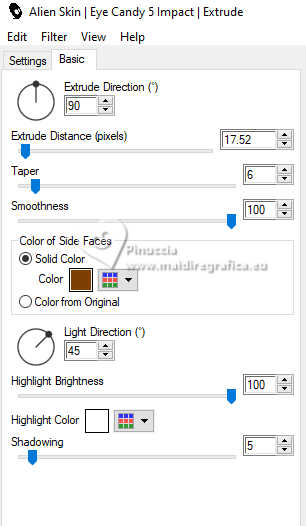
12. Effects>3D Effects>Drop Shadow, background color #7f3f02.
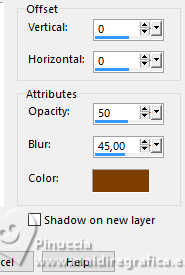
Selections>Select None.
13. Activate your bottom layer, Raster 1.
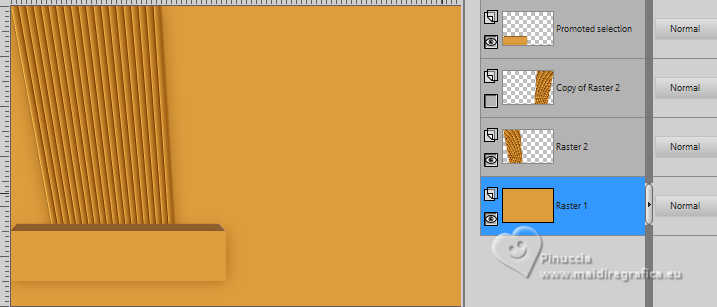
Custom Selection 
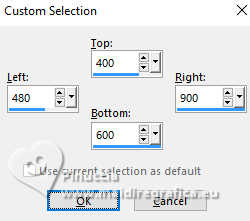
Selections>Promote Selection to Layer.
14. Custom Selection 
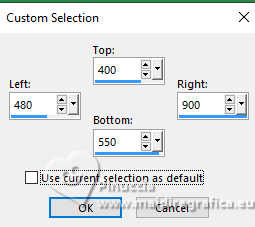
Again the new selection will replace the previous one.
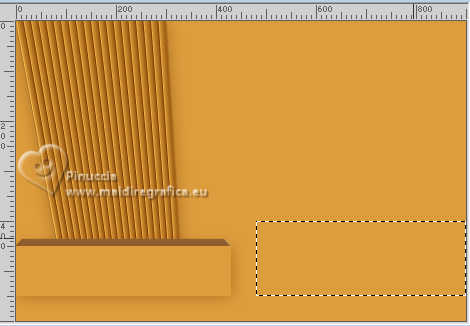
15. Effects>Plugins>Alien Skin Eye Candy 5 Impact - Extrude, same settings

Result
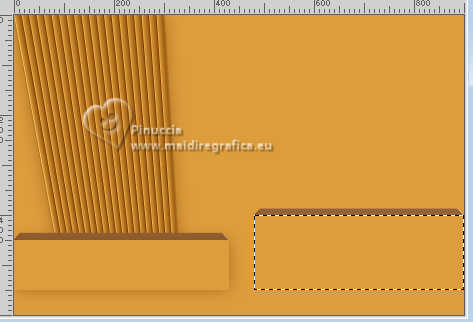
16. Effects>3D Effects>Drop Shadow, same settings.

Selections>Select None.
17. Open and activate the closed layer.
Layers>Arrange>Move Down - 2 times.
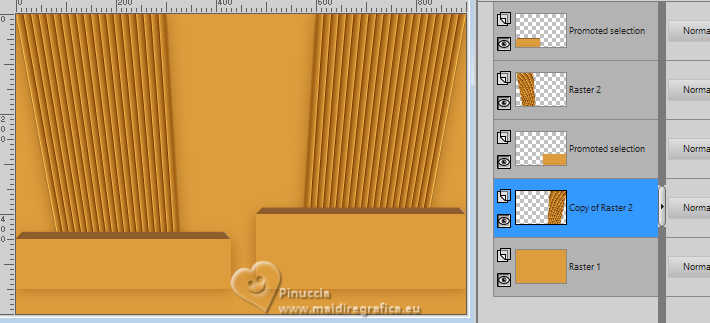
18. Activate your bottom layer.
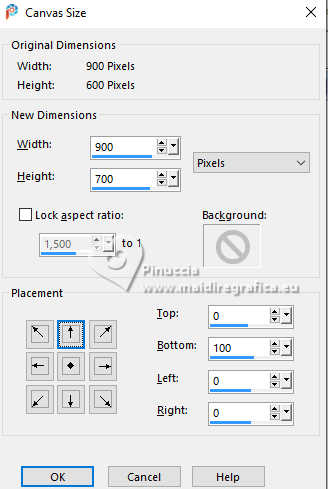
Image>Canvas Size - 900 x 700 pixels.
Flood Fill  the transparent part with your foreground color #de9d3d. the transparent part with your foreground color #de9d3d.
19. Activate your top layer.
Open the text Texto_Futurista_nines 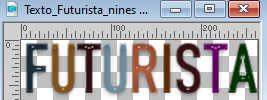
Edit>Copy.
Go back to your work and go to Edit>Paste as new layer.
Move  the text up to the center. the text up to the center.
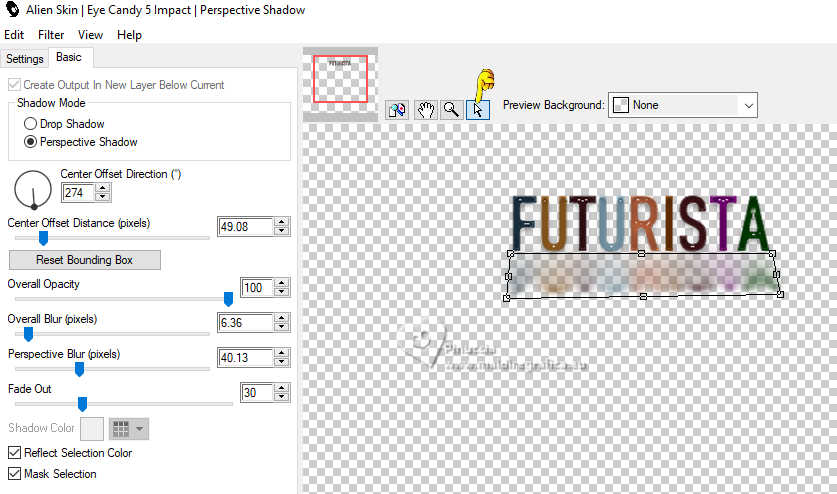
20. Effects>Plugins>Alien Skin Eye Candy 5 Impact - Perspective Shadow.
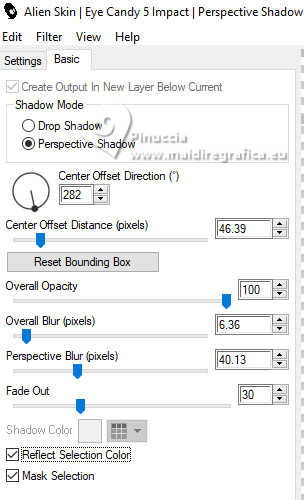
Use the filter tools to adapt the shadow to the text and to your liking; for me
21. Open the tube KamilTube-862 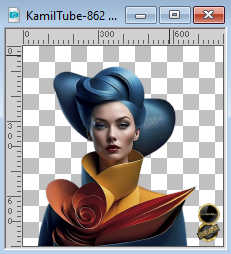
Erase the watermark and go to Edit>Copy.
Go back to your work and go to Edit>Paste as new layer.
Image>Resize, 1 time to 80% and 1 time to 90%, resize all layers not checked.
Move  the tube down. the tube down.
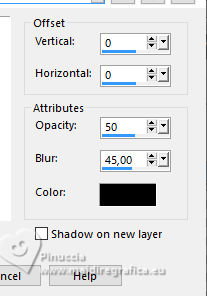
22. Effects>3D Effects>Drop Shadow, color #000000.

23. Open the tube by JRING 281209 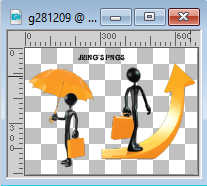
The tube as 2 layers. Activate the layer Raster 1.
Edit>Copy.
Go back to your work and go to Edit>Paste as new layer.
Image>Resize, to 50%, resize all layers not checked.
Move  the tube to the right. the tube to the right.
24. Effects>3D Effects>Drop Shadow, color #000000.
25. Go back to the tube and activate the layer Raster 2.
Edit>Copy.
Go back to your work and go to Edit>Paste as new layer.
Image>Resize, to 70%, resize all layers not checked.
Move  the tube to the left side. the tube to the left side.
Effects>3D Effects>Drop Shadow, same settings.
26. Layers>Merge>Merge All.
27. Image>Add borders, 2 pixels, symmetric, background color #7f3f02.
Image>Add borders, 3 pixels, symmetric, foreground color #de9d3d.
Image>Add borders, 5 pixels, symmetric, color #264461.
Image>Add borders, 3 pixels, symmetric, foreground color #de9d3d.
Image>Add borders, 30 pixels, symmetric, color #951b23.
28. Activate your Magic Wand Tool 
and click in the last border to select it.
29. Effects>Plugins>Tramages - Pool Shadow, default settings.
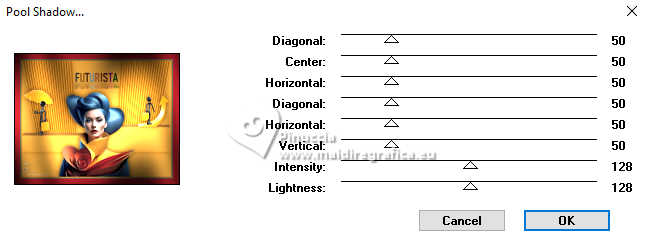
Selections>Select None.
30. Sign your work on a new layer.
Add the author and translator watermark.
Layers>Merge>Merge All and save as jpg.
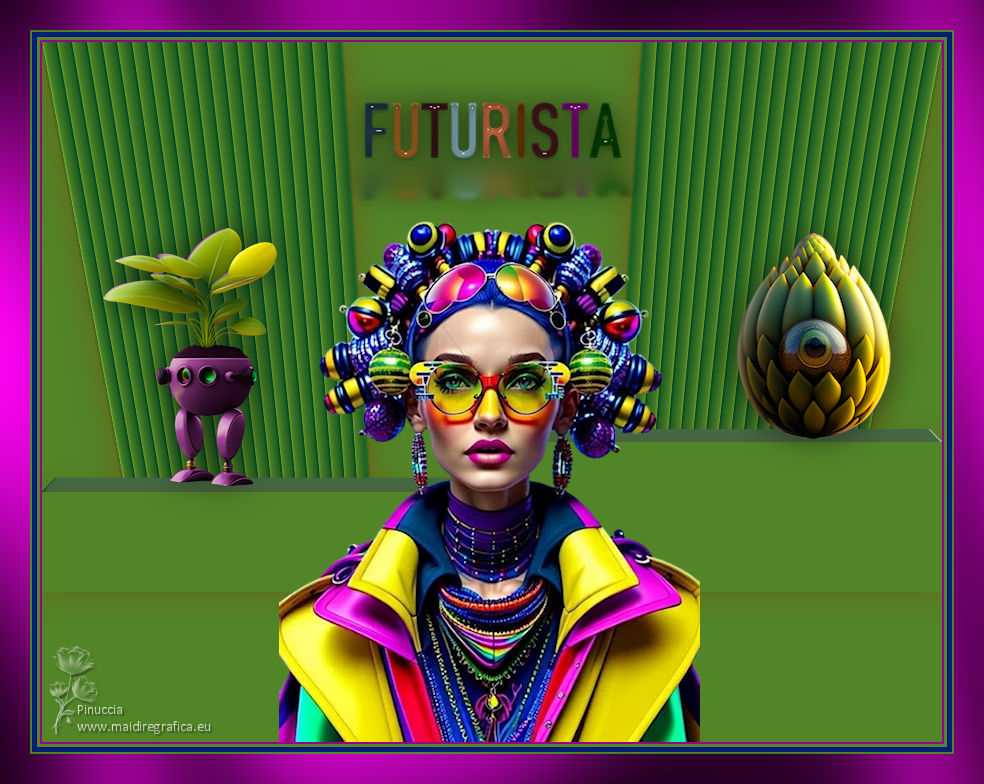
For the tubes of this version thanks Renée

If you have problems or doubts, or you find a not worked link, or only for tell me that you enjoyed this tutorial, write to me.
23 January 2024

|

