|
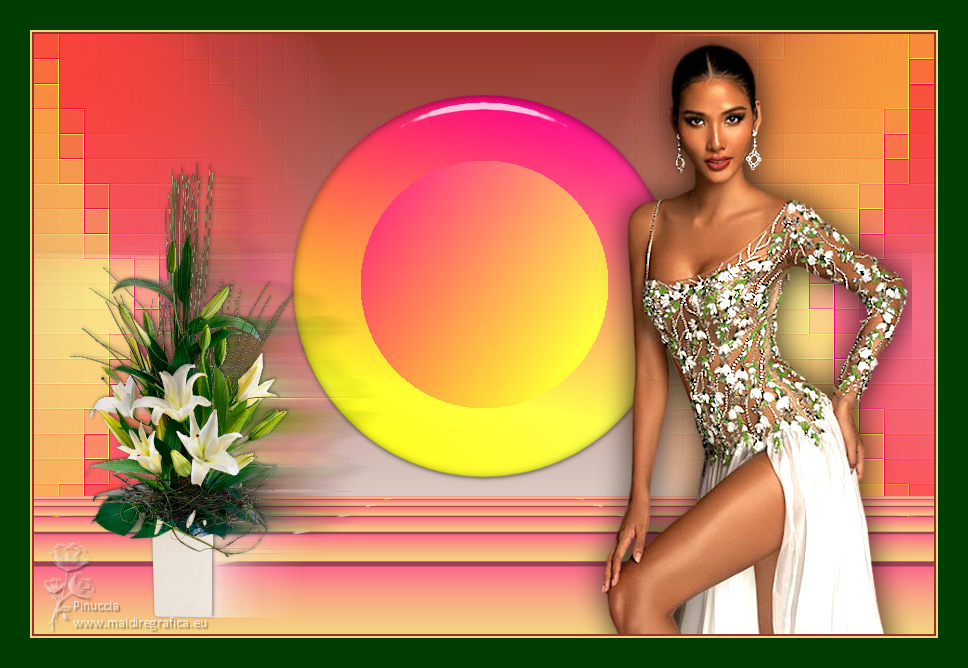
TAG FLOURISH


This tutorial was translated with PSPX7 but it can also be made using other versions of PSP.
Since version PSP X4, Image>Mirror was replaced with Image>Flip Horizontal,
and Image>Flip with Image>Flip Vertical, there are some variables.
In versions X5 and X6, the functions have been improved by making available the Objects menu.
In the latest version X7 command Image>Mirror and Image>Flip returned, but with new differences.
See my schedule here
 French translation here French translation here
 Your versions ici Your versions ici
For this tutorial, you will need:

Thanks for the tubes Beatriz and DBK Katrina.
(you find here the links to the material authors' sites)

consult, if necessary, my filter section here
Filters Unlimited 2.0 here
&<Bkg Designer sf10I> - Corner Right Wrap (to import in Unlimited) here
Sandflowers special °v° - Color Atmospherizer, Color Gradiant (to import in Unlimited) here
Mura's Meister - Perspective Tiling here
Funhouse - Radial ZigZag here
Distort - Radial ZigZag here
Alien Skin Eye Candy 5 Impact - Extrude, Glass here
Filters Funhouse can be used alone or imported into Filters Unlimited.
(How do, you see here)
If a plugin supplied appears with this icon  it must necessarily be imported into Unlimited it must necessarily be imported into Unlimited

You can change Blend Modes according to your colors.
In the newest versions of PSP, you don't find the foreground/background gradient (Corel_06_029).
You can use the gradients of the older versions.
The Gradient of CorelX here

Copy the selection in the Selections Folder.
1. Open a new transparent image 900 x 600 pixels.
2. Set your foreground color to #933427
and your background color to #eff7f2.
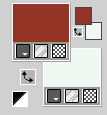
Set your foreground color to a Foreground/Background Gradient, style Linear.

Flood Fill  the transparent image with your Gradient. the transparent image with your Gradient.
3. Selection>Load/Save Selection>Load Selection from Disk.
Look for and load the selection sel.424.nines
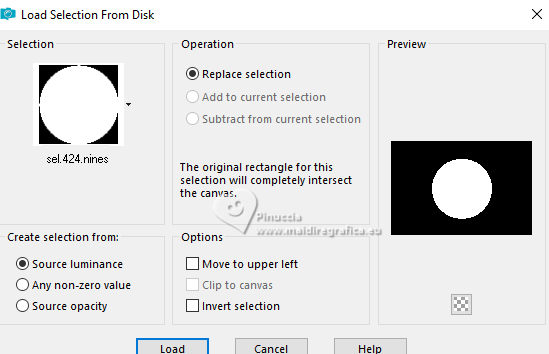
Selections>Promote Selection to Layer.
Selections>Select None.
4. Effects>3D Effects>Drop Shadow, color #000000.
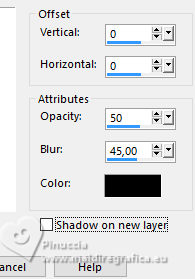
5. Layers>Duplicate.
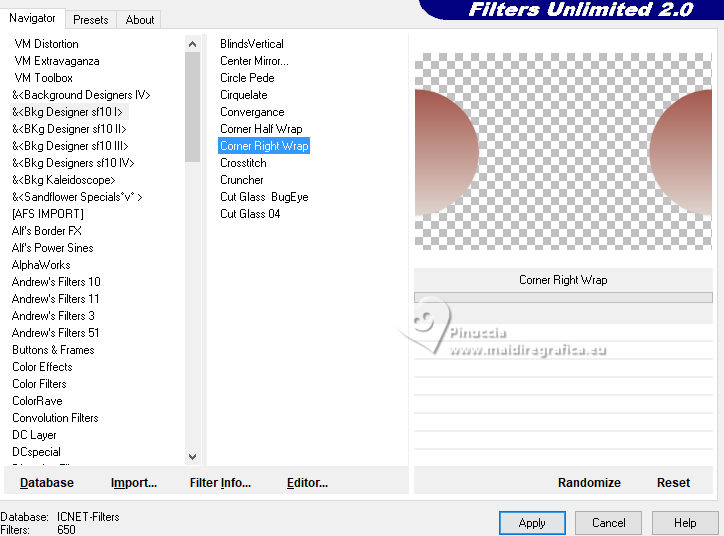
Effects>Plugins>Filters Unlimited 2.0 - &<Bkg Designer sf10I> - Corner Right Wrap.
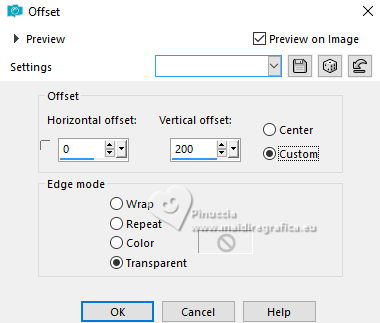
6. Effects>Image Effects>Offset.
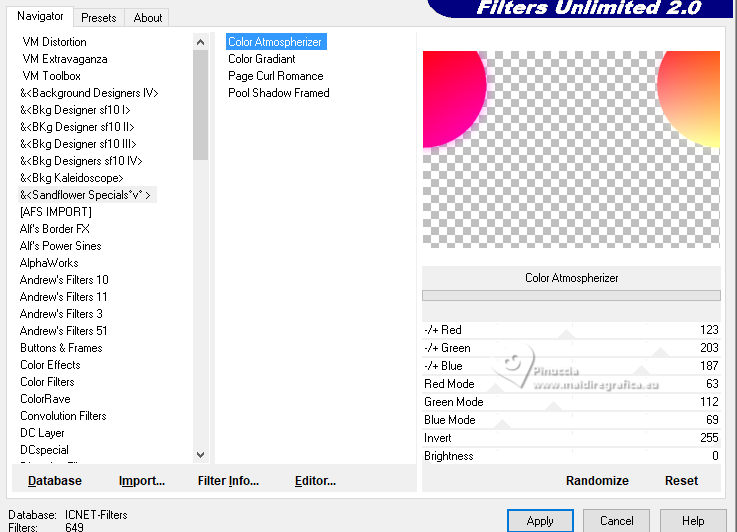
7. Effects>Plugins>Filters Unlimited 2.0 - &<Sandflowers specials °v°> - Color Atmospherizer.
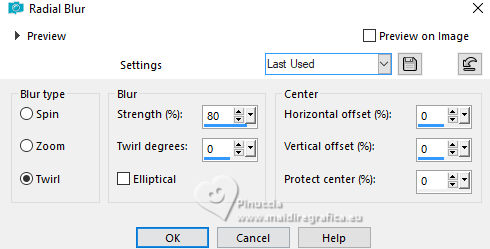
8. Adjust>Blur>Radial Blur.
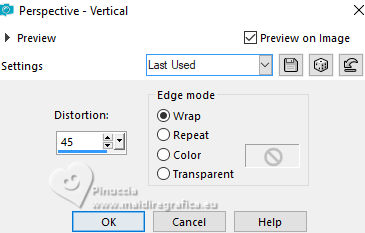
9. Effects>Geometric Effects>Perspective Vertical.
10. Effects>Distortion Effects>Pixelate.
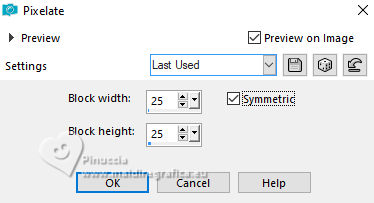
Effects>Edge Effects>Enhance More.
11. Layers>Duplicate.
Image>Flip.
Layers>Merge>Merge Down.
Layers>Arrange>Move Down.
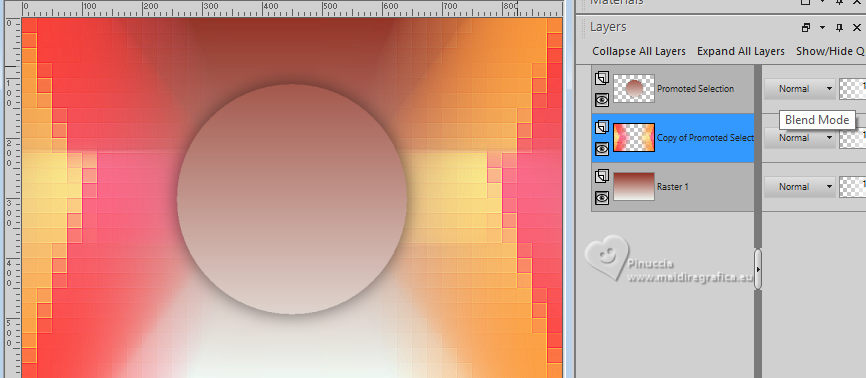
12. Activate the circle's layer.
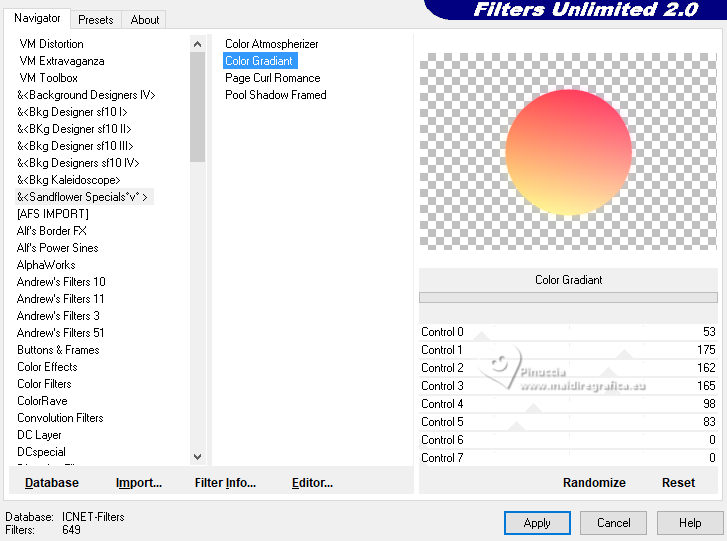
Effects>Plugins>Filters Unlimited 2.0 - &<Sandflower specials °v°> - Color Gradiant.
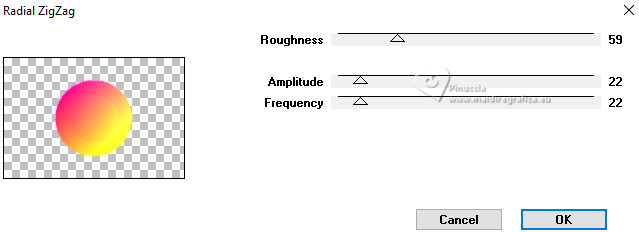
13. Effects>Plugins>Funhouse - Radial ZigZag.
if you don't find the effect in Funhouse:
Effects>Plugins>Distort - Radial ZigZag
(the effect is the same; see my dossier about the Filter ici
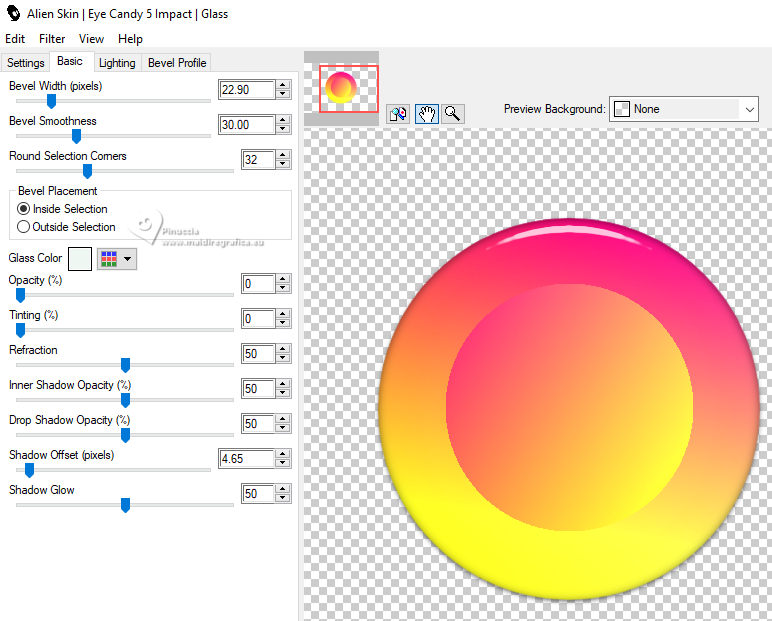
14. Effects>Plugins>Alien Skin Eye Candy 5 Impact - Glass.
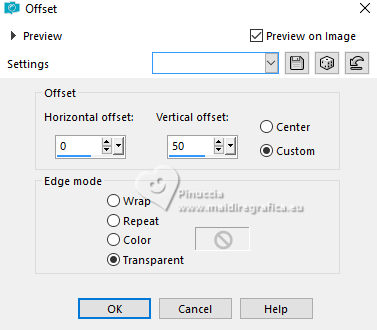
15. Effects>Image Effects>Offset.
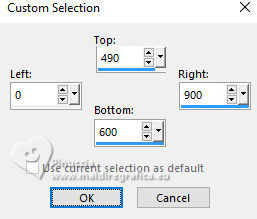
16. Selection Tool 
(no matter the type of selection, because with the custom selection your always get a rectangle)
clic on the Custom Selection 
and set the following settings.
17. Set your foreground color to #f5d581,
and your background color to #fa6789.
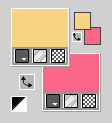
Set your foreground color to a Foreground/Background Gradient, style Linear.
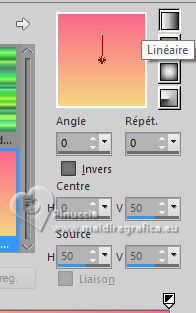
Layers>New Raster layer.
Flood Fill  the selection with your Gradient. the selection with your Gradient.
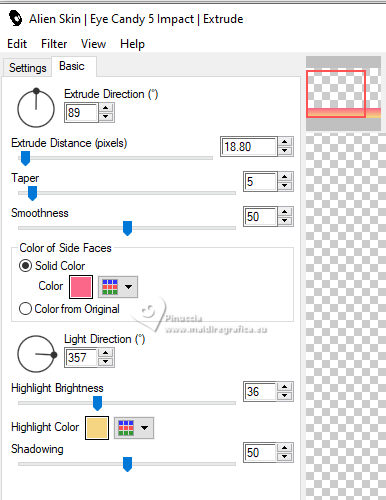
18. Effects>Plugins>Alien Skin Eye Candy 5 Impact - Extrude.
Solid color: background color #fa6789
Highlight color: foreground color #f5d581.
Selections>Select None.
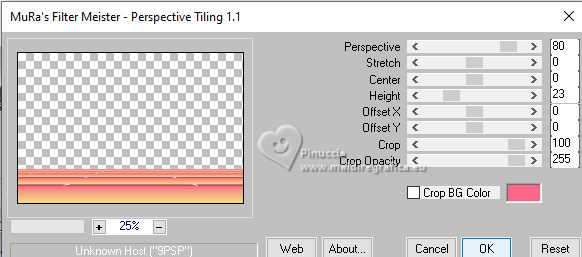
19. Effects>Plugins>Mura's Meister - Perspective Tiling.
20. Open the tube 3979-woman-LB TUBES 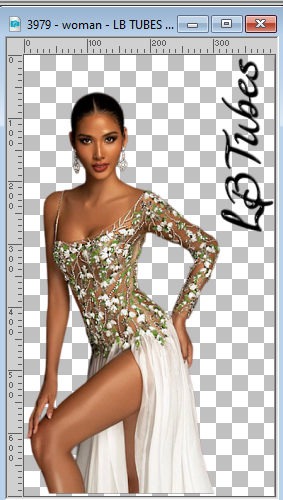
Erase the watermark and go to Edit>Copy.
Go back to your work and go to Edit>Paste as new layer.
Move  the tube to the right side. the tube to the right side.
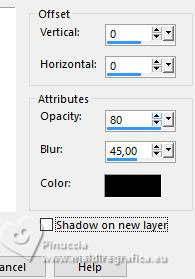
21. Effects>3D Effects>Drop Shadow, color #000000.
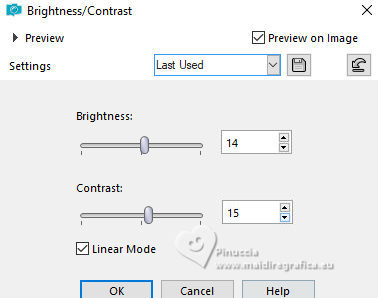
22. Adjust>Brightness and Contrast>Brightness and Contrast.
23. Open the tube DBK PLANTS 006 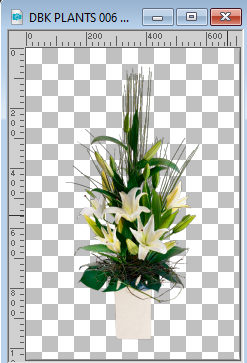
Edit>Copy.
Go back to your work and go to Edit>Paste as new layer.
Image>Resize, to 50%, resize all layers not checked.
Move  the tube to the left. the tube to the left.
24. Layers>Duplicate, and close this layer for a moment.
Activate the layer below of the original.
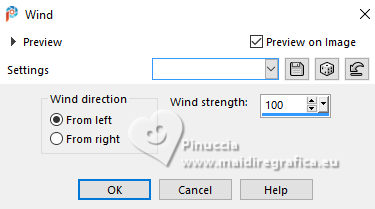
25. Effects>Distortion Effects>Wind - from left, strength 100.
26. Open and activate the layer above of the copy.
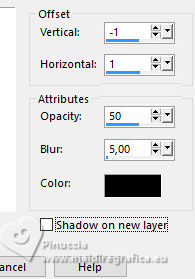
Effects>3D Effects>Drop Shadow, color #000000.
27. Sign your work on a new layer.
Add the author and translator watermarks.
28. Layers>Merge>Merge All.
29. Image>Add borders, 2 pixels, symmetric, color #933427.
Image>Add borders, 2 pixels, symmetric, color #f5d581.
Image>Add borders, 30 pixels, symmetric, color #003d00.
30. Save as jpg.
For the tubes of this version thanks Beatriz
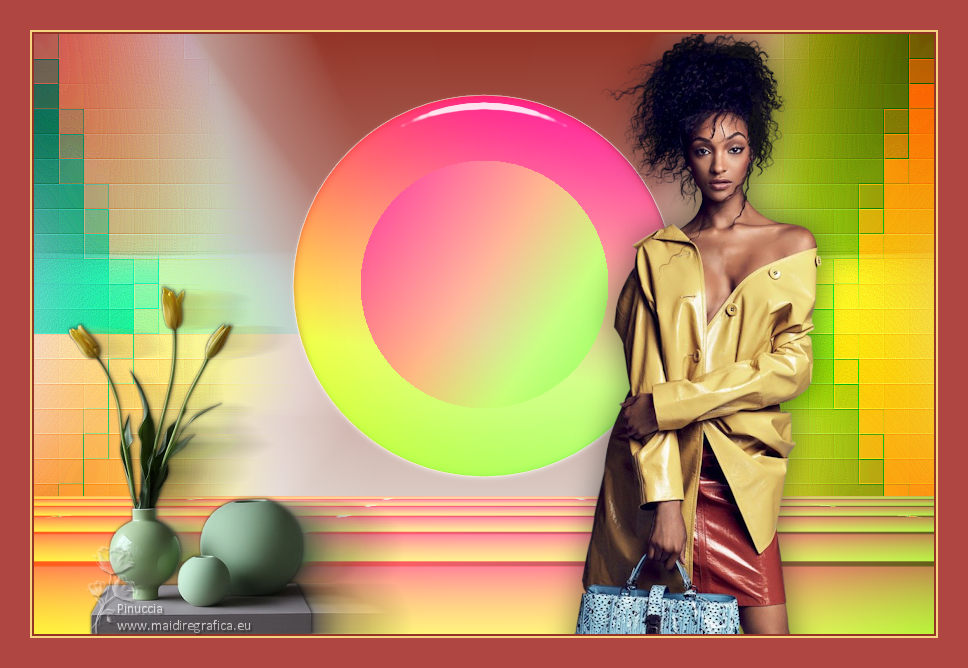

If you have problems or doubts, or you find a not worked link, or only for tell me that you enjoyed this tutorial, write to me.
12 November 2023

|

