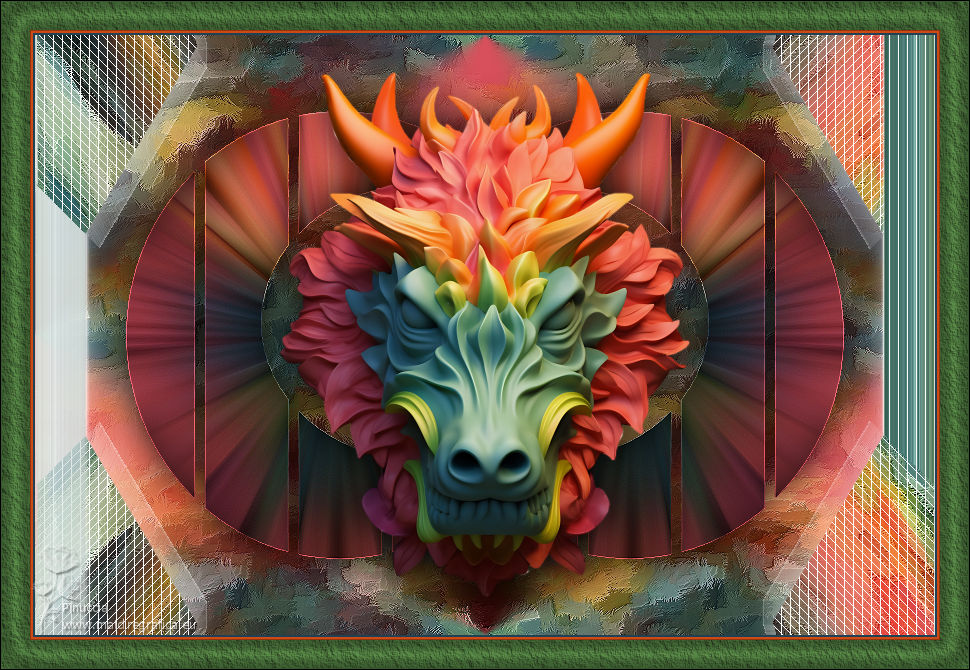
|
TAG FANTASY SLATS


This tutorial was translated with PSPX7 but it can also be made using other versions of PSP.
Since version PSP X4, Image>Mirror was replaced with Image>Flip Horizontal,
and Image>Flip with Image>Flip Vertical, there are some variables.
In versions X5 and X6, the functions have been improved by making available the Objects menu.
In the latest version X7 command Image>Mirror and Image>Flip returned, but with new differences.
See my schedule here
 French translation here French translation here
 Your versions ici Your versions ici
For this tutorial, you will need:

Thanks for the tubes Hilde and Tati.
The rest of the material is by Nines.
(you find here the links to the material authors' sites)

consult, if necessary, my filter section here
Filters Unlimited 2.0 here
VM Toolbox - Grid here
AAA Frames - Texture Frame here
Filters VM Toolbox can be used alone or imported into Filters Unlimited.
(How do, you see here)
If a plugin supplied appears with this icon  it must necessarily be imported into Unlimited it must necessarily be imported into Unlimited

You can change Blend Modes according to your colors.

Copy the selection in the Selections Folder.
1. Open a new transparent image 900 x 600 pixels.
2. Set your foreground color to #d8505b.
Flood Fill  the transparent image with your foreground color. the transparent image with your foreground color.
3. Selections>Select All.
Open HS_Fantasy-2023 by Hilde 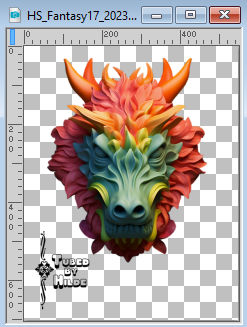
Erase the watermark and go to Edit>Copy.
Minimize the tube.
Go back to your work and go to Edit>Paste into Selection.
Selections>Select None.
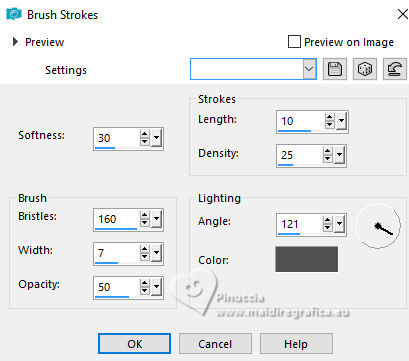
4. Effects>Art Media Effects>Brush Strokes, color #505050.
5. Effects>Image Effects>Seamless Tiling, Side by Side.

6. Effects>Image Effects>Seamless Tiling, default settings.

7. Open the tube TD_Slats_015 by Tati 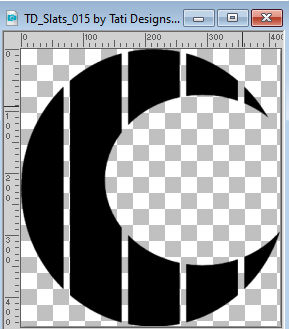
Edit>Copy.
Go back to your work and go to Edit>Paste as new layer.
8. Selections>Select All.
Selections>Float.
Selections>Defloat.
9. Layers>New Raster Layer.
Flood Fill  the layer with your foreground color #d8505b. the layer with your foreground color #d8505b.
10. Activate again the tube HS_Fantasy-2023 by Hilde and go to Edit>Copy.
Go back to your work and go to Edit>Paste into Selection.
11. Adjust>Blur>Radial Blur.
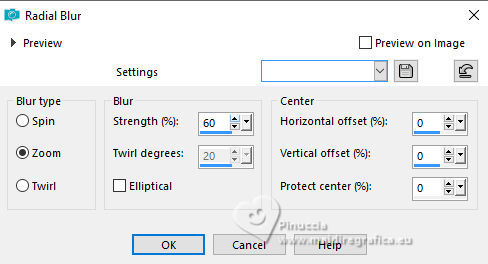
Selections>Select None.
Layers>Merge>Merge Down.
12. Effects>Image Effects>Offset.
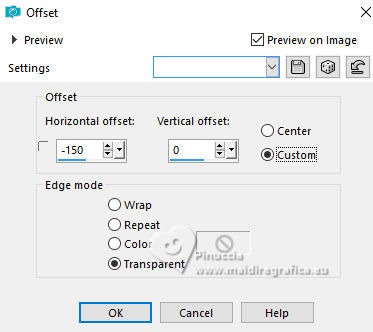
13. Effects>3D Effects>Drop Shadow, color #000000.

14. Layers>Duplicate.
Image>Mirror.
15. Layers>Merge>Merge Down.
Effects>Edge Effects>Enhance.
16. Edit>Paste as new layer - the tube HS_Fantasy-2023 by Hilde is still in memory.
Don't move it.
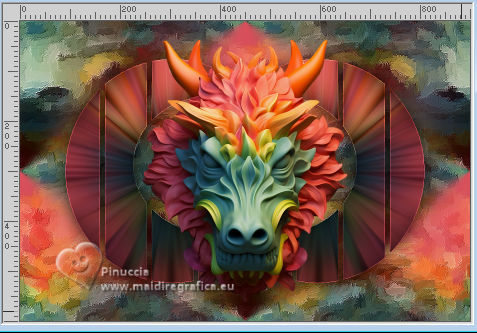
17. Effects>3D Effects>Drop Shadow, same settings.

18. Activate your bottom layer, Raster 1.
Selections>Load/Save Selection>Load Selection from disk.
Look for and load the selection sel.421.nines
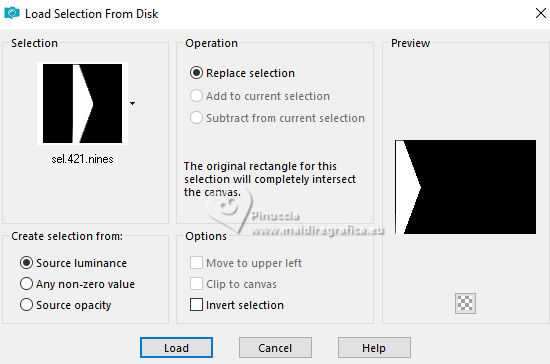
Selections>Promote Selection to Layer.
19. Effects>Plugins>VM Toolbox - Grid, default settings.
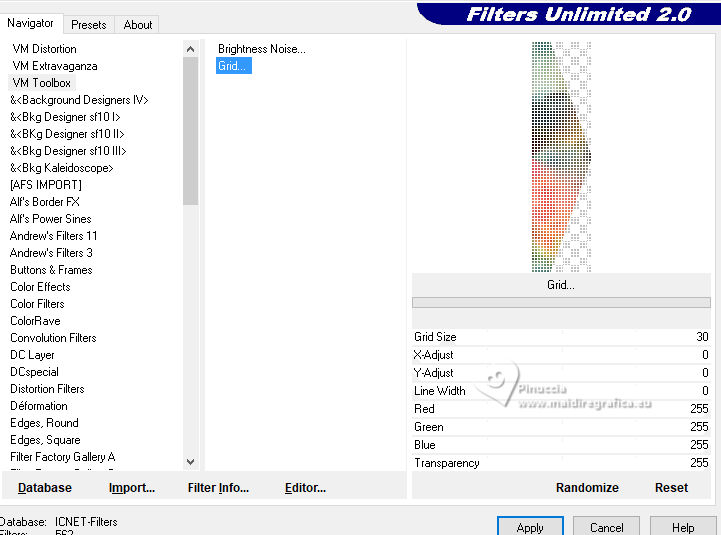
Selections>Select None.
20. Effects>3D Effects>Chisel, color #ffffff.
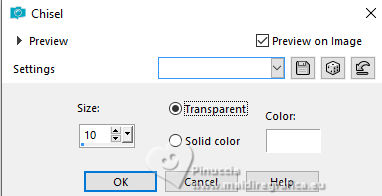
21. Effects>3D Effects>Drop Shadow, color #ffffff.
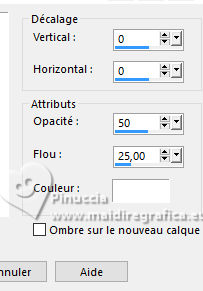
22. Layers>Duplicate.
Image>Mirror.
Layers>Merge>Merge Down.
23. Effects>Geometric Effects>Skew.
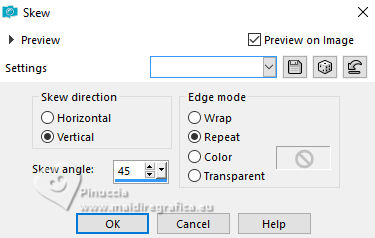
24. Layers>Duplicate.
Image>Flip.
25. Sign your work.
Layers>Merge>Merge All.
26. Image>Add borders, 2 pixels, symmetric, color #204055.
Image>Add borders, 3 pixels, symmetric, color #cc4a14.
Image>Add borders, 30 pixels, symmetric, color #5a8b49.
27. Activate your Magic Wand Tool 
and click in the last border to select it.
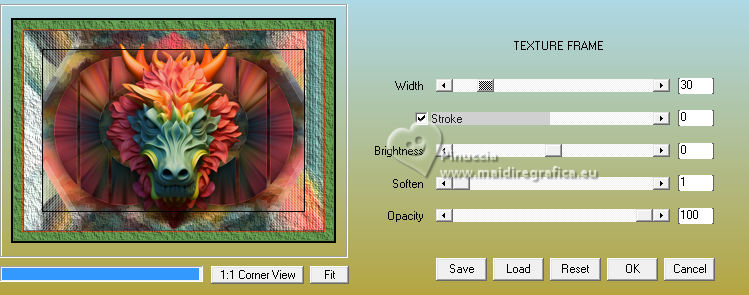
28. Effects>Plugins>AAA Frames - Texture Frame.
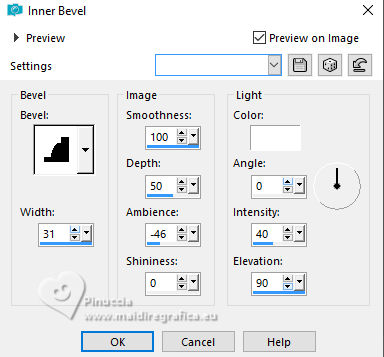
29. Effects>3D Effects>Inner Bevel.
Selections>Select None.
30. Save as jpg.
For the tubes of these versions thanks A PSP Devil
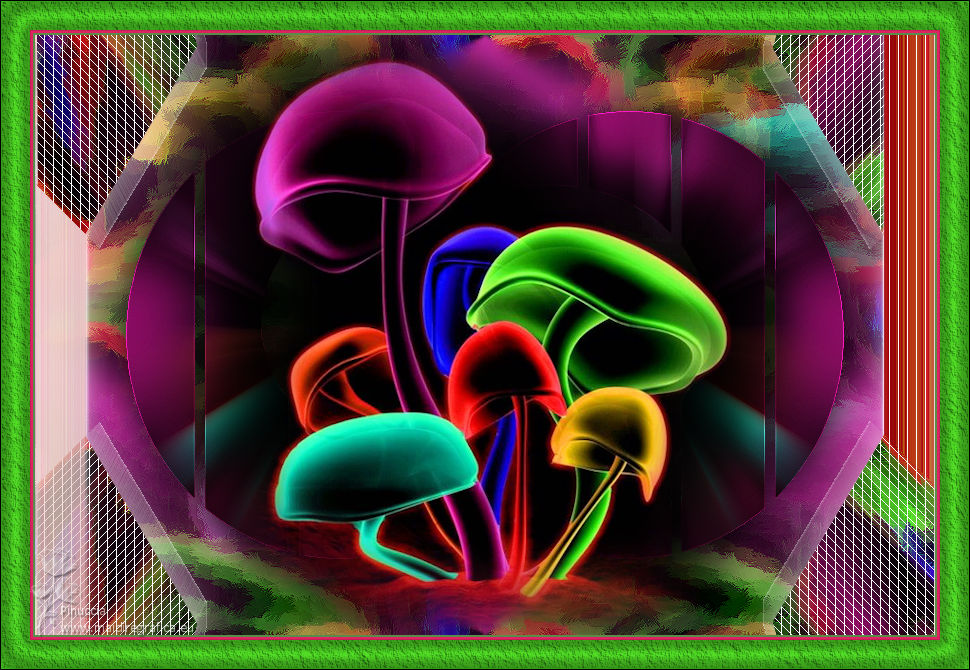
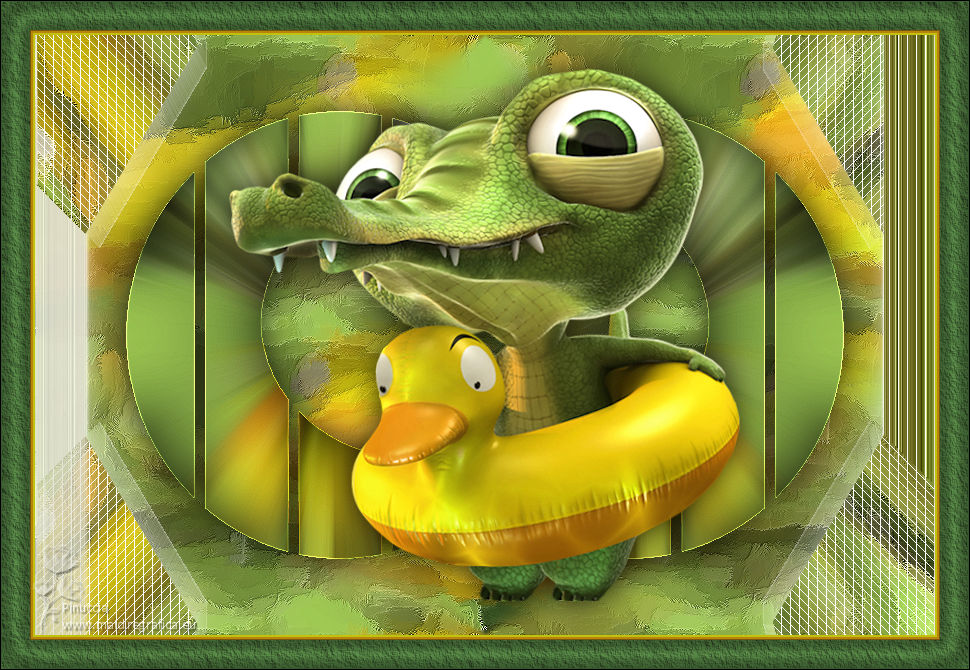

If you have problems or doubts, or you find a not worked link, or only for tell me that you enjoyed this tutorial, write to me.
2 October 2023

|

