|
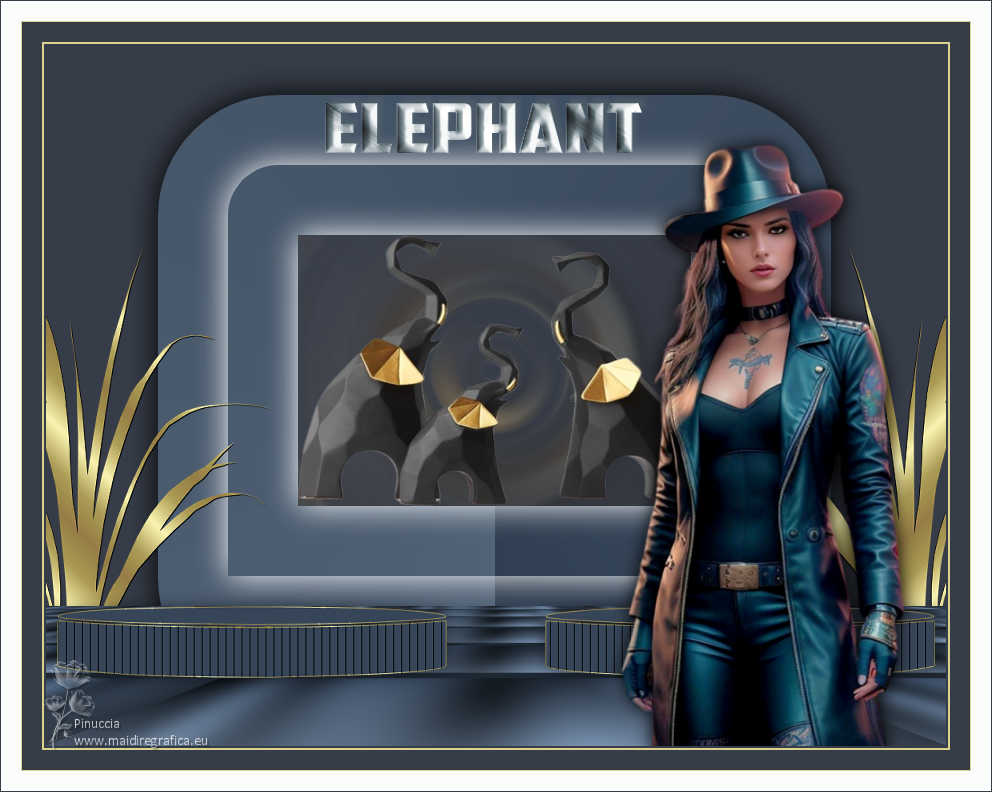
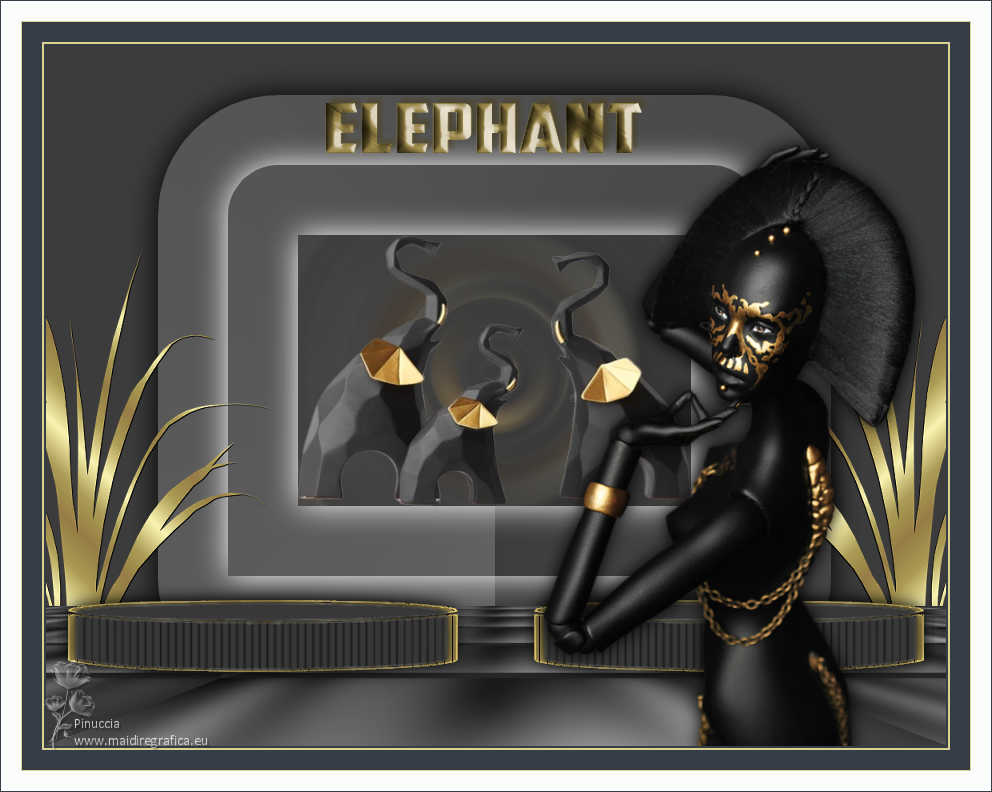
TAG ELEPHANT


This tutorial was translated with PSPX7 but it can also be made using other versions of PSP.
Since version PSP X4, Image>Mirror was replaced with Image>Flip Horizontal,
and Image>Flip with Image>Flip Vertical, there are some variables.
In versions X5 and X6, the functions have been improved by making available the Objects menu.
In the latest version X7 command Image>Mirror and Image>Flip returned, but with new differences.
See my schedule here
 French translation here French translation here
 Your versions ici Your versions ici
For this tutorial, you will need:

Thanks for the tubes Kamil.
The rest of the material is by Nines.
(you find here the links to the material authors' sites)

consult, if necessary, my filter section here
Filters Unlimited 2.0 here
Tramages - Pool Shadow here
Mura's Meister - Perspective Tiling here
Alien Skin Eye Candy 5 Impact - Extrude here
Filters Tramages can be used alone or imported into Filters Unlimited.
(How do, you see here)
If a plugin supplied appears with this icon  it must necessarily be imported into Unlimited it must necessarily be imported into Unlimited

You can change Blend Modes according to your colors.
In the newest versions of PSP, you don't find the foreground/background gradient (Corel_06_029).
You can use the gradients of the older versions.
The Gradient of CorelX here

Copy the selection in the Selections Folder.
1. Open a new transparent image 900 x 600 pixels.
2. Set your foreground color to #526377
and your background color to #303f52.

Set your foreground color to a Foreground/Background Gradient, style Radial.
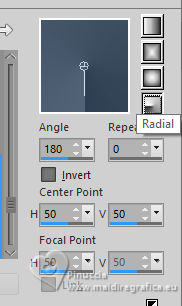
3. Selection>Load/Save Selection>Load Selection from Disk.
Look for and load the selection sel.425.nines
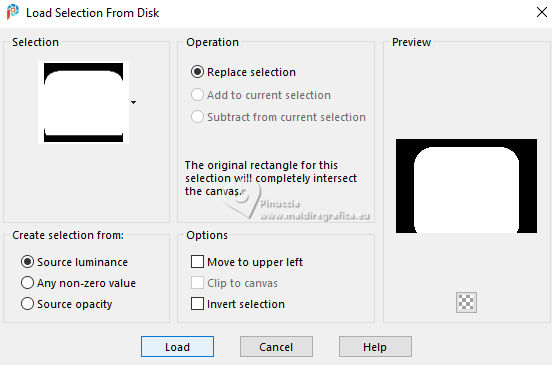
Layers>New Raster Layer.
Flood Fill  the layer with your Gradient. the layer with your Gradient.
4. Effects>3D Effects>Drop Shadow, color #000000.
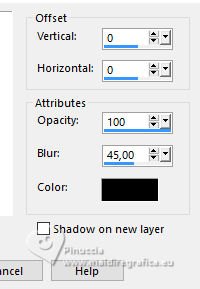
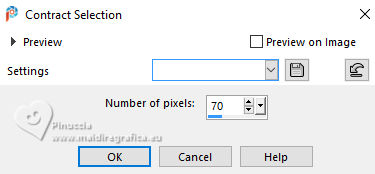
5. Selections>Modify>Contract - 70 pixels.
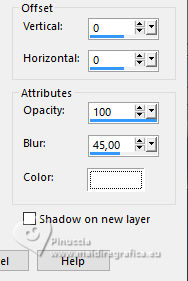
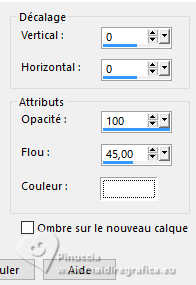
6. Effects>3D Effects>Drop shadow, same settings, but color #ffffff.
7. Again Selections>Modify>Contract - 70 pixels.
Effects>3D Effects>Drop Shadow, same settings.
Press CANC on the keyboard 
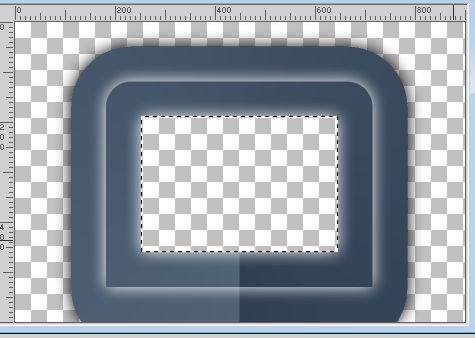
8. Set your foreground color to #363c48 
Layers>New Raster Layer.
Flood Fill  the selection with your foreground color. the selection with your foreground color.
9. Layers>New Raster Layer.
Open the tube KamilTube814 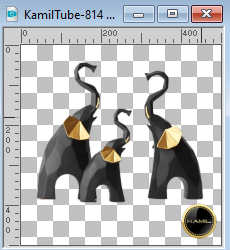
Erase the watermark and go to Edit>Copy.
Go back to your work and go to Edit>Paste into Selection.
10. Adjust>Blur>Radial Blur.
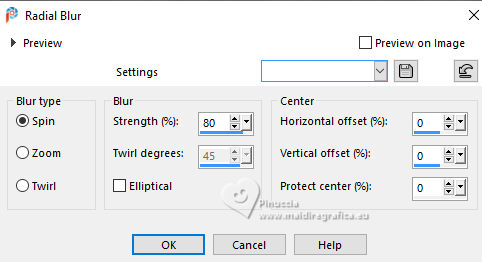
11. Edit>Paste into Selection (the tube by Kamil is still in memory).
Selections>Select None.
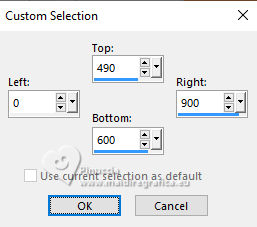
12. Selection Tool 
(no matter the type of selection, because with the custom selection your always get a rectangle)
clic on the Custom Selection 
and set the following settings.
13. Set again your foreground color to #526377.
Change the settings of your gradient, style Linear.
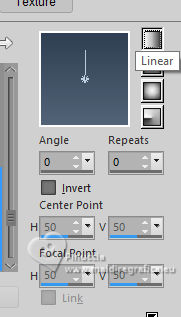
Layers>New Raster Layer.
Flood Fill  the selection with your gradient. the selection with your gradient.
Keep selected.
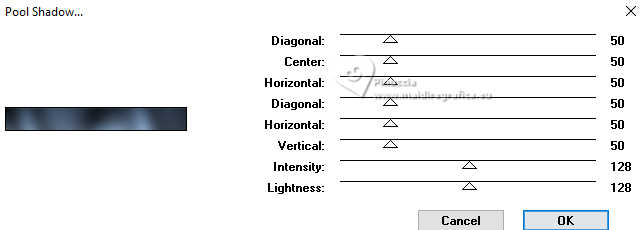
14. Effects>Plugins>Tramages - Pool Shadow, default settings.
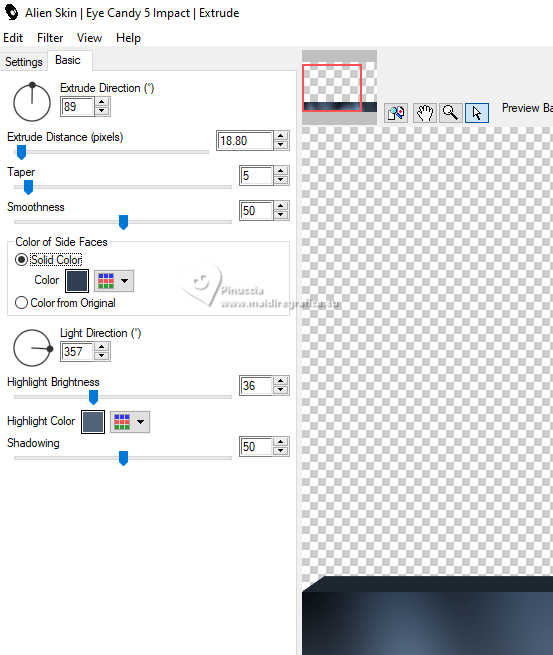
15. Effects>Plugins>Alien Skin Eye Candy 5 Impact - Extrude
Solid color: background color #303f52 - Highlight Color: foreground color #526377.
Selections>Select None.
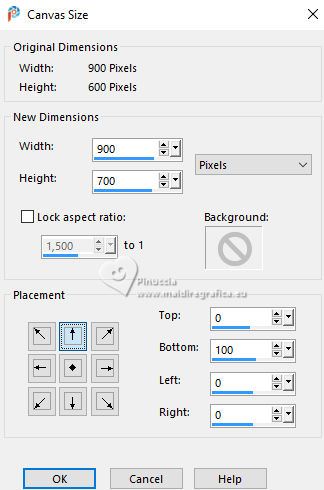
16. Image>Canvas Size - 900 x 700 pixels.
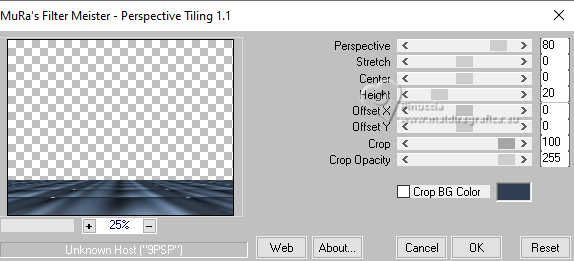
17. Effects>Plugins>Mura's Meister - Perspective Tiling.
18. Activate your bottom layer, still empty.
Set again your foreground color to #363c48 
Flood Fill  the layer with your foreground color. the layer with your foreground color.
19. Activate your top layer.
Open the tube Hojas doradas 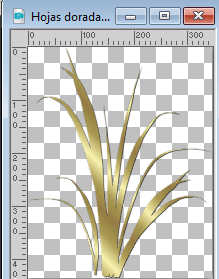
Edit>Copy.
Go back to your work and go to Edit>Paste as new layer.
Move  the tube to the left. the tube to the left.
Layers>Arrange>Move Down.
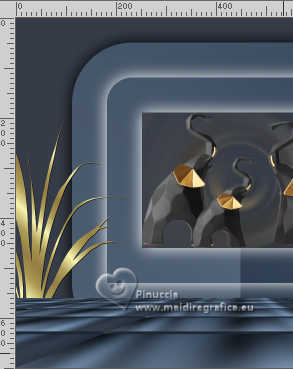
20. Layers>Duplicate.
Image>Mirror.
21. Activate your top layer.
Open the tube Adorno425.nines 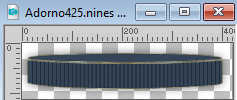
Edit>Copy.
Go back to your work and go to Edit>Paste as new layer.
Move  the tube to the left. the tube to the left.
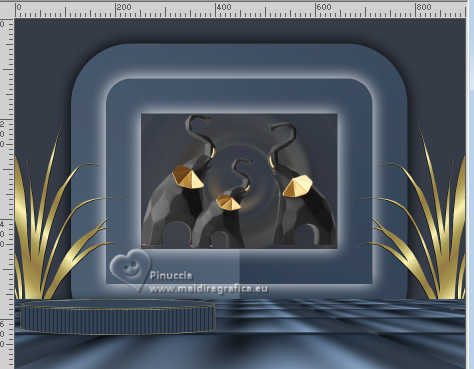
Layers>Duplicate.
Image>Mirror.
22. Open the tube KamilTube-839 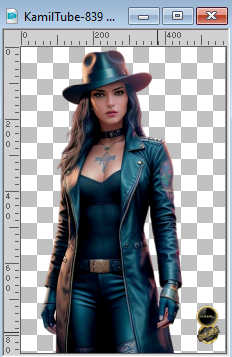
Erase the watermark and go to Edit>Copy.
Go back to your work and go to Edit>Paste as new layer.
Image>Resize, 1 time to 80% and 1 time to 90%, resize all layers not checked.
Move  the tube to the right. the tube to the right.
23. Effects>3D Effects>Drop Shadow, color #000000.

24. Open Texto_Elephant_nines 
Edit>Copy.
Go back to your work and go to Edit>Paste as new layer.
Move  the tube up. the tube up.
25. Sign your work on a new layer.
Add the author and translator's watermarks.
26. Layers>Merge>Merge All.
27. Image>Add borders, 2 pixels, symmetric, color #363c48.
Image>Add borders, 2 pixels, symmetric, color #dbd28d.
Image>Add borders, 20 pixels, symmetric, color #363c48.
Image>Add borders, 1 pixels, symmetric, color #dbd28d.
Image>Add borders, 20 pixels, symmetric, color #fbfcfc.
Image>Add borders, 1 pixels, symmetric, color #363c48.
28. Save as jpg.
For the tube of this version thanks Mentali

If you have problems or doubts, or you find a not worked link, or only for tell me that you enjoyed this tutorial, write to me.
21 November 2023

|

