|
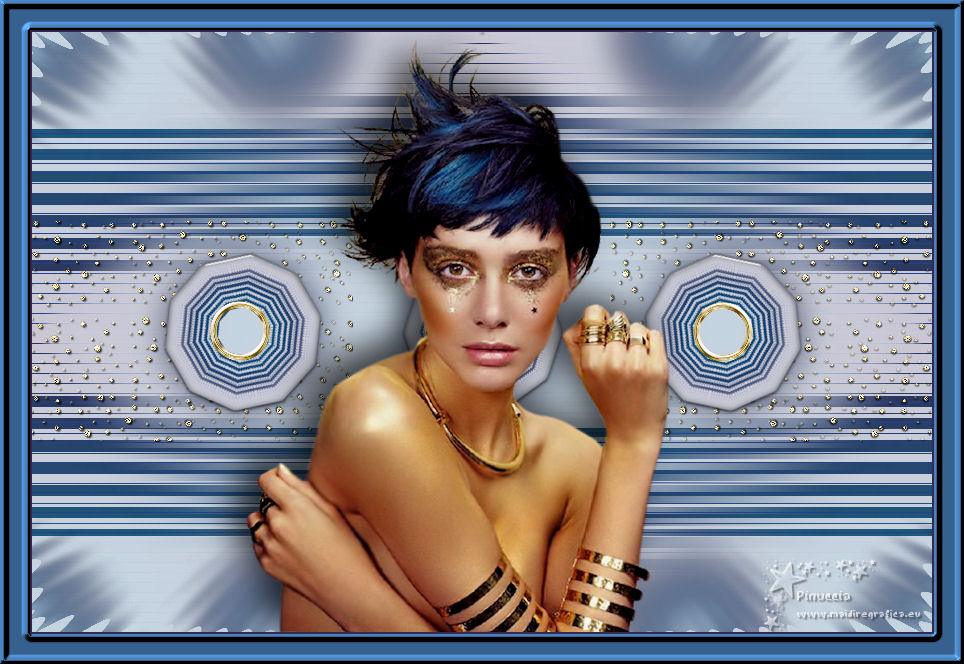
TAG DORADO


This tutorial was translated with PSPX7 but it can also be made using other versions of PSP.
Since version PSP X4, Image>Mirror was replaced with Image>Flip Horizontal,
and Image>Flip with Image>Flip Vertical, there are some variables.
In versions X5 and X6, the functions have been improved by making available the Objects menu.
In the latest version X7 command Image>Mirror and Image>Flip returned, but with new differences.
See my schedule here
 French translation here French translation here
 Your versions ici Your versions ici
For this tutorial, you will need:
Material
here
Tube 6532-Luz Cristina
adorno-copos-dorados-nines
adorno 2 aros-dorados-nines
fondo_tag dorado_nines
(you find here the links to the material authors' sites)
Plugins
consult, if necessary, my filter section here
Mura's Meister - Copies here
Alien Skin Eye Candy 5 Impact - Glass here

You can change Blend Modes according to your colors.
1. Open a new transparent image 900 x 600 pixels.
2. Selections>Selectionner tout.
Open fondo_tag dorado_nines and go to Edit>Copy.
Go back to your work and go to Edit>Paste into Selection.
Selections>Select None.
3. Layers>Duplicate.
Effects>Geometric Effects>Skew - 3 times with these settings.

4. Effects>Reflection Effects>Kaleidoscope.

5. Effects>Plugins>Mura's Meister - Copies.

6. Effects>Plugins>Alien Skin Eye Candy 5 Impact - Glass.
Select the preset Clear and ok.

7. Image>Resize, to 80%, resize all layers not checked.
8. Layers>Duplicate.
Effects>Image Effects>Seamless Tiling, default settings.

9. Adjust>Blur>Gaussian Blur - radius 15.

10. Effects>Distortion Effects>Spiky Halo.

11. Change the Blend Mode of this layer to Multiply.
Layers>Arrange>Move Down.
12. Open the tube copos-dorados-nines and go to Edit>Copy.
Go back to your work and go to Edit>Paste as new layer.
Don't move it, is in place.
13. Change the Blend Mode of this layer to Hard Light.
14. Activate your top layer.
Open the tube 6532-Luz Cristina and go to Edit>Copy.
Go back to your work and go to Edit>Paste as new layer.
Image>Resize, to 80%, resize all layers not checked.
Move  the tube down in the center. the tube down in the center.
15. Effects>3D Effects>Drop Shadow, color #000000.

16. Layers>Merge>Merge All.
17. Image>Add borders, 2 pixels, symmetric, color #322952.
Image>Add borders, 30 pixels, symmetric, color #36608d.
18. Activate your Magic Wand Tool 
and click in the last border to select it.
19. Effects>3D Effects>Inner Bevel, color #ffffff.

Selections>Select None.
20. Open the tube 2 aros-dorados-nines and go to Edit>Copy.
Go back to your work and go to Edit>Paste as new layer.
Place  the tube in the center. the tube in the center.
21. Sign your work on a new layer.
22. Layers>Merge>Merge All and save as jpg.
Version with tube by Azalée

 Your versions here Your versions here

If you have problems or doubts, or you find a not worked link, or only for tell me that you enjoyed this tutorial, write to me.
7 June 2021
|


