|
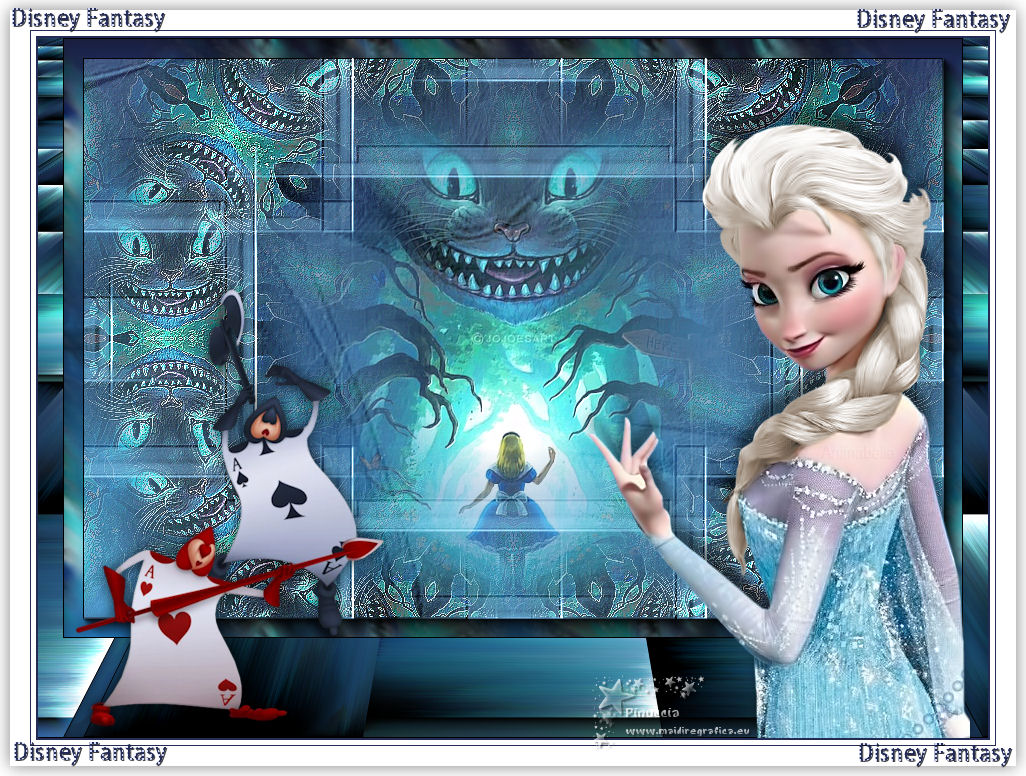
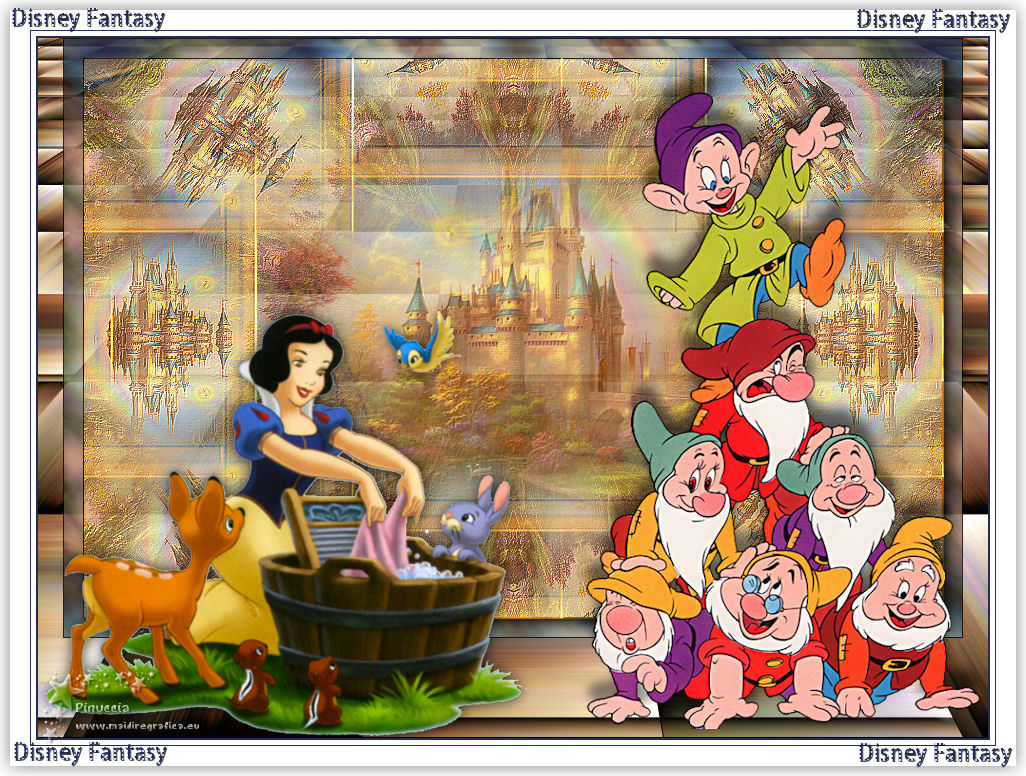
TAG DISNEY FANTASY


This tutorial was translated with PSPX7 but it can also be made using other versions of PSP.
Since version PSP X4, Image>Mirror was replaced with Image>Flip Horizontal,
and Image>Flip with Image>Flip Vertical, there are some variables.
In versions X5 and X6, the functions have been improved by making available the Objects menu.
In the latest version X7 command Image>Mirror and Image>Flip returned, but with new differences.
See my schedule here
 French translation here French translation here
 Your versions ici Your versions ici
For this tutorial, you will need:
Material
here
2_disney_tube_exclusif_animabelle
Misted 9_DA_Animabelle
Tube 2_DA_Animabelle
01_animabelle_masques
Adorno_marco_disney fantasy_nines
(you find here the links to the material authors' sites)
Plugins
consult, if necessary, my filter section here
FM Tile Tools - Saturation Emboss here
AAA Frames - Foto Frame here
Mehdi - Sorting Tiles here
Mura's Meister - Perspective Tiling here
Alien Skin Eye Candy 5 Impact - Perspective Shadow here

You can change Blend Modes according to your colors.
In the newest versions of PSP, you don't find the foreground/background gradient (Corel_06_029).
You can use the gradients of the older versions.
The Gradient of CorelX here
Copy the preset Emboss 3 in the Presets Folder
Open the mask in PSP and minimize it with the rest of the material.
1. Open a new transparent image 900 x 600 pixels.
Set your foreground color to #2b7fc2,
and your background color to #242c55.
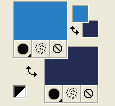
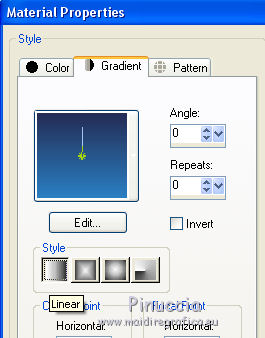
Set your foreground color to a Foreground/Background Gradient, style Linear.
Flood Fill  the selection with your gradient. the selection with your gradient.
3. Open the tube 9_DA_Animabelle, erase the watermark and go to Edit>Copy.
Go back to your work and go to Edit>Paste as new layer.
4. Effects>Image Effects>Seamless Tiling, default settings.

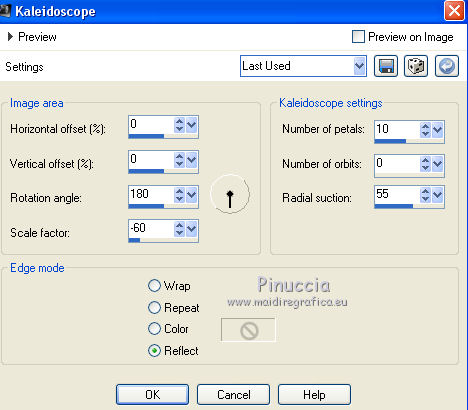
5. Effects>Reflection Effects>Kaleidoscope.
6. Effects>Edge Effects>Enhance.
7. Layers>Duplicate.
Layers>Merge>Merge Down.
Calques>Fusionner>Fusionner le calque de dessous.
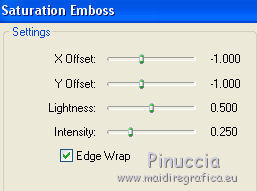
8. Effects>Plugins>FM Tile Tools - Saturation Emboss, default settings.
9. Edit>Paste as new layer (the tube 9_DA_Animabelle is still in memory).
Image>Resize, 2 times to 80%, resize all layers not checked.
10. Effects>Plugins>FM Tile Tools - Saturation Emboss, default settings.
11. Layers>Merge>Merge visible.
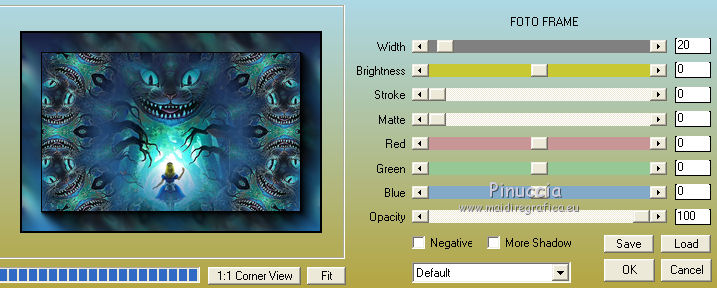
12. Effects>Plugins>AAA Frames - Foto Frame.
13. Layers>Duplicate.
Close this layer for a moment,
and activate the layer below, Merged.
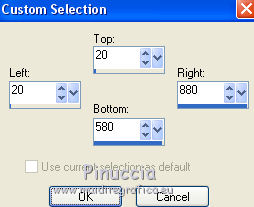
14.
Selection Tool 
(no matter the type of selection, because with the custom selection your always get a rectangle)
clic on the Custom Selection 
and set the following settings.
15. Layers>New Raster Layer.
Set your foreground color to #adc8db.
Flood Fill the selection with your foreground color.
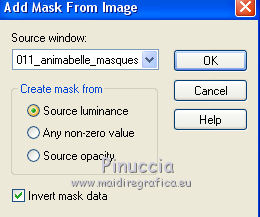
16. Calques>Nouveau calque de masque>A partir d'une image.
Ouvrir le menu deroulant sous la fenêtre d'origine et vous verrez la liste des images ouvertes.
Sélectionner le masque 011_animabelle_masques
Layers>Merge>Merge Group.
17. Effects>User Defined Filder, select the preset Emboss 3 and ok.

18. Change the Blend Mode of this layer to Hard Light.
19. Open again and activate the top layer.
Layers>Arrange>Send to Bottom.
Effects>Plugins>Mehdi - Sorting Tile.

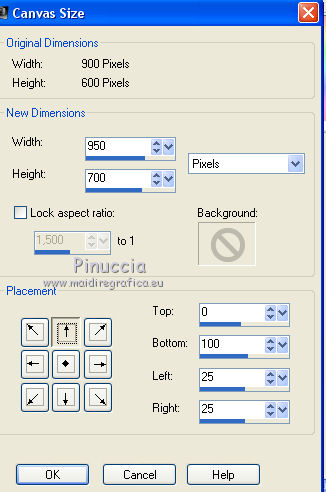
20. Image>Canvas Size - 950 x 700 pixels.
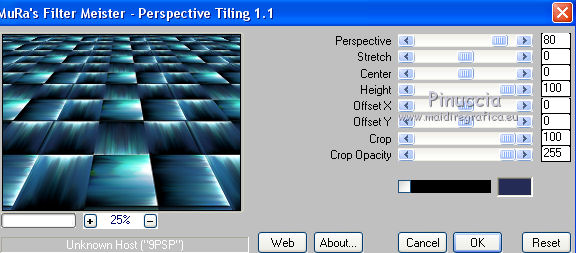
21. Effes>Plugins>Mura's Meister - Perspective Tiling.
22. Activate the top layer.
Open the tube 2_DA_Animabelle, erase the watermark and go to Edit>Copy.
Go back to your work and go to Edit>Paste as new layer.
Image>Resize, 2 times to 80%, resize all layers not checked.
Move  the tube at the bottom left. the tube at the bottom left.
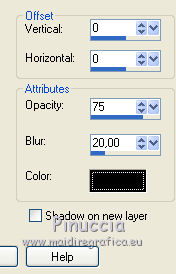
23. Effects>3D Effects>Drop Shadow, colore #000000.
24. Open the tube 2_disney_tube_exclusif_animabelle, the watermark and go to Edit>Copy.
Go back to your work and go to Edit>Paste as new layer.
Move the tube to the right side.
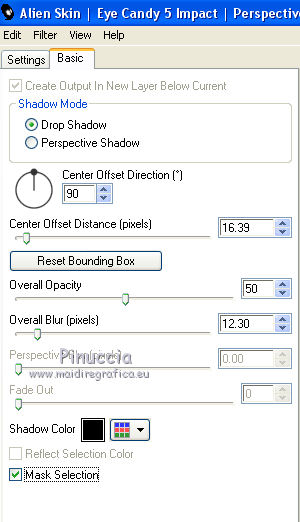
25. Effects>Plugins>Alien Skin Eye Candy 5 Impact - Perspective Shadow
color #000000
26. Layers>Merge>Merge All.
27. Image>Add borders, 2 pixels, symmetric, background color #242c55.
Image>Add borders, 5 pixels, symmetric, colorr #ffffff.
Image>Add borders, 1 pixel, symmetric, background color #242c55.
Image>Add borders, 30 pixels, symmetric, color #ffffff.
28. Selections>Select All.
Selections>Modify>Contract - 10 pixels.
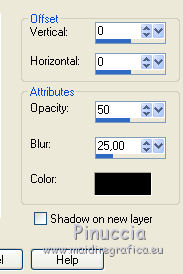
29. Effects>3D Effects>Drop Shadow, color #000000.
Selections>Select None
30. Open the tube Adorno_marco_disney fantasy_nines and go to Edit>Copy.
Go back to your work and go to Edit>Paste as new layer.
31. Sign your work on a new layer.
Layers>Merge>Merge All and save as jpg.
Your versions here

If you have problems or doubts, or you find a not worked link, or only for tell me that you enjoyed this tutorial, write to me.
10 August 2021
|


