|
TAG CARNAVAL


This tutorial was translated with PSPX7 but it can also be made using other versions of PSP.
Since version PSP X4, Image>Mirror was replaced with Image>Flip Horizontal,
and Image>Flip with Image>Flip Vertical, there are some variables.
In versions X5 and X6, the functions have been improved by making available the Objects menu.
In the latest version X7 command Image>Mirror and Image>Flip returned, but with new differences.
See my schedule here
 French translation here French translation here
 Your versions ici Your versions ici
For this tutorial, you will need:

Thanks for the tubes Renée and Belscrap.
(you find here the links to the material authors' sites)

consult, if necessary, my filter section here
Carolaine and Sensibility - Cs_Texture here
Mura's Meister - Perspective Tiling here
Xero - Fritillary here
AAA Frames - Foto Frame here
Animation Shop here

You can change Blend Modes according to your colors.
In the newest versions of PSP, you don't find the foreground/background gradient (Corel_06_029).
You can use the gradients of the older versions.
The Gradient of CorelX here

Open the pattern Multi color 31 in PSP and minimize it with the rest of the material.
1. Open a new transparent image 1000 x 250 pixels.
2. Selections>Select All.
Selections>Modifier>Contract - 70 pixels.
3. Set your foreground color with color white #ffffff.
Flood Fill  the selection with color white. the selection with color white.
Selections>Select none.
4. Effects>Distortion Effects>Polar Coordinates.

5. Selections>Select All.
Selections>Float.
6. Set your foreground color to Pattern and select the pattern Multi color 31.

Flood Fill  the selection with your foreground Pattern. the selection with your foreground Pattern.
Selections>Select None.
7. Image>Canvas Size - 1000 x 700 pixels.

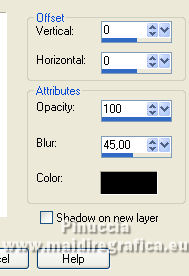
8. Effects>3D Effects>Drop Shadow, color #000000.
9. Set your foreground color to #dddf73,
and your background color to #dd6c07.

Set your foreground color to a Foreground/Background Gradient, style Linear.

10. Layers>New Raster Layer.
Layers>Arrange>Move down.
Flood Fill  the layer with your Gradient. the layer with your Gradient.
11. Effects>Plugins>Xero - Fritillary.

12. Image>Flip.
13. Effects>Plugins>Mura's Meister - Perspective Tiling.

14. Layers>New Raster Layer
Layers>Arrange>Send to Bottom.
Invert the colors of your gradient, clicking on the little arrow beetween the colors palettes to the right

15. Effects>Plugins>Carolaine and Sensibilité - CS_Texture, default settings.

16. Open ch-confetti5 by charliegraph creation 
Erase the watermark and go to Edit>Copy.
Go back to your work and go to Edit>Paste as new layer.
17. Layers>Merge>Merge visible.
18. Effects>Plugins>AAA Frames - Foto Frame.

19. Open the tube Renee- Tubes-Julliet-2021-30 
Edit>Copy.
Go back to your work and go to Edit>Paste as new layer.
20. Activate your Selection Tool 
and select the bags at the bottom

Edit>Cut.
Edit>Paste as new layer.
Place  the bags in the same place. the bags in the same place.

Selections>Select None.
21. Activate again the layer of the tube.
Image>Resize, to 90%, resize all layers not checked.
Place  the tube at the top, with the string at 500 pixels. the tube at the top, with the string at 500 pixels.

Rename this layer pig 1.
22. Layers>Duplicate - 2 times, and rename the layers pig 2 and pig 3.

23. Activate the layer pig 2.
Image>Free Rotate - 25 degrees to right.

Place  the tube at the same point. the tube at the same point.
24. Activate the layer pig 3.
Image>Free Rotate - 25 degrees to left.

Place  the tube at the same point. the tube at the same point.

25. Open Belscrap_Clown_El 2 Free 
Edit>Copy.
Go back to your work and go to Edit>Paste as new layer.
Move  the tube to the left side. the tube to the left side.
26. Open Belscrap_Clown_El 1 Free 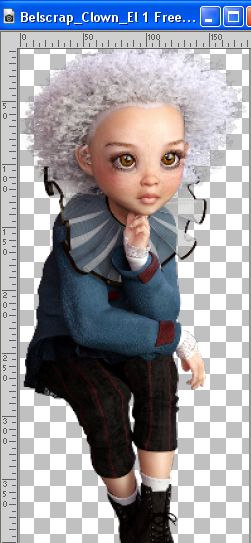
Edit>Copy.
Go back to your work and go to Edit>Paste as new layer.
Move  the tube to the left side. the tube to the left side.
27. Open Belscrap_Clown_El 5 Free 
Edit>Copy.
Go back to your work and go to Edit>Paste as new layer.
Move  the tube down. the tube down.
28. Open Belscrap_Clown_El 6s Free 
Edit>Copy.
Go back to your work and go to Edit>Paste as new layer.
Move  the tube to the right side. the tube to the right side.
29. Open Belscrap_Clown_El 7s Free 
Edit>Copy.
Go back to your work and go to Edit>Paste as new layer.
Move  the tube to the right side. the tube to the right side.

30. Sign your work on a new layer.
Add, if you want, the author and translator's watermarks.
ANIMATION
1. Stay always on the bottom layer.
Close the layer pig 2 and pig 3.

2. Edit>Copy Special>Copy Merged.
Open Animation Shop and go to Edit>Paste>Paste as new animation.
3. Go back to PSP.
Close the layer pig 1 and open the layer pig 2.

4. Edit>Copy Special>Copy Merged.
Go back to Animation Shop and go to Edit>Paste>Paste after the current frame.
5. On PSP.
Close the layer pig 2 and open the layer pig 1.

Edit>Copy Special>Copy Merged.
Go back to Animation Shop and go to Edit>Paste>Paste after the current frame.
6. On PSP.
Close the layer pig 1 and open the layer pig 3.

Edit>Copy Special>Copy Merged.
Go back to Animation Shop and go to Edit>Paste>Paste after the current frame.
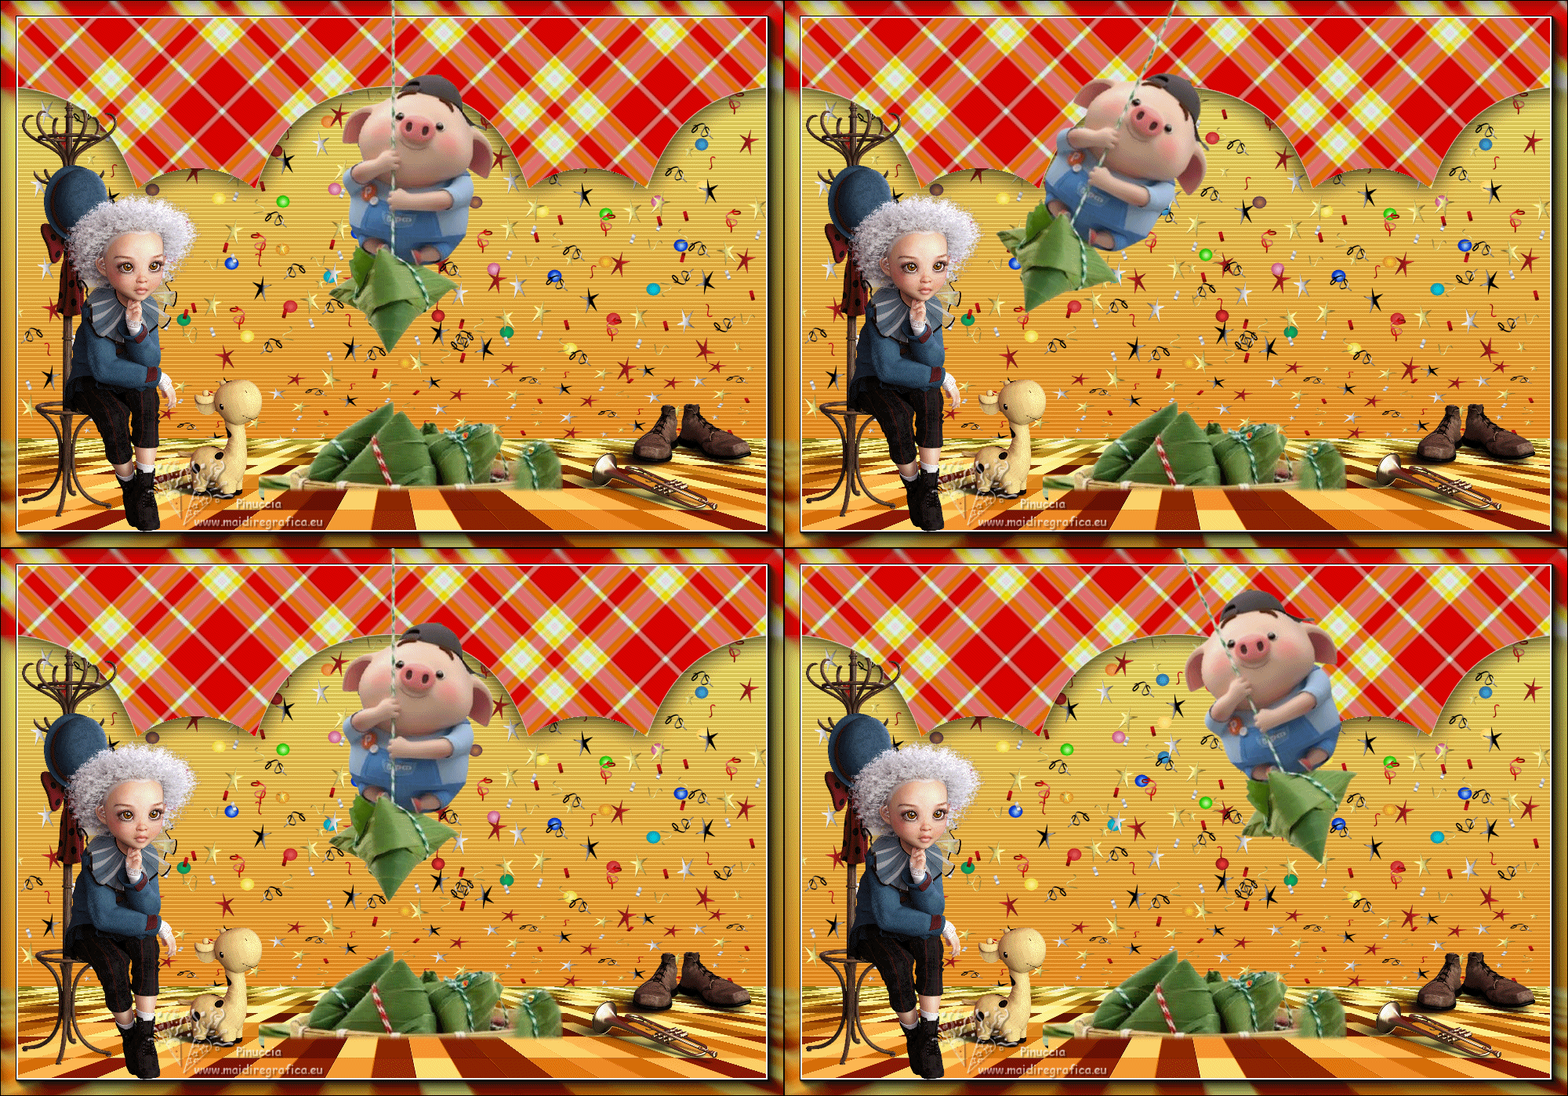
And you'll have an animation composed by 4 frames.

7. Edit>Select All.
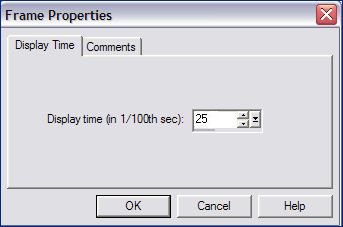
Animation>Frame Properties and set to 25.
8. Check your animation clicking on View animation 
and save as gif.
Fot the tubes of this version thanks Renée
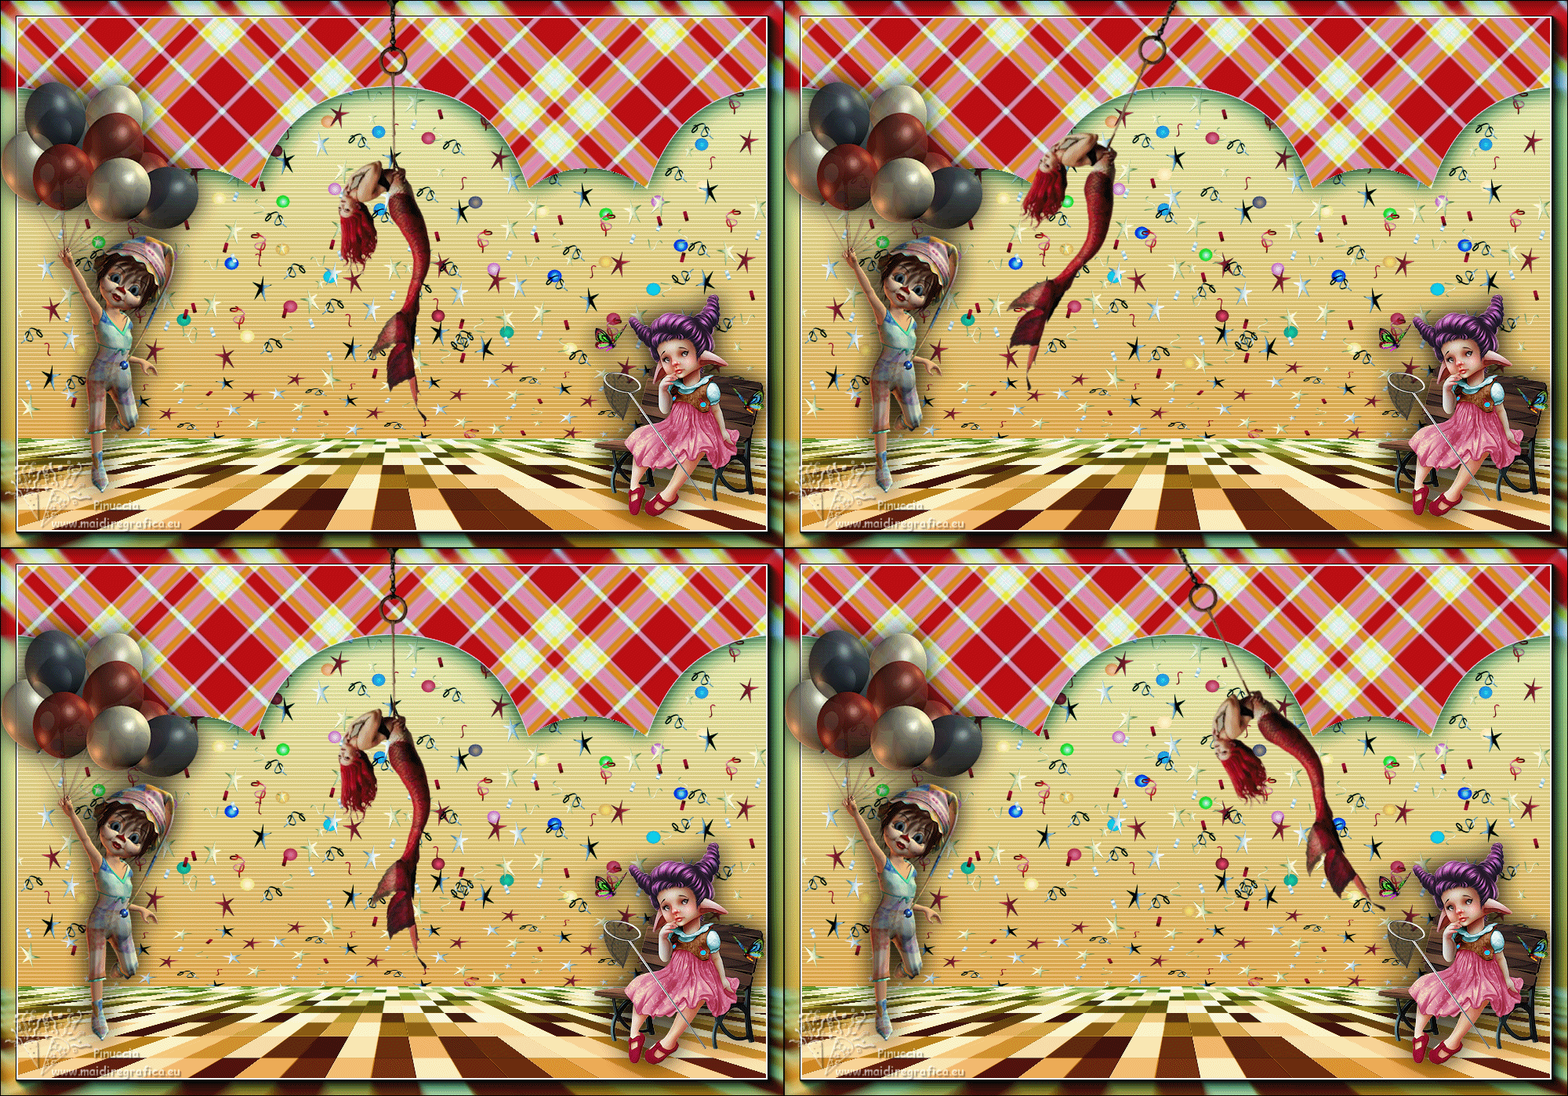
 Your versions here Your versions here

If you have problems or doubts, or you find a not worked link, or only for tell me that you enjoyed this tutorial, write to me.
11 February 2023

|

