|
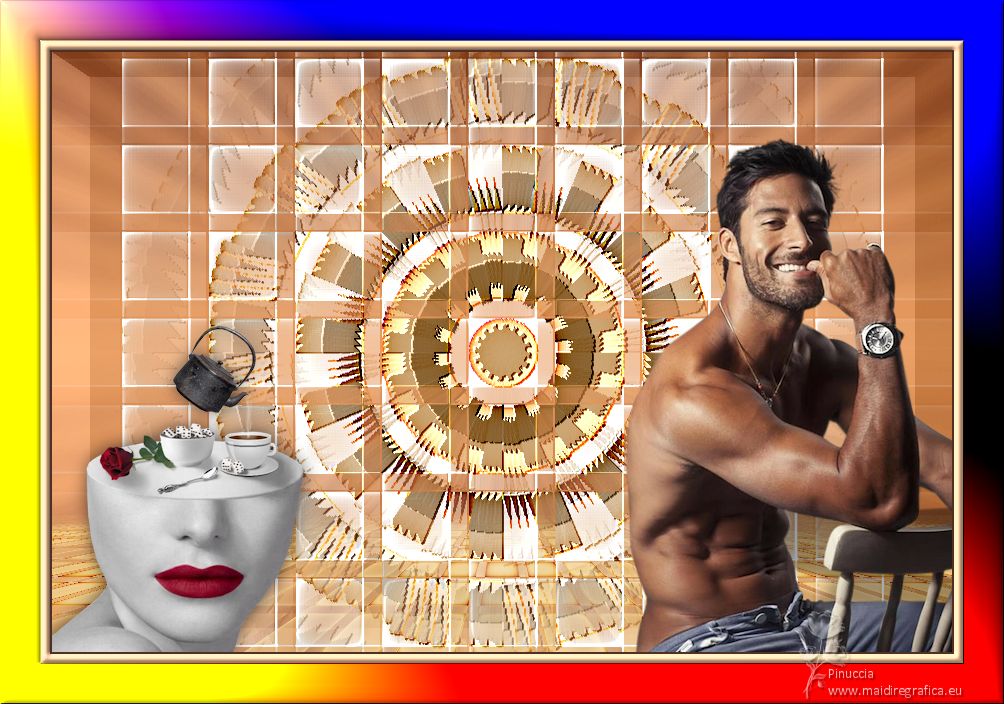
TAG BETO MALFACINI


This tutorial was translated with PSPX7 but it can also be made using other versions of PSP.
Since version PSP X4, Image>Mirror was replaced with Image>Flip Horizontal,
and Image>Flip with Image>Flip Vertical, there are some variables.
In versions X5 and X6, the functions have been improved by making available the Objects menu.
In the latest version X7 command Image>Mirror and Image>Flip returned, but with new differences.
See my schedule here
 French translation here French translation here
 Your versions ici Your versions ici
For this tutorial, you will need:

Thanks for the tubes Beatriz and Nicole.
(you find here the links to the material authors' sites)

consult, if necessary, my filter section here
Filters Unlimited 2.0 here
&<BKG Designer sf10I> - Cut Glass 01 (à importer dans Unlimited) here
&<BKG Designer sf10II> - Mirror Chaos (à importer dans Unlimited) here
Filter Factory Gallery M - Explosive Blur here
Toadies - Sucking Toad Bevel I here
&<Sandflower Specials °v° - Color Boosterz, Color Flourish (à importer dans Unlimited) here
Alien Skin Eye Candy 5 Impact - Perspective Shadow here
Mura's Meister - Perspective Tiling here
Filters Factory Gallery and Toadies can be used alone or imported into Filters Unlimited.
(How do, you see here)
If a plugin supplied appears with this icon  it must necessarily be imported into Unlimited it must necessarily be imported into Unlimited

You can change Blend Modes according to your colors.
In the newest versions of PSP, you don't find the foreground/background gradient (Corel_06_029).
You can use the gradients of the older versions.
The Gradient of CorelX here

Copy the preset Emboss 3 in the Presets Folder.
1. Set your foreground color to #503026,
and your background color to #c69f80
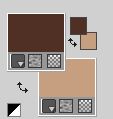
Set your foreground color to a Foreground/Background Gradient, style Linear.

2. Open a new transparent image 900 x 600 pixels.
Flood Fill  the transparent image with your Gradient. the transparent image with your Gradient.
3. Effects>Plugins>Filters Unlimited 2.0 - Déformation - Explosive Blur, default settings
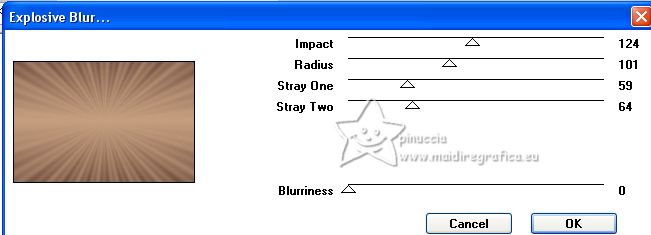
4. Effects>Plugins>Toadies - Sucking Toad Bevel I
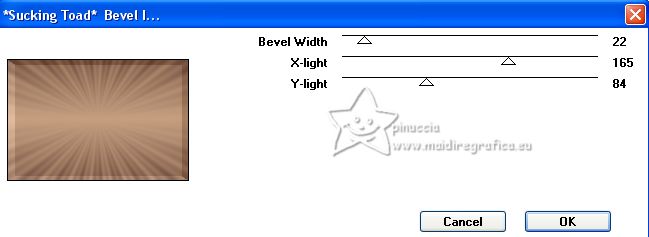
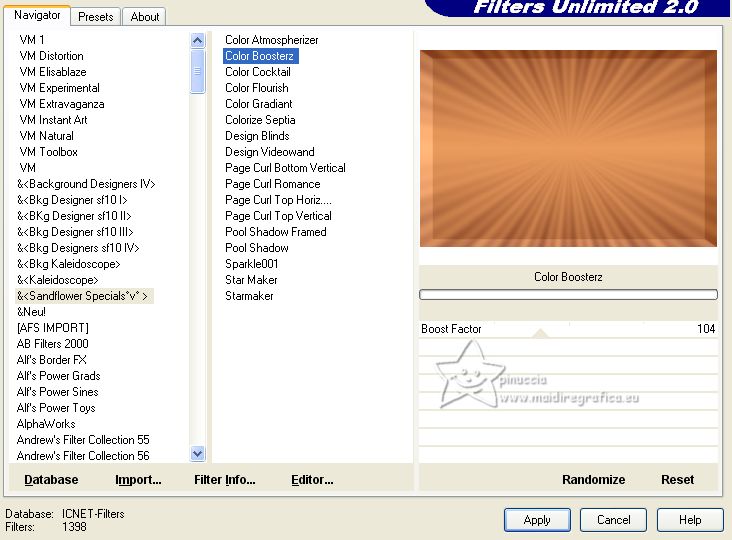
5. Effects>Plugins>Filters Unlimited 2.0 - &<Sandflower Specials °v° - Color Boosterz
6. Open Forma_28_Nines 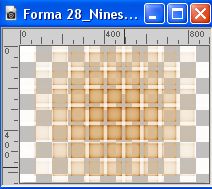
Edit>Copy.
Go back to your work and go to Edit>Paste as new layer.
Layers>Duplicate and close this layer for the moment.
7. Activate the layer below of the original, Raster 2.
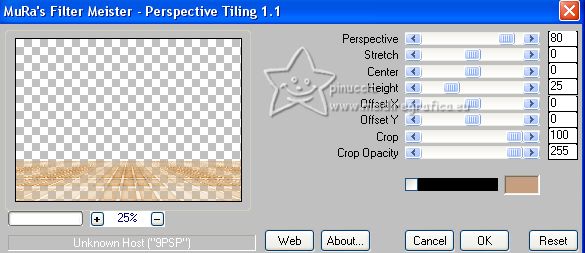
Effects>Plugins>Mura's Meister - Perspective Tiling.
8. Activate your Magic Wand Tool  , tolerance and feather 20, , tolerance and feather 20,

and click in the transparent part to select it.
Press 4 times CANC on the keyboard 
Selections>Select None.
9. Layers>Duplicate.
Change the Blend Mode of this layer to Overlay and reduce the opacity to 70%.

10. Open and activate the layer above.
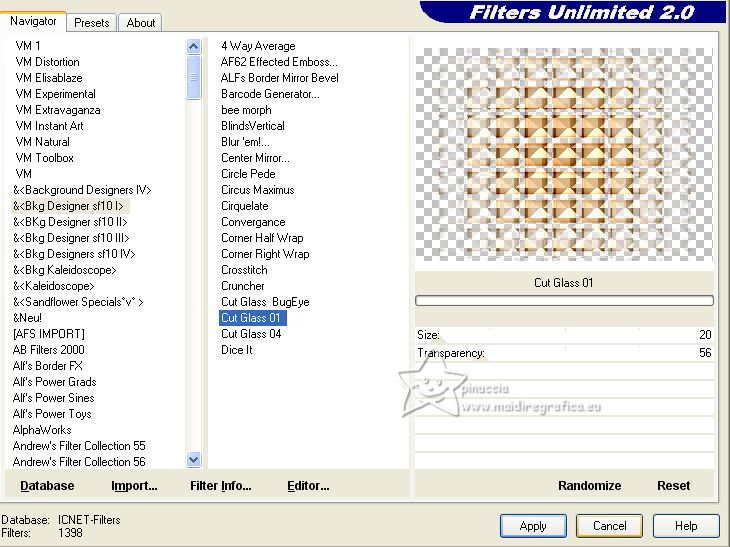
Effects>Plugins>Filters Unlimited 2.0 - &<BKG Designer sf10I> - Cut Glass 01, default settings.
11. Effects>Plugins>Filters Unlimited 2.0 - &<BKG Designer sf10II> - Mirror Chaos, default settings.
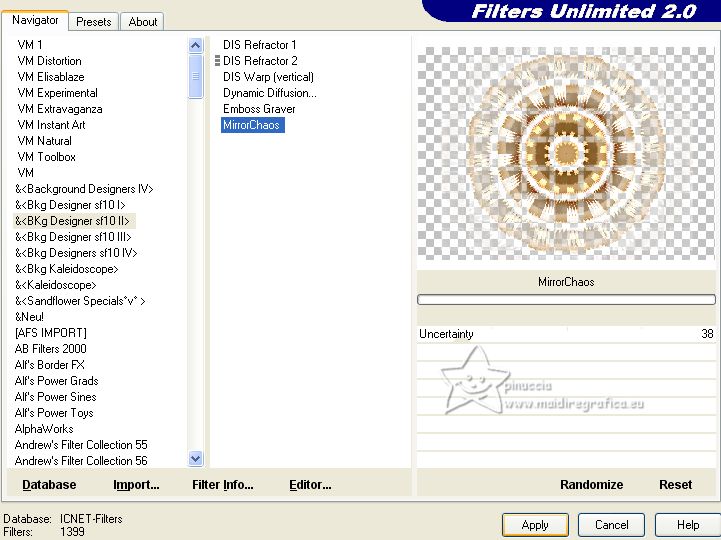
12. Effects>User Defined Effect - select the preset Emboss 3 and ok.

13. Open the tube Tube Nicole-etrange2-2022 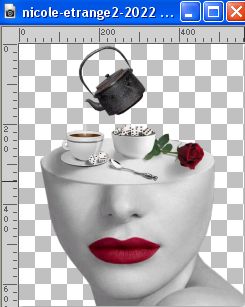
Edit>Copy.
Go back to your work and go to Edit>Paste as new layer.
Image>Resize, to 50%, resize all layers not checked.
Move  the tube at the bottom left. the tube at the bottom left.
14. Effects>3D Effects>Drop Shadow, color black.

15. Open the tube 3798-Beto Malfacini-LB TUBES 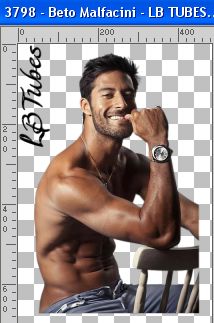
Erase the watermark and go to Edit>Copy.
Go back to your work and go to Edit>Paste as new layer.
Image>Resize, to 80%, resize all layers not checked.
Move  the tube to the right side. the tube to the right side.
16. Effects>Plugins>Alien Skin Eye Candy 5 Impact - Perspective Shadow.
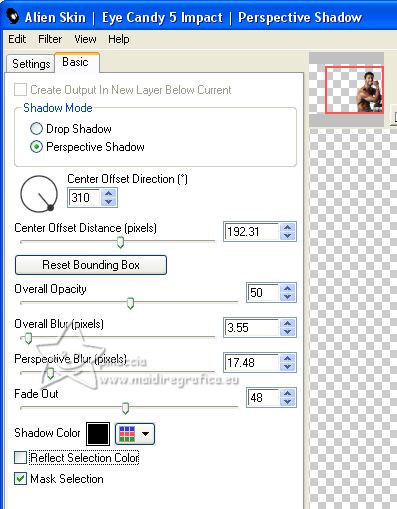
17. Layers>Merge>Merge All.
18. Image>Add borders, 2 pixels, symmetric, foreground color #503026.
Image>Add borders, 10 pixels, symmetric, background color #c69f80.
19. Activate your Magic Wand Tool  , tolerance and feather 0, , tolerance and feather 0,
and click in the last border to select it.
20. Effects>3D Effects>Inner Bevel.

Selections>Select None.
21. Image>Add borders, 40 pixels, symmetric, background color #696a7d.
Select this border with your Magic Wand Tool 
22. Effects>Plugins>Filters Unlimited 2.0 - Sandflower special "v" - Color Flourish, default settings.
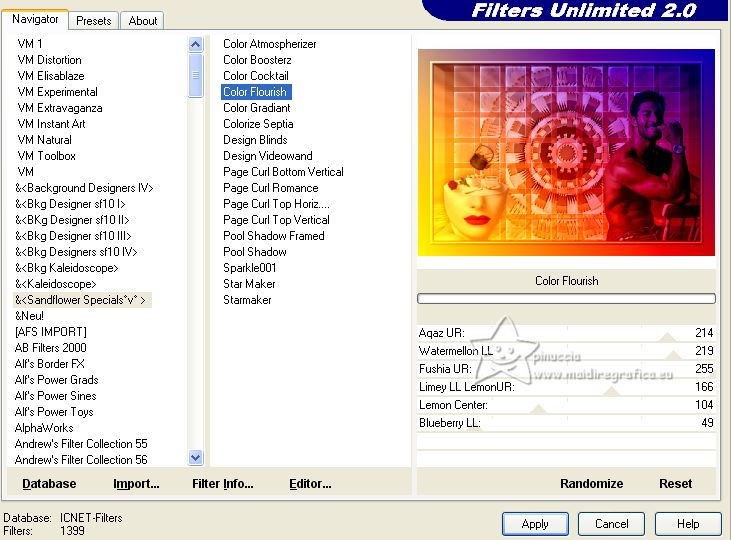
23. Effects>3D Effects>Inner Bevel, same settings.

Selections>Select None.
24. Sign your work on a new layer.
Add, if you want, the author's watermark; in this case, please don't forget the translator's watermark.
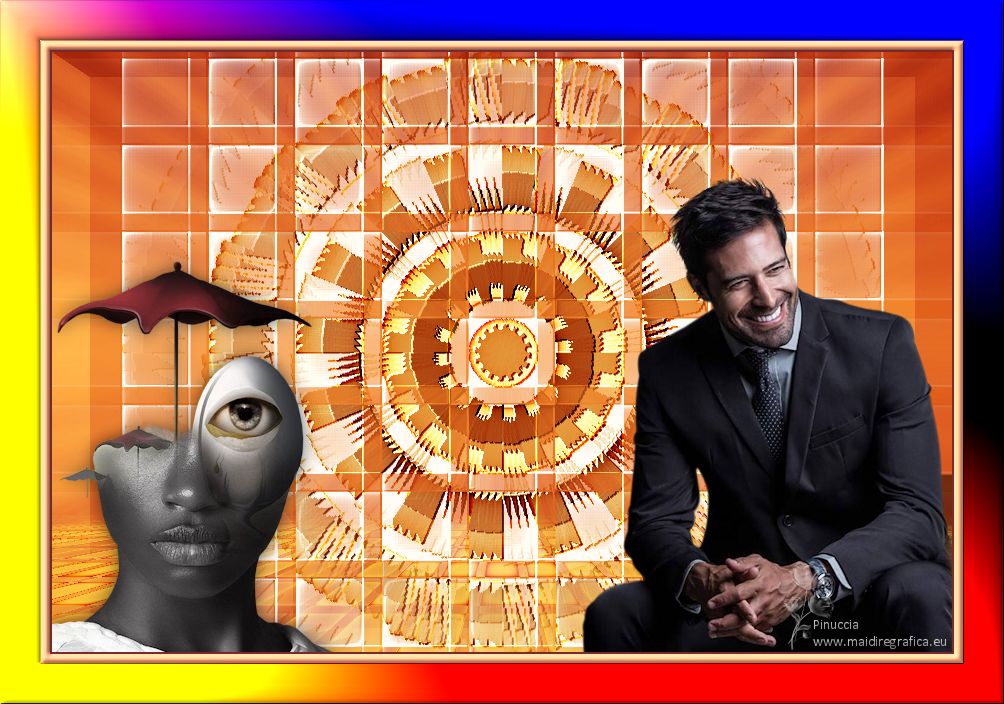
25. Layers>Merge>Merge All and save as jpg.
For the tubes of this version thanks Beatriz and Nicole.

If you have problems or doubts, or you find a not worked link, or only for tell me that you enjoyed this tutorial, write to me.
27 May 2023

|

