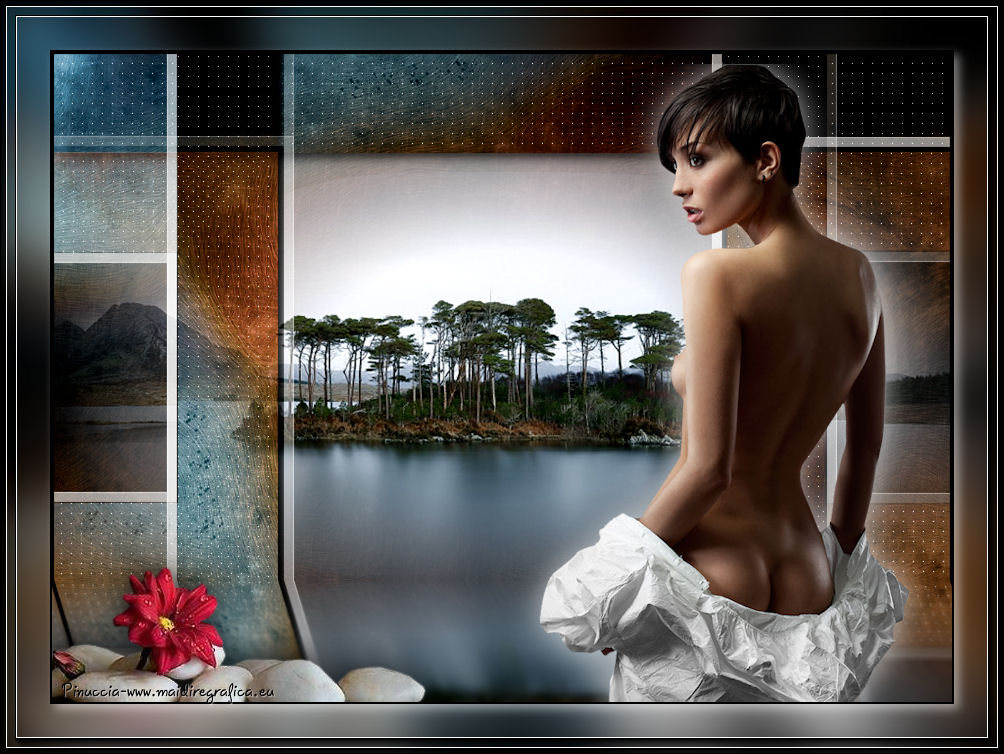
Here you find the original of this tutorial:

This tutorial was created with PSP X2 but it can also be made using other versions of PSP.
Since version PSP X4, Image>Mirror was replaced with Image>Flip Horizontal,
and Image>Flip with Image>Flip Vertical, there are some variables.
In versions X5 and X6, the functions have been improved by making available the Objects menu.
In the latest version X7 command Image>Mirror and Image>Flip returned, but with new differences.
See my schedule here
French translation here
Your versions here
For this tutorial, you will need:
Material here
Tube nina_ricci_221
39_paysage_p2_animabelle
Tube calguiszendeco29042015 by Guismo
Imagen texture-wave4_by_helenem
Filtres:
consult, if necessary, my filter section here
Filters Unlimited 2.0 here
Simple - Blintz here
AP 01 Innovations - Lines SilverLining here
AAA Frames - Foto Frame here
Flaming Pear - Flood here
Filters Simple can be used alone or imported into Filters Unlimited.
(How do, you see here)
If a plugin supplied appears with this icon  it must necessarily be imported into Unlimited

You can change Blend Modes according to your colors.
1. Open a new transparent image 900 x 650 pixels.
2. Selection>Select All.
3. Open the texture-wave4_by_helenem - Edit>Copy.
Go back to your work and go to Edit>Paste into Selection.
Selections>Select None.
4. Selections>Load/Save Selections>Load Selection from disk.
Look for and load the selection sel_zen_nines.

5. Selections>Promote selection to layer.
6. Effects>Plugins>AP 01 Innovations - Lines SilverLining.

Selections>Select None.
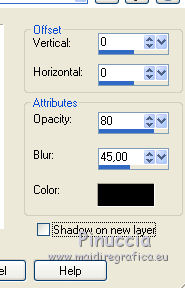
7. Effects>Effects 3D>Drop Shadow, color black.

Repeat Drop Shadow, but vertical et horizontal -5.
8. Layers>Duplicate.
9. Image>Free Rotate - 90 Degrees to Left.

10. Effects>3D Effects>Chisel - color white.
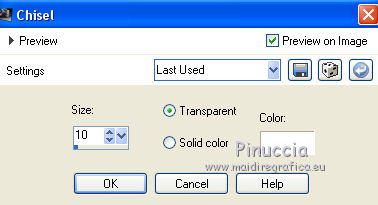
Change the blend mode of this layer to Hard Light.
11. Layers>Duplicate.
Effects>Plugins>Filters Unlimited 2.0 - Simple - Blintz.

Change the blend mode of this layer to Screen.

12. Activate the bottom layer (raster 1).
Open the tube 39_paysage_p2_animabelle - Edit>Copy.
Go back to your work and go to Edit>Paste as new layer.
13. Activate the top layer.
Set your foreground color to black #000000.
Layers>New Raster Layer.
Flood Fill  the layer with black.
14. Selections>Select All.
Selections>Modify>Contract - 2 pixels.
Press CANC on the keyboard 
Selections>Select None.
15. Layers>Merge>Merge visible.
16. Effects>Plugins>Flaming Pear - Flood.

17. Activate the Smudge tool  with these settings:

apply the brush on the strip of plugin Flood, to blend it a little.
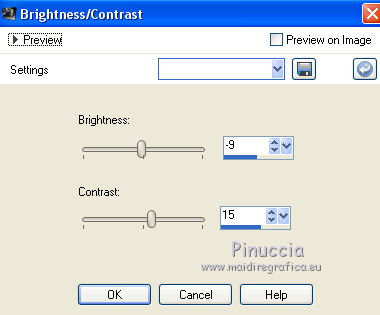
18. Adjust>Brightness and Contrast>Brightness and Contrast.
19. Open the tube nina-ricci_221 - Edit>Copy.
Go back to your work and go to Edit>Paste as new layer.
Image>Resize, 1 time to 80% and 1 time to 90%, resize all layers not checked.
20. Effects>3D Effects>Drop Shadow, color #e2e2e2.

21. Open the tube calguiszendeco29042014 (raster 2) - Edit>Copy.
Go back to your work and go to Edit>Paste as new layer.
21. Effects>3D Effects>Drop Shadow, color black.
22. Layers>Merge>Merge All.
23. Image>Add borders, 2 pixels, symmetric, color black.
24. Edit>Copy.
25. Image>Add borders, 50 pixels, symmetric, color white.
Activate your Magic Wand tool 
and clic on the white bord to select it.
26. Edit>Paste into selection.
27. Adjust>Blur>Gaussian blur - radius 25.

28. Effects>Plugins>AAA Frames - Foto Frame.

Again Effects>Plugins>AAA Frames - Foto Frame, but width 5.

29. Selections>Invert.
Effects>3D Effects>Drop Shadow, color white.

Selections>Select None.
30. Sign your work and save as jpg.
The tubes of this version are by Min@ and Gabry.
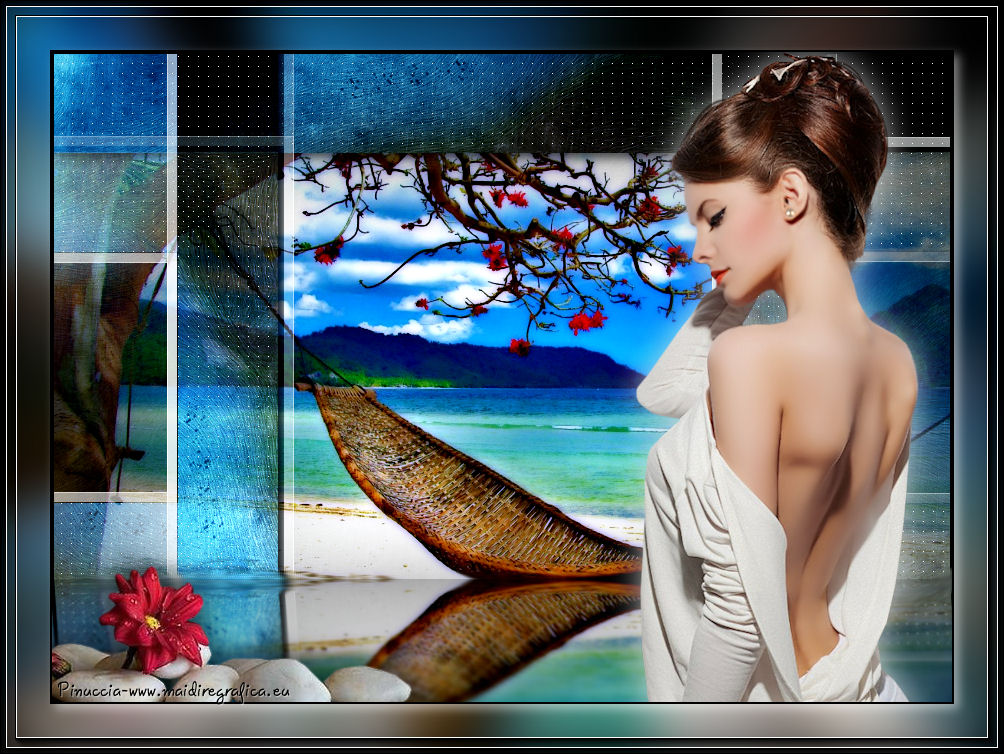

If you have problems or doubt, or you find a not worked link, or only for tell me that you enjoyed this tutorial, write to me.
11 Août 2015
