This tutorial was translated with PSPX3 but it can also be made using other versions of PSP.
Since version PSP X4, Image>Mirror was replaced with Image>Flip Horizontal,
and Image>Flip with Image>Flip Vertical, there are some variables.
In versions X5 and X6, the functions have been improved by making available the Objects menu.
In the latest version X7 command Image>Mirror and Image>Flip returned, but with new differences.
See my schedule here
French translation here
Your versions here
For this tutorial, you will need:
Material here
Tube K@rine_dreams_Woman_3674_Fevrier_2017
15 Imagenes Via Crucis de la Red
mentali-misted336
lunareligioso012
ressrmt2gm
Mask weg
Texto Via Crucis_nines
Plugins
consult, if necessary, my filter section here
Filters Unlimited 2.0 here
Mura's Meister - Cloud here
Tramages - Pool Shadow here
AAA Frames - Foto Frame here
Filters Tramages can be used alone or imported into Filters Unlimited.
(How do, you see here)
If a plugin supplied appears with this icon  it must necessarily be imported into Unlimited

In the newest versions of PSP, you don't find the foreground/background gradient (Corel_06_029).
You can use the gradients of the older versions.
The Gradient of CorelX here
1. Open the mask "weg".
Window>Duplicate, or on the keyboard shift+D to get a copy.
Minimize the original and work with the copy.
2. Activate the Magic Wand Tool 
and click on the first frame to select it.
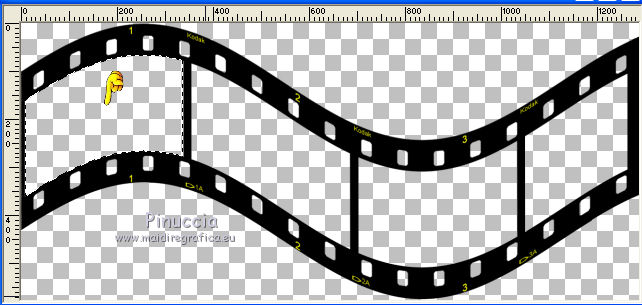
3. Selections>Modify>Expand - 3 pixels.
4. Layers>New Raster Layer.
Layers>Arrange>Move down.
5. Open the first image "imagen 1" of Via Crucis "imagen 1" - Edit>Copy.
Go back to your work and go to Edit>Paste into Selection.
Selections>Select None.
6. Activate the mask layer
and click on the second frame with your Magic Wand Tool 
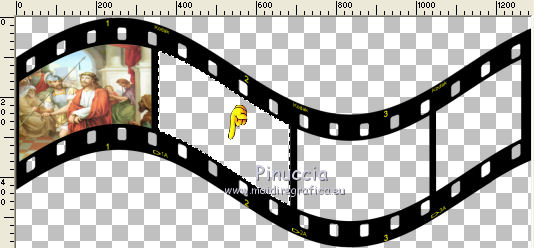
Selections>Modify>Expand - 3 pixels.
7. Open the image "imagen2" of via Crucis - Edit>Copy.
Go back to your work.
Activate the layer below and go to Edit>Paste into Selection.
Selections>Select None.
8. Activate the mask layer
and click on the third frame with your Magic Wand tool 
Selections>Modify>Expand - 3 pixels.
9. Open the image "imagen3" of Crucis - Edit>Copy.
Go back to your work and activate the layer below.
Edit>Paste into Selection.
Selections>Select None.
10. Again activate the mask layer
and click on the 4th frame with your Magic Wand tool 
Selections>Modify>Expand - 3 pixels.
11. Open the image "imagen4" de la via Crucis - Edit>Copy.
Go back to your ward, activate the layer below,
and go to Edit>Paste into Selection.
Selections>Select None.
12. Layers>Merge>Merge vixsible and save as psp with the name "Via Crucis 1".
13. Repeat the steps 1-12 with the images of Via Crucis 5, 6, 7 et 8,
and save as psp with the name "via Crucis 2".
14. Again repeat the steps 1-12 with the images of via Crucis 9, 10, 11 (this image is not in the folder; I put a similar image in the material), 12.
and save as psp with the name "via Crucis 3".
15. Again repeat the steps 1-12 with the images of via Crucis 13, 14, 15, 16
and save as psp with the name "via Crucis 4".
16. Open a new transparent image 1000 x 750 pixels.
17. Set your foreground color to #3f6289
and your background color to #97aab0.
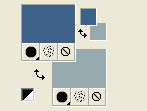
Set your foreground color to a Foreground/Background gradient, style Halo.
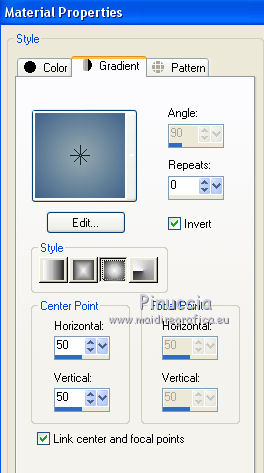
Flood Fill  the transparent image with your gradient.
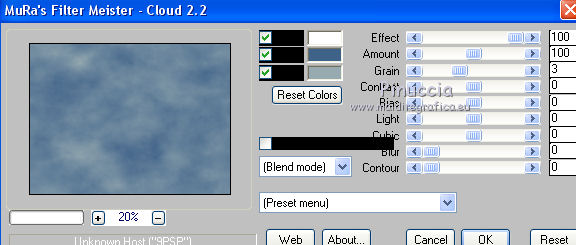
18. Effects>Plugins>Mura's Meister - Cloud, default settings.
19. Open "via Crucis 1" - Edit>Copy.
Go back to your work and go to Edit>Paste as new layer.
Image>Resize, 1 time to 50% and 1 time to 80%, resize all layers not checked.
20. Effects>Image Effects>Offset.
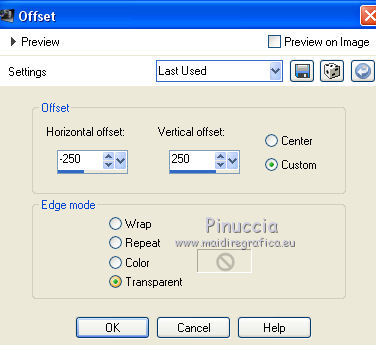
21. Open "via Crucis 2" - Edit>Copy.
Go back to your work and go to Edit>Paste as new layer.
Image>Resize, 1 time to 50% and 1 time to 80%, resize all layers not checked.
22. Effects>Image Effects>Offset.
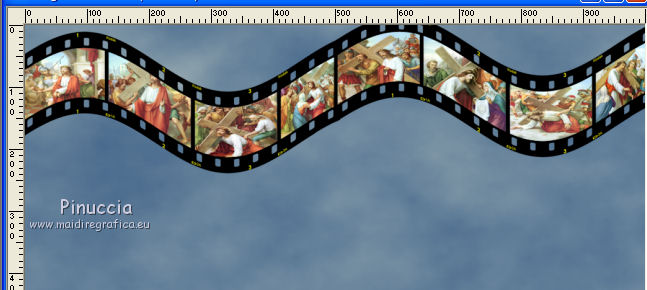
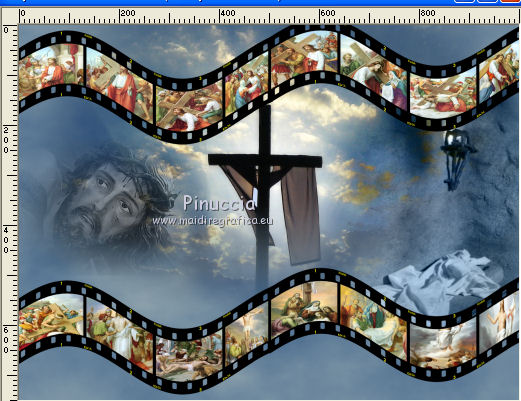
23. You should have this.
24. Open "via Crucis 3" - Edit>Copy.
Go back to your work and go to Edit>Paste as new layer.
Image>Resize, 1 time to 50% and 1 time to 80%, resize all layers not checked.
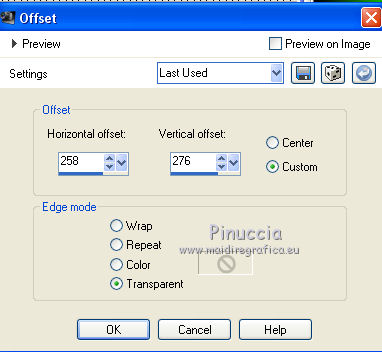
25. Effects>Image Effects>Offset.

26. Open "via Crucis 4" - Edit>Copy.
Go back to your work and go to Edit>Paste as new layer.
Image>Resize, 1 time to 50% and 1 time to 80%, resize all layers not checked.
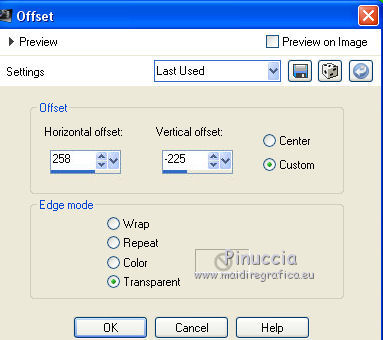
27. Effects>Image Effects>Offset.
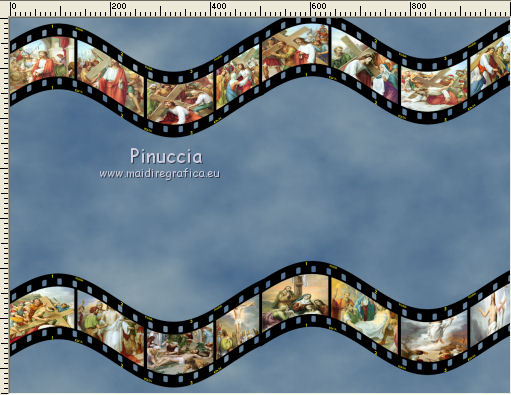
28. You shoud have this.
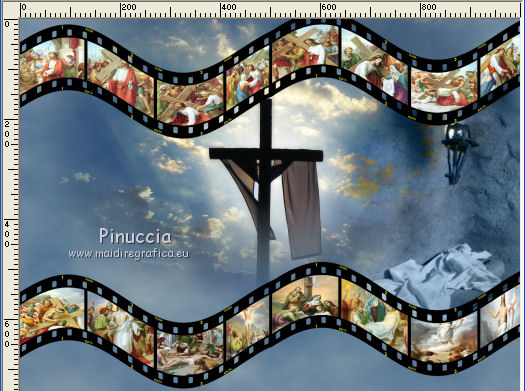
29. Open the tube mentali-misted336 - Edit>Copy.
Go back to your work and go to Edit>Paste as new layer.
Place  the tube in the middle of the image, see my example.
30. Open the tube ressrmt2gm - Edit>Copy.
Go back to your work and go to Edit>Paste as new layer.
Move  the tube to the right side, see my example.
Change the Blend Mode of this layer to Luminance (legacy).
31. Open the tube lunareligioso012 - Edit>Copy.
Go back to your work and go to Edit>Paste as new layer.
Image>Resize, to 50%, resize all layers not checked.
Image>Mirror.
Move  the tube to the left side.
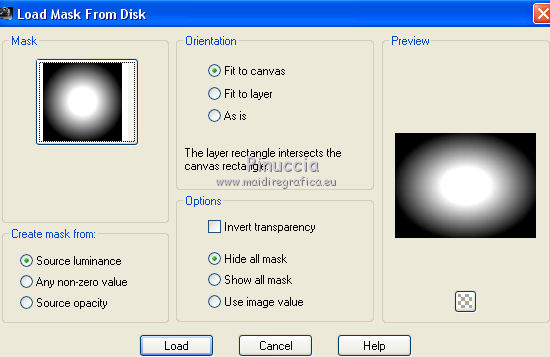
I applied the mask 20-20;
Layers>Load/Save Mask>Load Mask from Disk.
Look for and load the mask 20-20.
32. Layer>Merge>Merge visible.
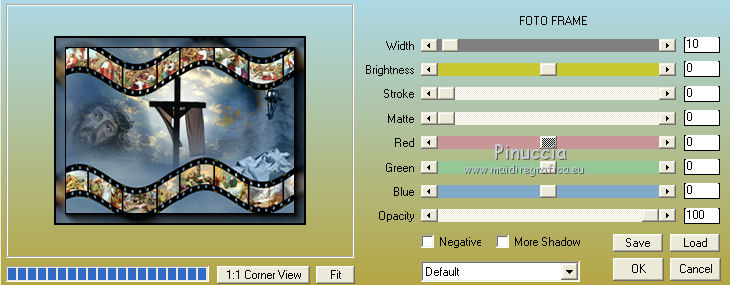
33. Effects>Plugins>AAA Frames - Foto Frame.
34. Edit>Copy.
35. Image>Resize, to 90%, resize all layers not checked.
36. Layers>New Raster Layer.
Layers>Arrange>Send to Bottom.
Selections>Select All.
37. Edit>Paste into Selection.
38. Adjust>Blur>Radial Blur.
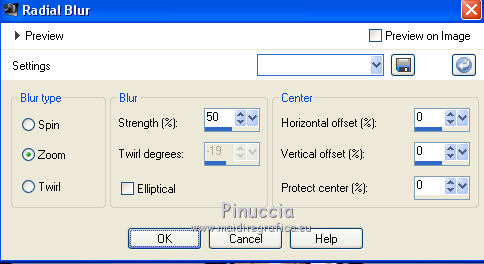
39. Layers>Merge>Merge All.
Image>Add borders, 2 pixels, symmetric, color black.
40. Image>Resize, 90%, resize all layers checked.
41. Image>Add borders, 25 pixels, symmetric, foreground color #3f6289.
Image>Add borders, 50 pixels, symmetric, background color #97aab0.
Activate the Magic Wand tool 
and click on the 50 pixels bord to select it.
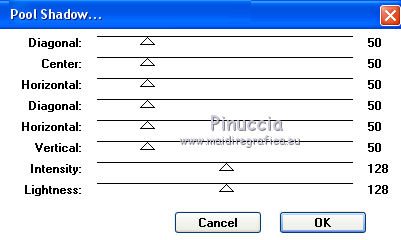
42. Effects>Plugins>Tramages - Pool Shadow, default settings.
43. Open the tube k@rine_dreams_Woman_3674_Fevrier_2017 - Edit>Copy.
Go back to your work and go to Edit>Paste as new layer.
Image>Resize, to 70%, resize all layers not checked.
Image>Mirror.
Move  the tube to the right side, see my example.
44. Effects>3D Effects>Drop Shadow, color black.

45. Open texto_via Crucis_nines - Edit>Copy.
Go back to your work and go to Edit>Paste as new layer.
Move  the texte at the bottom left.
46. Layers>Merge>Merge All.
Sign your work and save as jpg.

If you have problems or doubts, or you find a not worked link, or only for tell me that you enjoyed this tutorial, write to me.
1 April 2017

