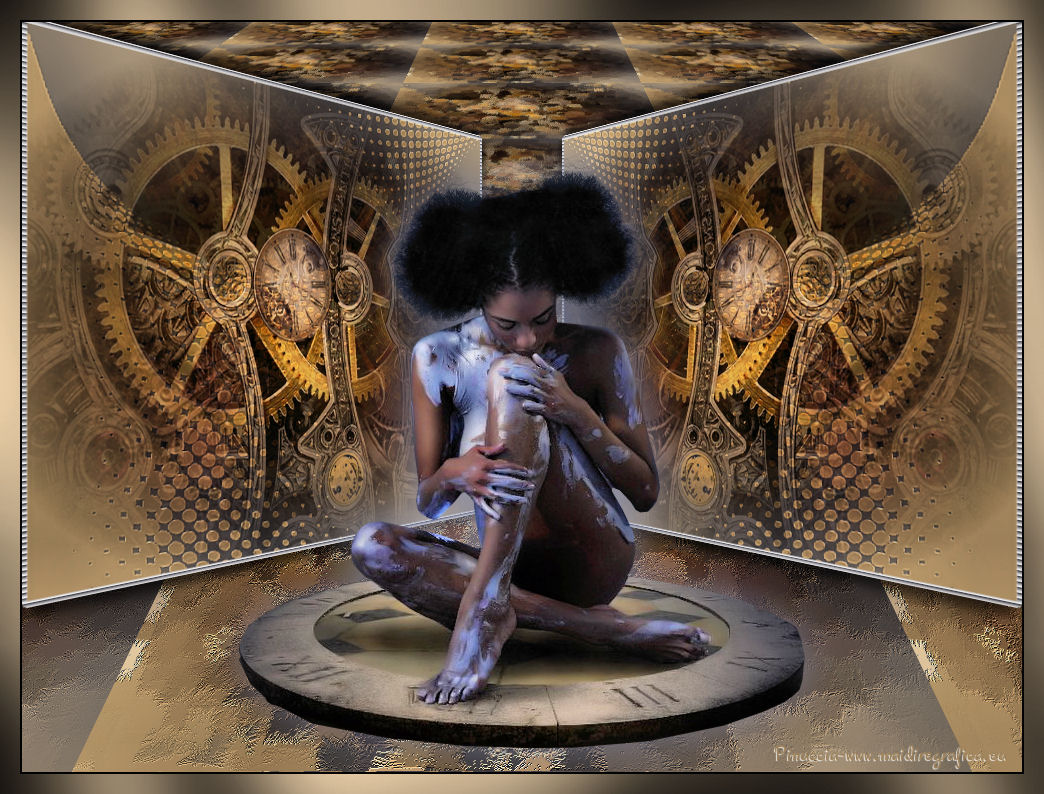
This tutorial was translated with PSPX3 but it can also be made using other versions of PSP.
Since version PSP X4, Image>Mirror was replaced with Image>Flip Horizontal,
and Image>Flip with Image>Flip Vertical, there are some variables.
In versions X5 and X6, the functions have been improved by making available the Objects menu.
In the latest version X7 command Image>Mirror and Image>Flip returned, but with new differences.
See my schedule here
French translation here
Your versions here
For this tutorial, you will need:
Material here
Tube calguisTimebeauty03112015 by Guismo
Tube rouages_steampunk_tubed_by_thafs
Narah_mask_0855
Plugins
consult, if necessary, my filter section here
Filters Unlimited 2.0 here
Mura's Meister - Perspective Tiling here
Andromeda - Perspective here
Graphics Plus - Cross Shadow here
FM Tile Tools - Saturation Emboss here
Filters Factory Gallery can be used alone or imported into Filters Unlimited.
(How do, you see here)
If a plugin supplied appears with this icon  it must necessarily be imported into Unlimited

Open the mask in PSP and minimize it with the rest of the material.
1. Open a new transparent image 900 x 650 pixels.
2. Set your foreground color to #887861.
Set your background color to #424147.
Set your foreground color to a foreground/background gradient, style Linear.
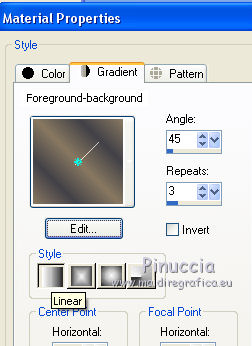
Flood Fill  your transparente image with your gradient.
3. Adjust>Blur>Gaussian blur - radius 30.

4. Layers>New Raster Layer.
Set your foreground color to Color.
Flood Fill  the layer with your foreground color #887861.
5. Layers>New Mask layer>From image
Open the menu under the source window and you'll see all the files open.
Select the mask Narah_mask_0885:
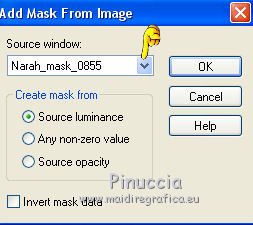
Layers>Merge>Merge group.
6. Adjust>Sharpness>Sharpen More.
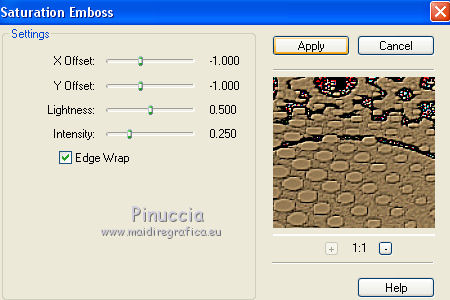
7. Effects>Plugins>FM Tile Tools - Saturation Emboss, default settings.
8. Open the tube rouages_steampunk_tubed_by_thafs - Edit>Copy.
Go back to your work and go to Edit>Paste as new layer.
Change the Blend mode of this layer to Hard Light.

9. Layers>Merge>Merge visible.
10. Layers>Duplicate.
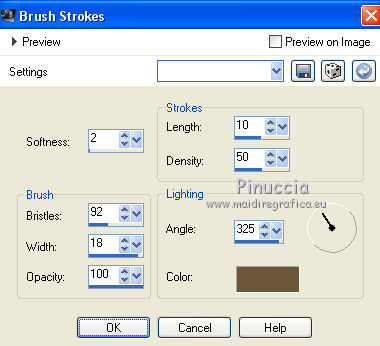
Effects>Art Media Effects>Brush Strokes - color #6c5639.
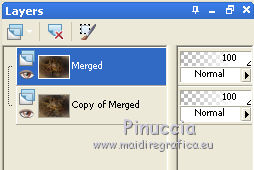
11. Activate the layer below.
Layers>Arrange>Mode Up.
12. Image>Resize, to 80%, resize all layers not checked.
13. Selections>Select All.
Selections>Float.
Selections>Modify>Select Selection Borders.
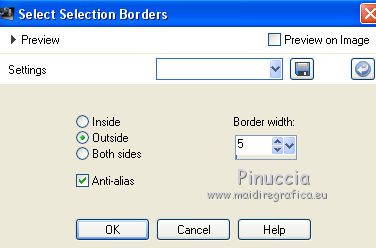
Flood Fill  the selection with your background color #424147.
14. Effects>Textures Effects>Blinds.
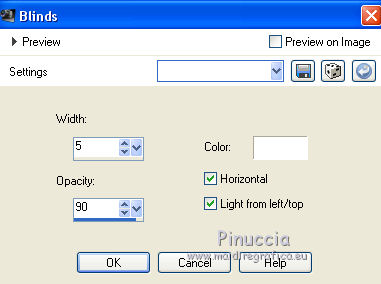
Selections>Select None.
15. Effects>3D Effects>Drop Shadow, color black.

Repeat Drop Shadow, but vertical and horizontal -10.
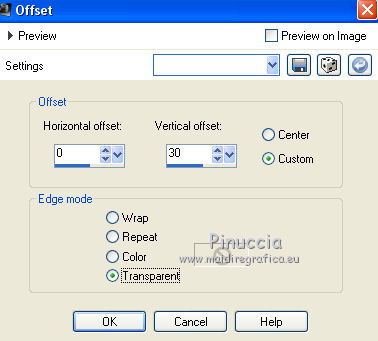
16. Effects>Image Effects>Offset.
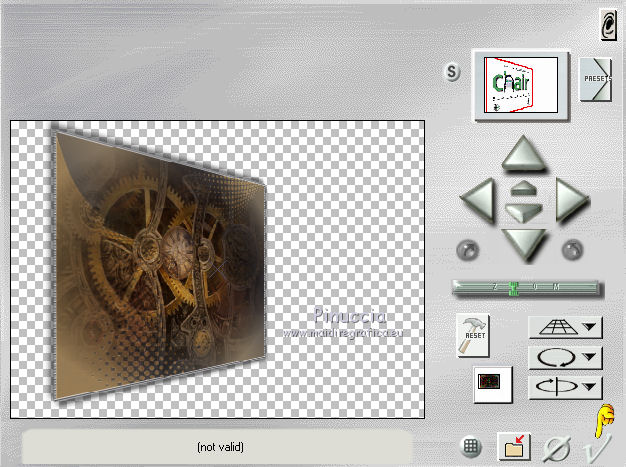
17. Effects>Plugins>Andromeda - Perspective
click on Presets.
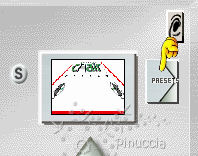
set the settings and clic on the check mark at the bottom right to apply
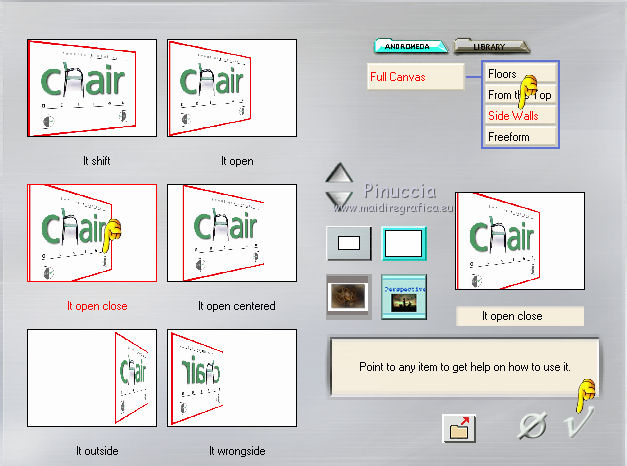
click again on the bottom sign on the right to close.
18. Effects>Image Effects>Offset.
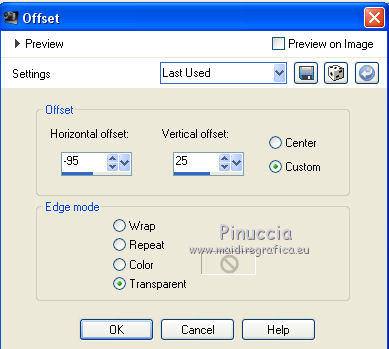
19. Image>Canvas Size - 1000 x 750 pixels.
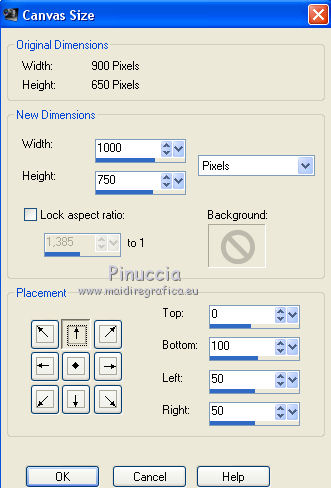
20. Activate the layer below (the layer with the Brush strokes effect).
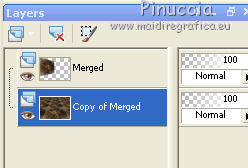
21. Effects>Plugins>Mura's Meister - Perspective Tiling.
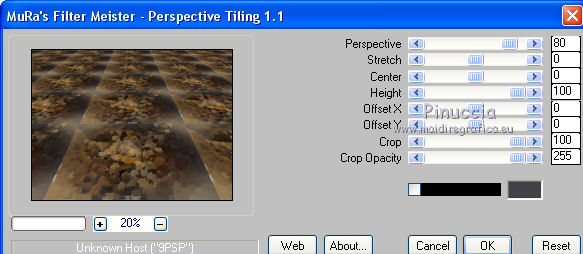
22. Activate the top layer.
Move  the layer to the left side.
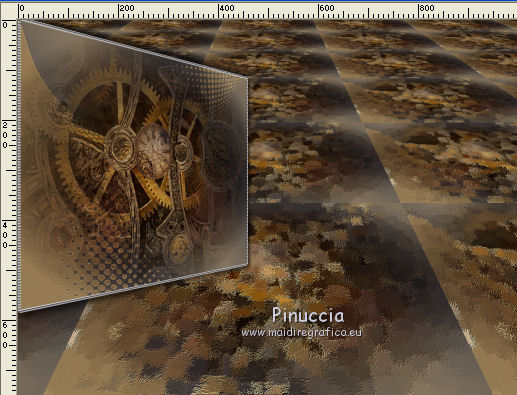
Layers>Duplicate.
Image>Mirror.
Open the tube calguisTimebeauty03112015 - Edit>Copy.
Go back to your work and go to Edit>Paste as new layer.
Place  rightly the tube.
23. Effects>3D Effects>Drop Shadow, color #626881.
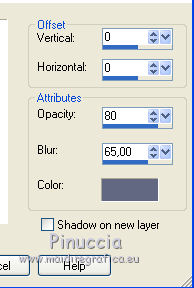
24. Layers>Merge>All.
25. Image>Add borders, 2 pixels, symmetric, color black.
Image>Add borders, 20 pixels, symmetric, color #887861.
26. Activate the Magic Wand tool 
and click on the 20 pixels border to select it.
27. Effects>Plugins>Graphics Plus - Cross Shadow, default settings.
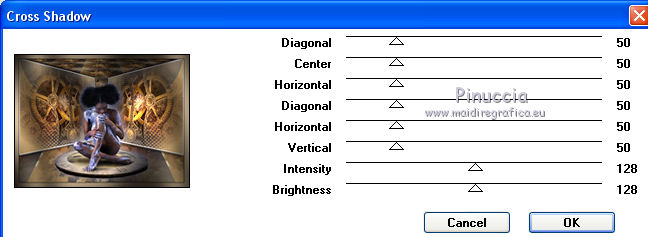
Selections>Select None.
28. Adjust>Brightness and Contrast>Local Tone Mapping.
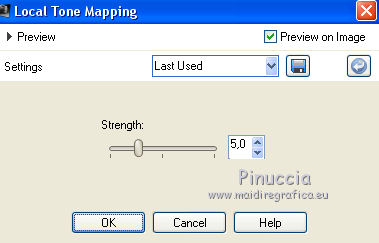
29. Sign your work and save as jpg.

If you have problems or doubt, or you find a not worked link, or only for tell me that you enjoyed this tutorial, write to me.
28 February 2016
