Here you find the original of this tutorial:

This tutorial was created with PSP X2 but it can also be made using other versions of PSP.
Since version PSP X4, Image>Mirror was replaced with Image>Flip Horizontal,
and Image>Flip with Image>Flip Vertical, there are some variables.
In versions X5 and X6, the functions have been improved by making available the Objects menu.
In the latest version X7 command Image>Mirror and Image>Flip returned, but with new differences.
See my schedule here
French translation here
Your versions here
For this tutorial, you will need:
Material here
For the tubes thanks Tocha and Animabelle
Effects>Plugins
consult, if necessary, my filter section here
FM Tile Tools - Saturation Emboss here
Mura's Meister - Perspective Tiling here

You can change Blend Modes according to your colors.
In the newest versions of PSP, you don't find the foreground/background gradient (Corel_06_029).
You can use the gradients of the older versions.
The Gradient of CorelX here
Copy the selection in the Selections Folder.
Open the mask in PSP and minimize it with the rest of the material.
1. Open a new transparent image 1000 x 700 pixels.
2. Set your foreground color to #0e0f31,
and your background color to #9f929b.
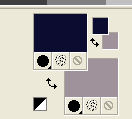
Set your foreground color to a Foreground/Background Gradient, style Linear

Flood Fill  the transparent image with your Gradient.
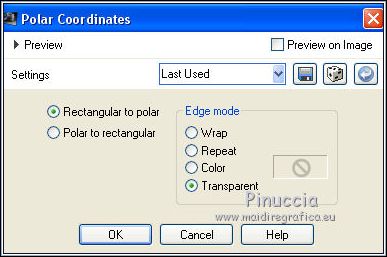
3. Effects>Distortion Effects>Polar Coordinates
4. Effects>Texture Effects>Weave
Weave Color white #ffffff.

5. Selections>Load/Save Selection>Load Selection from Disk.
Look for and load the selection sel_ding_nines.

Press CANC on the keyboard 
Selections>Select None.
6. Image>Resize, to 90%, resize all layers not checked.
7. Effects>Geometric Effects>Spherize.

8. Layers>Duplicate.
Close this layer and activate the layer below of the original.
9. Adjust>Blur>Radial Blur.

10. Effects>Edge Effects>Enhance More.
11. Layers>Duplicate.
Image>Flip.
Layers>Merge>Merge Down.
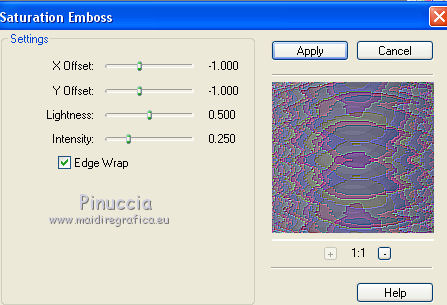
12. Effects>Plugins>FM Tile Tools - Saturation Emboss, default settings.
13. Change the settings of your Gradient.

Layers>New Raster Layer.
Layers>Arrange>Send to Bottom.
Flood Fill  the layer with your Gradient.
14. Adjust>Add/Remove Noise/JPEG Artifact Removal.

15. Effects>Plugins>FM Tile Tools - Saturation Emboss, default settings.
Change the Blend Mode of this layer to Overlay (you'll see the effect later)
16. Layers>New Mask layer>From image
Open the menu under the source window and you'll see all the files open.
Select the mask mask.ket-fadesuave.

Layers>Merge>Merge Group.
Layers>New Mask layer>From image
Open the menu under the source window
and select again the mask.ket-fadesuave.
Layers>Merge>Merge Group.
17. Open again and activate the closed layer.
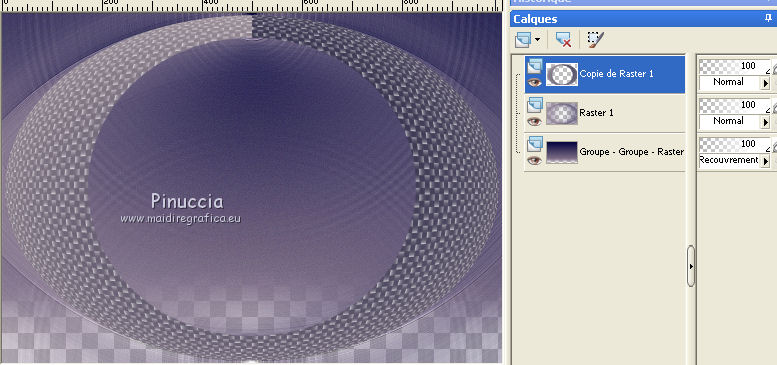
18. Effects>3D Effects>Drop Shadow, color black.

Repeat Drop Shadow, vertical and horizontal -15.
19. Layers>Duplicate.
Image>Canvas Size - 1000 x 800 pixels.

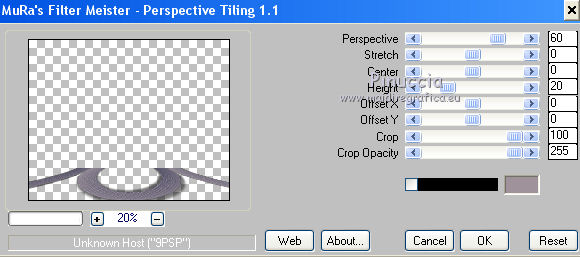
20. Effests>Plugins Externes>Mura's Meister - Perspective Tiling.
21. Layers>Duplicate.
Effects>Image Effects>Offset.

22. Set your foreground color to Color #0e0f31.
Layers>New Raster Layer.
Layers>Arrange>Send to Bottom.
Flood Fill  the layer with your foreground color.
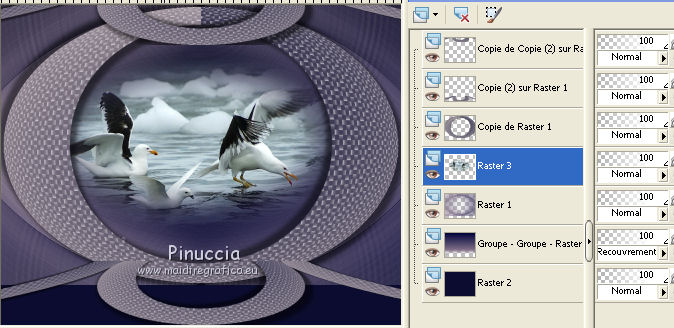
23. Open the tube 79_animabelle_tubes_animaux and go to Edit>Copy.
Go back to your work and go to Edit>Paste as new layer.
Image>Resize, to 80%, resize all layers not checked.
Place  rightly the tube.
Move this layer under the frame's layer.
24. Activate the top layer.
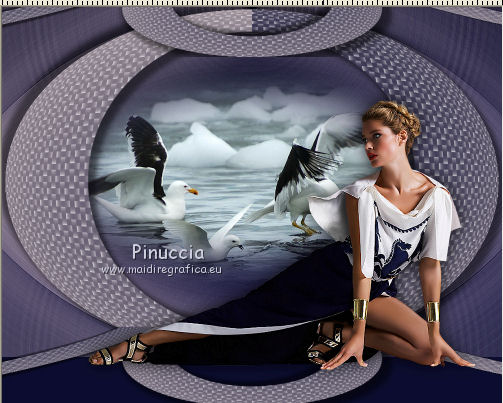
Open the tube Tocha24712 and go to Edit>Copy.
Go back to your work and go to Edit>Paste as new layer.
Image>Resize, to 90%, resize all layers not checked.
Place  rightly the tube.
25. Effects>3D Effects>Drop Shadow, color black.

26. Sign your work on a new layer.
Layers>Merge>Merge All and save as jpg.

If you have problems or doubt, or you find a not worked link, or only for tell me that you enjoyed this tutorial, write to me.
20 December 2019
 english version

 english version
