Here you find the original of this tutorial:

This tutorial was created with PSP X2 but it can also be made using other versions of PSP.
Since version PSP X4, Image>Mirror was replaced with Image>Flip Horizontal,
and Image>Flip with Image>Flip Vertical, there are some variables.
In versions X5 and X6, the functions have been improved by making available the Objects menu.
In the latest version X7 command Image>Mirror and Image>Flip returned, but with new differences.
See my schedule here
French translation here
Your versions here
For this tutorial, you will need:
Material here
For the tubes thanks Min@ and Animabelle.
For the masks thanks Narah.

Open the masks in PSP and minimize them with the rest of the material.
1. Open a new transparent image 1000 x 700 pixels.
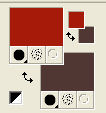
2. Set the foreground color to #a61c0b,
and the background color to #b14734.

Set your foreground color to Foreground/Background Gradient, style Linear.

Flood Fill  the transparent image with your Gradient.
3. Select>Select All.
Open the tube 44_paysage_p3_animabelle - Edit>Copy.
Go back to your work and go to Edit>Paste into Selection.
Selections>Select None.
4. Effects>Image Effects>Seamless Tiling, default settings.

5. Adjust>Blur>Average.

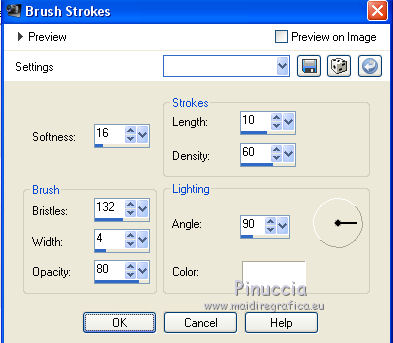
6. Effects>Art Media Effects>Brush Strokes - color white.

7. Layers>New Mask layer>From image
Open the menu under the source window and you'll see all the files open.
Select the mask Marge_TopFade

Layers>Merge>Merge group.
8. Layers>Duplicate.
Change the Blend mode of this layer to Screen.
9. Edit>Paste as new layer (the tube 44_paysage_p3_animabella is still in memory).
Image>Resize, 120%, resize all layers not checked.
10. Layers>New Raster Layer.
Layers>Arrange>Send to Bottom.
Set your foreground color to #a29136
and your background color to #504c0a.
Keep your Gradient, same settings.

Flood Fill  the layer with this gradient.
11. Activate the top layer.
Layers>New Raster Layer.
Set your foreground color to #ffff80,
Flood Fill  the layer with the new foreground color.
12. Layers>New Mask layer>From image
Open the menu under the source window and you'll see all the files open.
Select the mask Narah_mask_0719:

Layers>Merge>Merge group.
Change the blend mode of this layer to Screen and the opacity to 60%.
13. Layers>New Raster Layer.
Set your foreground color to #b8bdba,
Flood Fill  the layer with this color.
14. Layers>New Mask layer>From image
Open the menu under the source window
and select the mask Narah_mask_0261

Layers>Merge>Merge group.
Image>Mirror.
15. Effects>Image Effects>Offset.

Change the Blend mode of this layer to Luminance (legacy).
16. Open the tube Min@.Solitude18.10 - Edit>Copy.
Go back to your work and go to Edit>Paste as new layer.
Image>Resize, 80%, resize all layers not checked.
Image>Mirror.
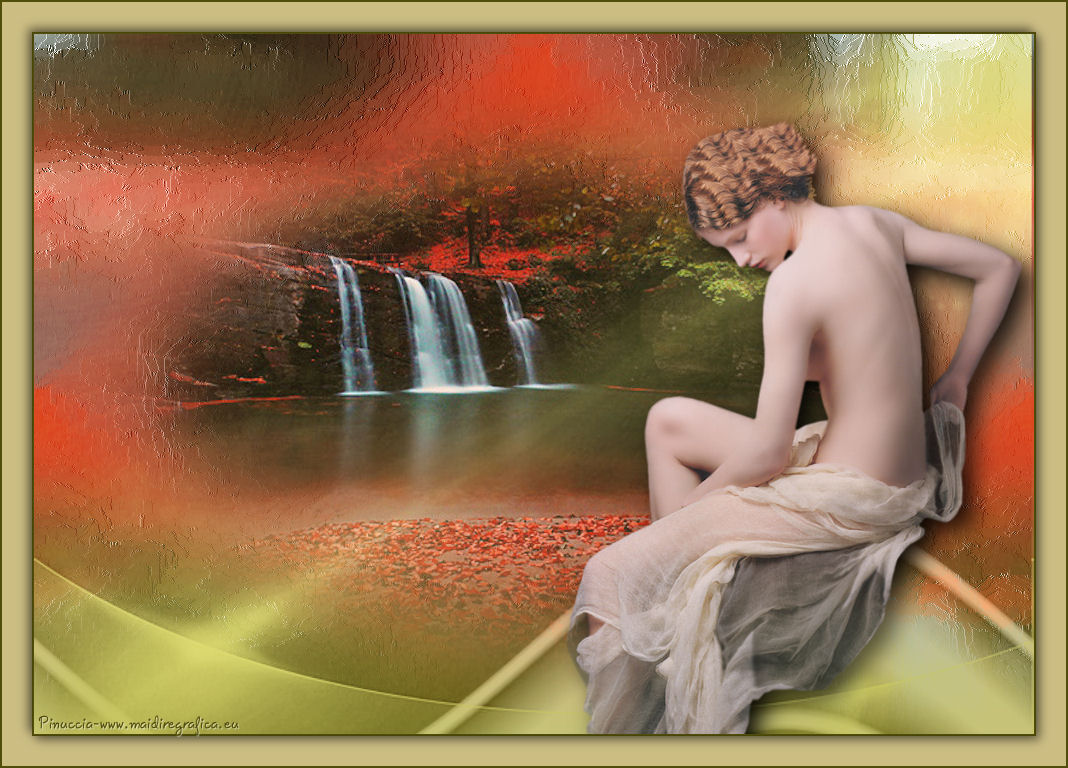
Move  the tube to the bottom right, see the final tag.
Effects>3D Effects>Drop Shadow, as you like.
17. Layers>Merge>Merge All.
18. Image>Add borders, 2 pixels, symmetric, color #504c0a.
Image>Add borders, 30 pixels, symmetric, color #ccbd83.
19. Activate your Magic Wand tool 
and clic on the 30 pixels bord to select it.
Selections>Invert.
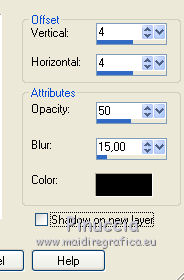
20. Effects>3D Effects>Drop Shadow, color black.

Repeat Drop Shadow, but vertical and horizontal - 4.
Selections>Select None.
21. Image>Add borders, 2 pixels, symmetric, color #504c0a.
22. Sign your work and save as jpg.

If you have problems or doubt, or you find a not worked link, or only for tell me that you enjoyed this tutorial, write to me.
18 Juillet 2015

