Here you find the original of this tutorial:

This tutorial was created with PSP X2 but it can also be made using other versions of PSP.
Since version PSP X4, Image>Mirror was replaced with Image>Flip Horizontal,
and Image>Flip with Image>Flip Vertical, there are some variables.
In versions X5 and X6, the functions have been improved by making available the Objects menu.
In the latest version X7 command Image>Mirror and Image>Flip returned, but with new differences.
See my schedule here
French translation here
Your versions here
For this tutorial, you will need:
Material here
For the tubes thanks Guismo and Anna.br.
Filtres:
consult, if necessary, my filter section here
Mura's Meister - Perspective Tiling here
Mura's Meister - Pole Transform here
Flaming Pear - Flexify 2 here
Eye Candy 3.1 - Perspective Shadow here
Filters Unlimited 2.0 here

Copy the preset Emboss 3 in the Presets folder.
Open the masks in PSP and minimize them with the rest of the material.
1. Open a new transparent image 1000 x 750 pixels.
2. Selectoins>Select All.
Open the tube Tocha23852 - Edit>Copy.
don't close the tube; you'll use it later
Go back to your work and go to Edit>Paste into Selection.
Selections>Select None.
3. Effetcs>Image Effects>Seamless Tiling, default settings.

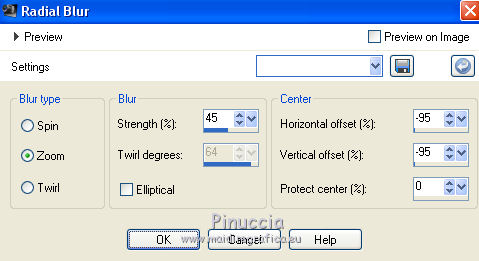
4. Adjust>Blur>Radial Blur.
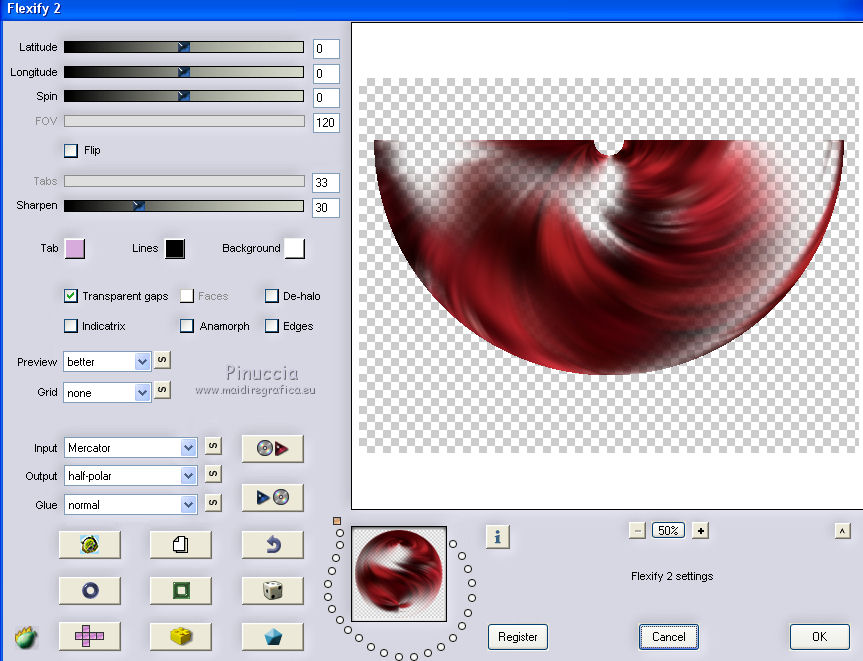
5. Effects>Plugins>Flaming Pear - Flexify 2.
6. Effects>Plugins>Mura's Meister - Pole Transform.
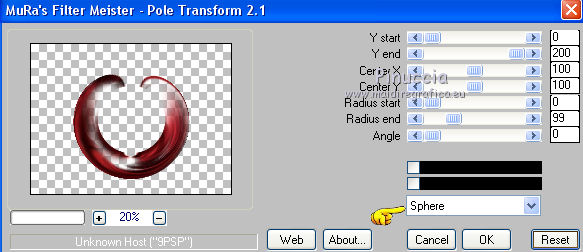
Image>Flip.
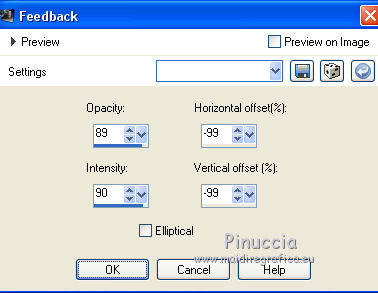
7. Effects>Reflections Effets>Feedback.
8. Layers>Duplicate.
Image>Mirror.
9. Layers>Merge>Merge visible.
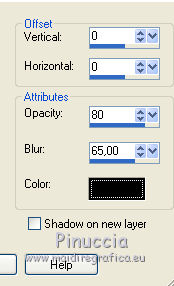
10. Effects>3D Effects>Drop Shadow, color black.
11. Effects>User Defined Filter - select the preset Emboss 3 and ok.

12. Layers>New Raster Layer.
Layers>Arrange>Send to Bottom.
Set your foreground color to #c13641,
and your background color to #290102.
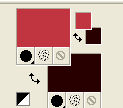
Set your foreground color to Foreground/background Gradient, style Linear.
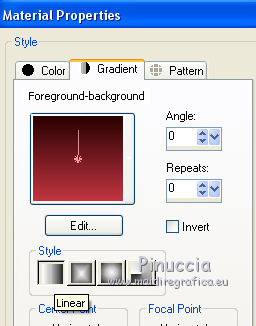
Flood Fill  the layer with the gradient.
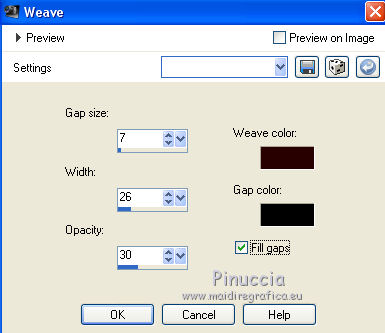
13. Effects>Textures Effects>Weave.
weave color #290102; gap color #000000
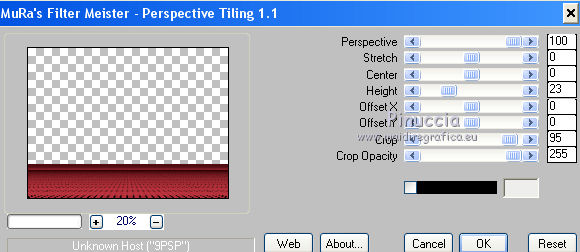
14. Effects>Plugins>Mura's Meister - Perspective Tiling.
15.
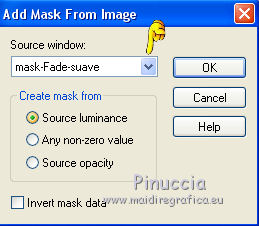
Layers>New Mask layer>From image
Open the menu under the source window and you'll see all the files open.
Select the mask mask-Fade-suave:
Layers>Merge>Merge group.
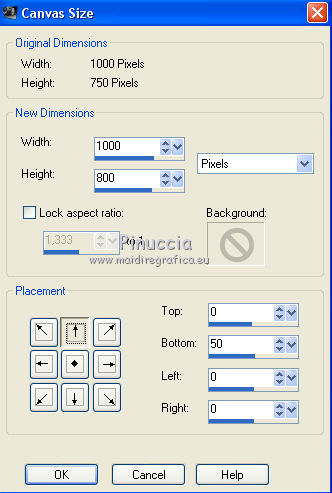
16. Image>Canvas size - 1000 x 800 pixels.
17. Layers>New Raster Layer.
Layers>Arrange>Send to Bottom.
Flood Fill  the layer with the gradient.
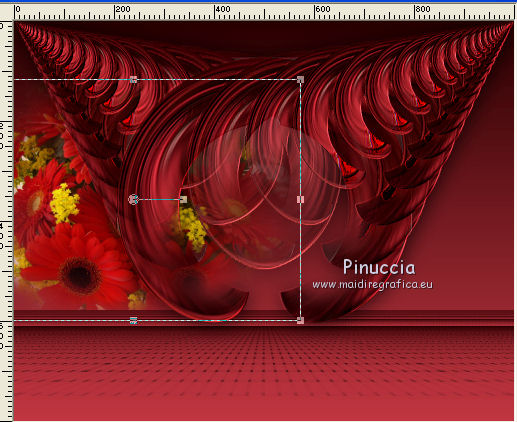
18. Open the tube fafatube-2106 flores - Edit>Copy.
Go back to your work and go to Edit>Paste as new layer.
Move  the tube to the left side.
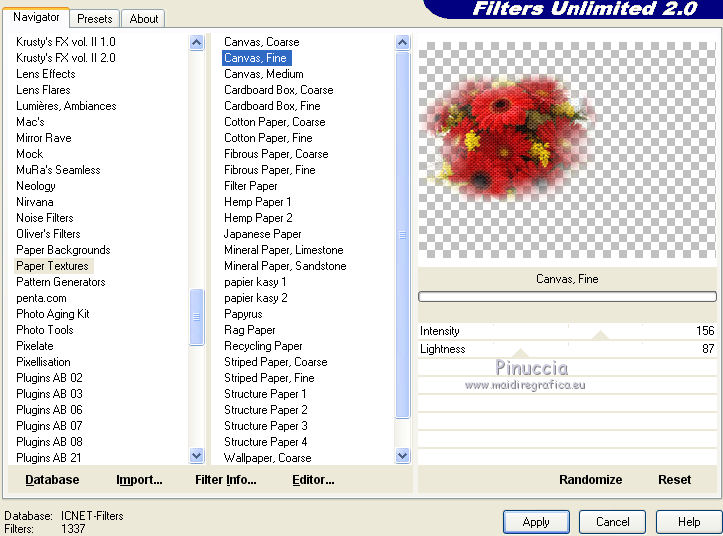
19. Effects>Plugins>Filters Unlimited 2.0 - Paper Textures - Canvas,Fine - default settings.
20. Layers>Duplicate.
Image>Mirror.
21. Activate the top layer.
Open again the tube Tocha 23852 - Edit>Copy.
Go back to your work and go to Edit>Paste as new layer.
Image>Resize, 2 times to 80%, resize all layers not checked.
Move  the tube as in my work.
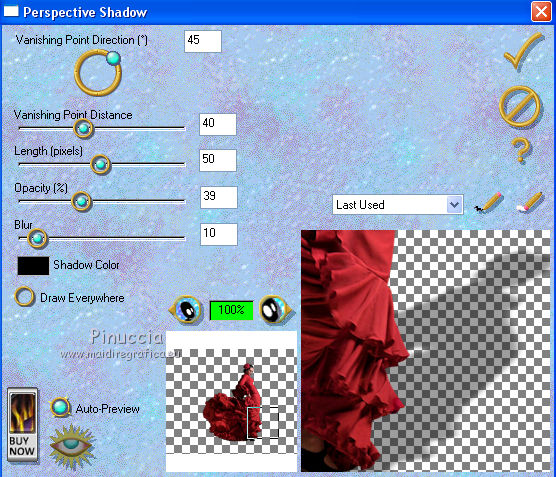
22. Effects>Plugins>Eye Candy 3.1 - Perspective Shadow.
23. Effects>3D Effects>Drop Shadow, color black.

24. Open the text "Sevilla" - Edit>Copy.
Go back to your work and go to Edit>Paste as new layer.
Move  where you like.
25. Sign your work.
Layers>Merge>Merge All and save as jpg.

If you have problems or doubt, or you find a not worked link, or only for tell me that you enjoyed this tutorial, write to me.
18 Juillet 2015

