|
TOP RABBIT


Here you find the original of this tutorial:

This tutorial was translated with PSPX3 but it can also be made using other versions of PSP.
Since version PSP X4, Image>Mirror was replaced with Image>Flip Horizontal,
and Image>Flip with Image>Flip Vertical, there are some variables.
In versions X5 and X6, the functions have been improved by making available the Objects menu.
In the latest version X7 command Image>Mirror and Image>Flip returned, but with new differences.
See my schedule here
French translation here
Your versions here
For this tutorial, you will need:
Material here
Tube Gigi Galvan
Mist_Min@.4882 MIST HALLOWEEN
78_tube_noel_p1_animabelle
Tube christmaselves-FBR12-14-05288KB
Estrellitas azules_nines
Plugins
consult, if necessary, my filter section here
Mura's Meister - Perspective Tiling here

You can change Blend Modes according to your colors.
1. Open a new transparent image 900 x 600 pixels.
2. Set your foreground color to white #ffffff,
Flood Fill  the transparent image with color white. the transparent image with color white.
3. Open the tube Min@.4882 MIST HALLOWEEN - Edit>Copy.
Go back to your work and go to Edit>Paste as new layer.
4. Layers>Merge>Merge down.
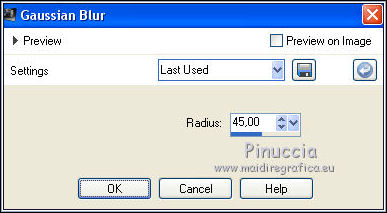
5. Adjust>Blur>Gaussian Blur - radius 45.
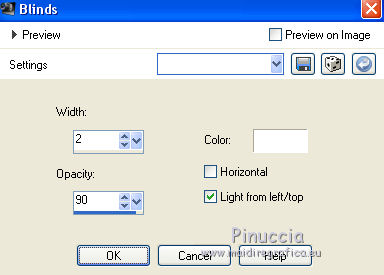
6. Effects>Texture Effects>Blinds, color white.
7. Adjust>Sharpness>Sharpen More - 2 times.
8. Edit>Paste as new layer (the tube by Mina is still in memory).
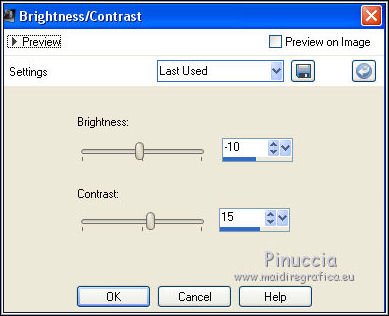
9. Adjust>Brightness and Contrast>Brightness and Contrast.
10. Open the tube Gigi Galvan - Edit>Copy.
Go back to your work and go to Edit>Paste as new layer.
Image>Resize, 80%, resize all layers not checked.
Place  the tube so that the pumpkin is not visible. the tube so that the pumpkin is not visible.

11. Layers>New Raster Layer.
Set your foreground color to #13246e
and your background color to #101c55.

Flood Fill  the layer with your foreground color. the layer with your foreground color.
12. Selections>Select All.
Selections>Modify>Contract - 20 pixels.
Press CANC on the keyboard 
13. Selections>Invert.
14. Effects>Texture Effects>Blinds, same settings.

15. Selections>Invert.
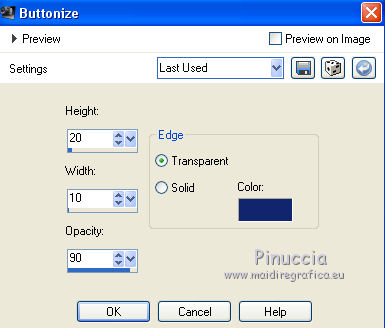
16. Effects>3D Effects>Buttonize, foreground color #13246e.
17. Layers>Merge>Merge visible.
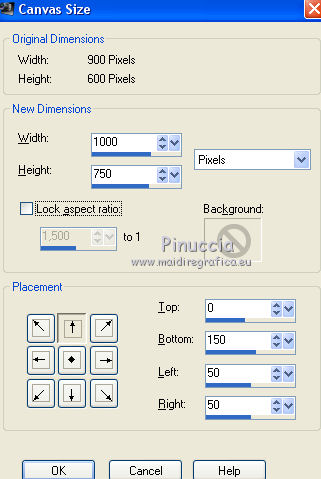
18. Image>Canvas Size - 1000 x 750 pixels.
19. Layers>Duplicate.
20. Effects>Image Effects>Seamless Tiling, default settings.

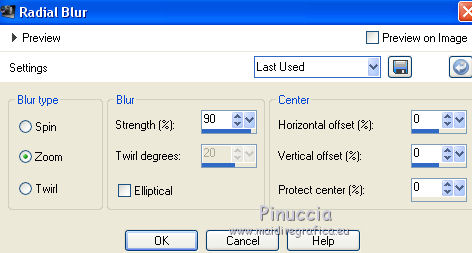
21. Adjust>Blur>Radial Blur.
Layers>Arrange>Send to Bottom.
22. Effects>Edge Effects>Enhance More.
23. Layers>New Raster Layer.
Layers>Arrange>Send to Bottom.
Flood Fill  with your foreground color #13246e. with your foreground color #13246e.
24. Layers>New Raster Layer.
Flood Fill  with your background color #101c55. with your background color #101c55.
Layers>Arrange>Bring to Top.
25. Selections>Select All.
Selections>Modify>Contract - 2 pixels.
Press CANC on the keyboard.
26. Set your foreground color to white.
Flood Fill  with color white. with color white.
27. Selections>Modify>Conctract - 5 pixels.
Press CANC on the keyboard.
28. Flood Fill  with your background color #101c55. with your background color #101c55.
29. Selections>Modify>Contract - 2 pixels.
Press CANC on the keyboard.
Selectoins>Select None.
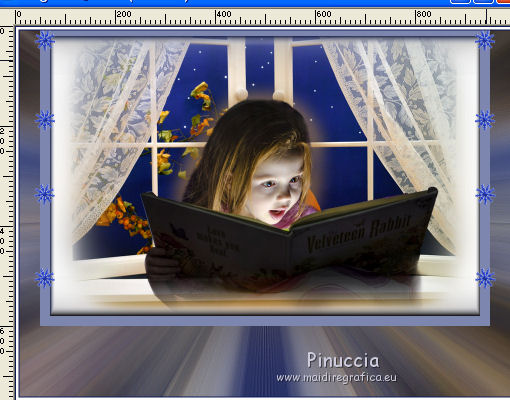
30. Open the tube estrellitas azules_nines - Edit>Copy.
Go back to your work and go to Edit>Paste as new layer.
Place  rightly the tube rightly the tube
31. Open the tube 78_tube_noel_p1_animabelle - Edit>Copy.
Go back to your work and go to Edit>Paste as new layer.
Image>Resize, 3 times to 80%, resize all layers not checked.
Image>Mirror.
Erase the watermark.
32. Effects>3D Effects>Drop Shadow, color black.

33. Open the tube christmaselves-FBR12-14-05288KB - Edit>Copy.
Go back to your work and go to Edit>Paste as new layer.
Image>Resize, 90%, resize all layers not checked.
Move  the tube in the lower left. the tube in the lower left.
34. Effects>3D Effects>Drop Shadow, same settings.
35. Layers>Merge>Merge All.
Image>Resize, 95%, resize all layers not checked.
36. Image>Add borders, 20 pixels, symmetric, color #930d07.
37. Sign your work and save as jpg.

If you have problems or doubts, or you find a not worked link, or only for tell me that you enjoyed this tutorial, write to me.
16 Novembre 2017
|

