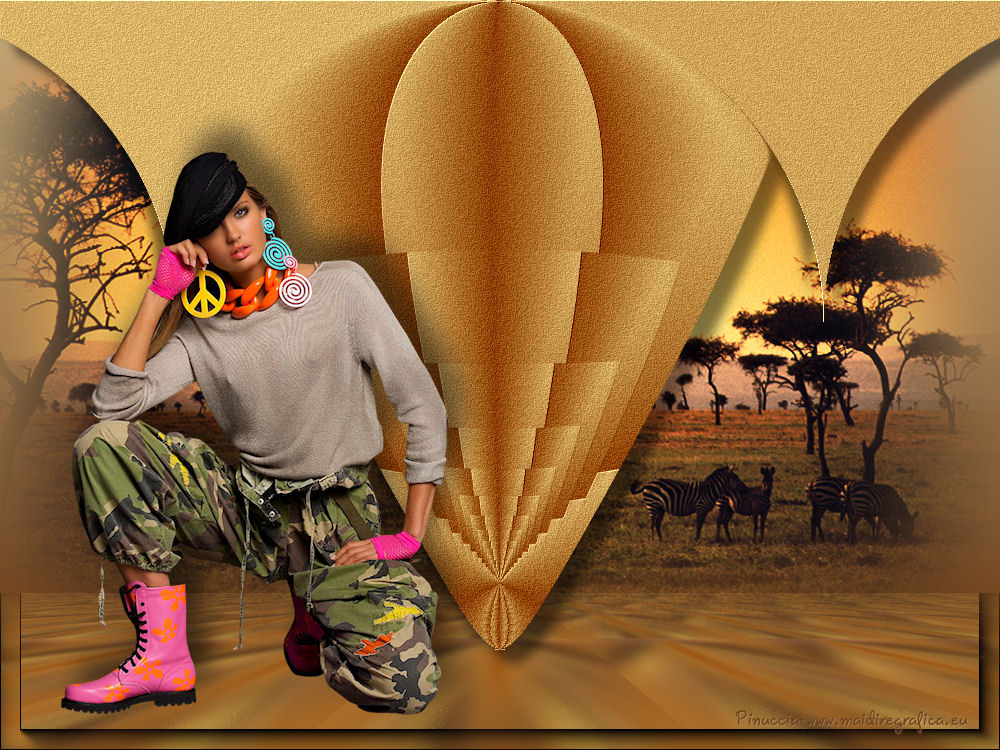
Here you find the original of this tutorial:

This tutorial was created with PSP X2 but it can also be made using other versions of PSP.
Since version PSP X4, Image>Mirror was replaced with Image>Flip Horizontal,
and Image>Flip with Image>Flip Vertical, there are some variables.
In versions X5 and X6, the functions have been improved by making available the Objects menu.
In the latest version X7 command Image>Mirror and Image>Flip returned, but with new differences.
See my schedule here
French translation here
Your versions here
For this tutorial, you will need:
Material here
Tube Mina.Lay.excl.3.2.3.15 by Min@
Tube DBK BG MIST-058 by Katrina
Filtres:
consult, if necessary, my filter section here
Tessela - Tessela 0-2 here
FM Tile Tools - Saturation Emboss here
Mura's Meister - Perspective Tiling here

Open the mask and minimize with the rest of the material.
1. Open a new transparent image 1000 x 650 pixels.
2. Set the Foreground color to #c4ae80,
and the Background color to #704019.
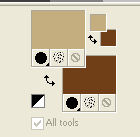
Set the Foreground color to Foreground/background Gradient, style Linear.
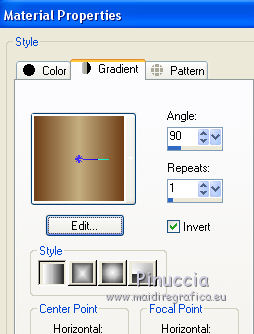
Flood Fill  with the gradient.
3. Effets>Modules Externes>Tessela - Tessela 0-2.

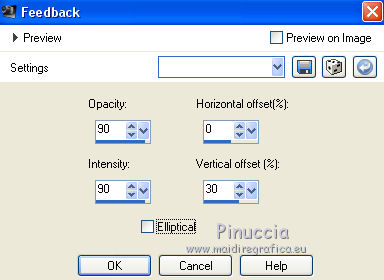
4. Effects>Reflexion Effects>Feedback.
5. Effects>Geometric Effects>Perspective vertical .

6. Effects>Geometric Effects>Circle.
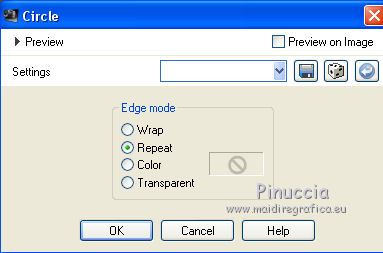
7. Adjust>Add/Remove Noise>Add Noise.
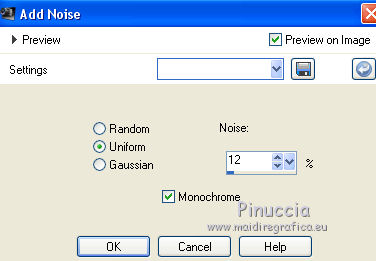
8. Effects>Plugins>FM Tile Tools - Saturation Emboss, standard.

9. Image>Canvas Size - 1000 x 700 pixels.
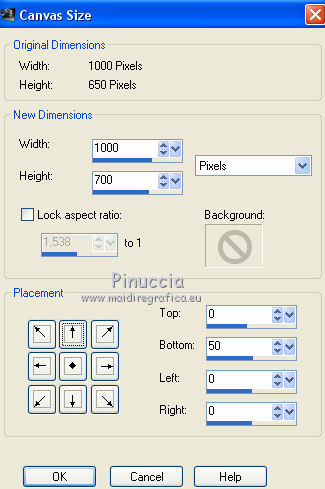
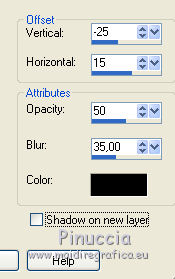
10. Effects>3D Effects>Drop Shadow, color black.
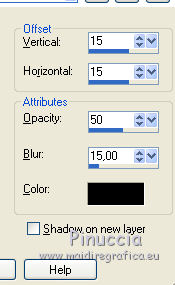
Repeat Drop Shadow, but vertical and horizontal -15.
11. Layers>New Raster Layer.
Layers>Arrange>Send to Bottom.
Change the settings of the gradient.
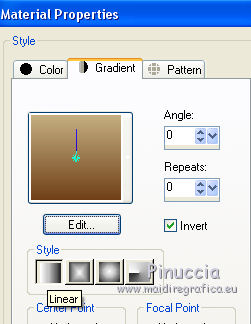
Flood Fill  the layer with the gradient.
12. Open the tube DBK BG MIST-058 - Edit>Copy.
Go back to your work and go to Edit>Paste as new layer.
Activate the Pick Tool 
and pulls the central nodes to cover the entire width of the image.

13. Layers>Merge>Merge down
(to merge the landscape with the background layer).

14. Layers>New Mask layer>From image
Open the menu under the source window and you'll see all the files open.
Select the mask mask_ket_fade suave:
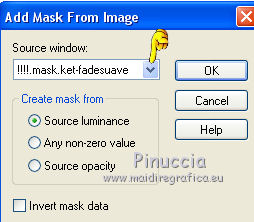
Layers>Merge>Merge group.
Apply the mask another time.
Layers>Merge>Merge group.
15. Layers>Merge>Merge visible.
16. Layers/Duplicate.
Layers>Arrange>Move down.
Effects>Image Effects>Seamless Tiling, standard.

17. Adjust>Blur>Gaussian Blur - radius 15.

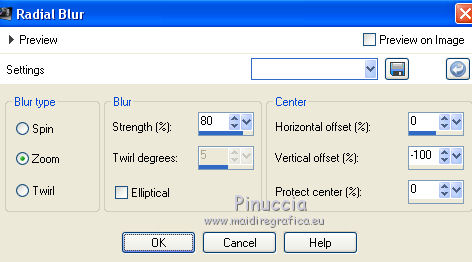
18. Adjust>Blur>Radial blur.
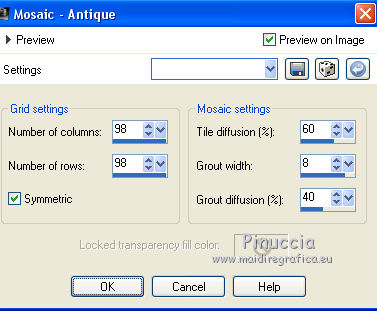
19. Effects>Texture Effects>Mosaic Antique.
20. Image>Canvas Size - 1000 x 750 pixels.
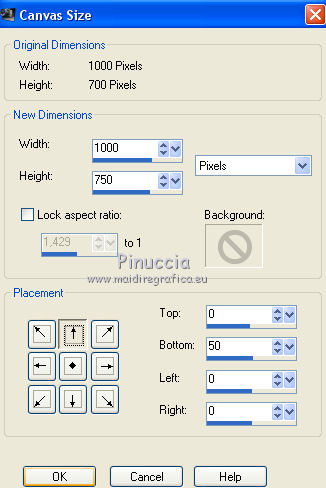
21. Effects>Plugins>Mura's Meister - Perspective Tiling.

22. Effects>Plugins>AAA Frames - Foto Frame.

23. Layers>New Raster Layer.
Layers>Arrange>Send to Bottom.
Flood Fill  the layer with the background color #704019.
24. Activate the top layer.
Open the tube Min@Lady.excl3.2.3.15 y - Edit>Copy.
Back to your work and go to Edit>Paste as New Layer.
Image>Resize - 2 times to 80%, resize all layers not checked.
Move  the tube to the left side.
25. Effects>3D Effects>Drop Shadow, color black.
26. Sign your work.
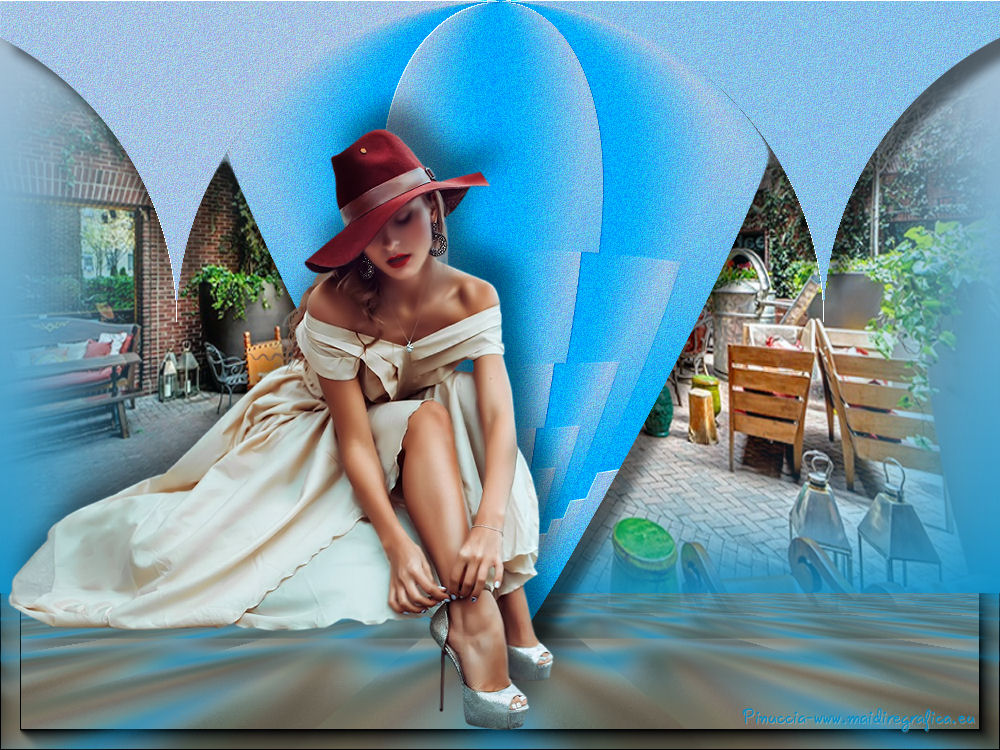
Layers>Merge>Merge All et save as jpg.
The tubes of this version are by Min@

If you have problems or doubt, or you find a not worked link, or only for tell me that you enjoyed this tutorial, write to me.
18 March 2014
