|
TOP MARYVONNE
 ENGLISH VERSION ENGLISH VERSION

Here you find the original of this tutorial:

This tutorial was translated with PSPX7 but it can also be made using other versions of PSP.
Since version PSP X4, Image>Mirror was replaced with Image>Flip Horizontal,
and Image>Flip with Image>Flip Vertical, there are some variables.
In versions X5 and X6, the functions have been improved by making available the Objects menu.
In the latest version X7 command Image>Mirror and Image>Flip returned, but with new differences.
See my schedule here
French translation here
Your versions ici
For this tutorial, you will need:
Material here
Tube 2607-woman-LB TUBES
Mist paysages_0193_Lisat
Tube calguisLeopardonthetreekamogelo0312016 by Guismo
Tube CAL-1644-020117
Narah_mask_0307
maskyawey01_camerontags
Seleccion sel_kamolego_nines
(you find here the links to the material authors' sites)
Plugins
consult, if necessary, my filter section here
Filters Unlimited 2.0 here
Simple - Left Right Wrap (bonus) here
AAA Frames - Frame Works here
Mura's Meister - Perspective Tiling here
ù
Filters Simple can be used alone or imported into Filters Unlimited.
(How do, you see here)
If a plugin supplied appears with this icon  it must necessarily be imported into Unlimited it must necessarily be imported into Unlimited

In the newest versions of PSP, you don't find the foreground/background gradient (Corel_06_029).
You can use the gradients of the older versions.
The Gradient of CorelX here
Copy the Selection in the Selections Folder.
Open the masks in PSP and minimize them with the rest of the material.
1. Open a new transparent image 900 x 600 pixels.
2. Set your foreground color to #f3b386,
and your background color to #552a20.

3. Set your foreground color to a Foreground/Background Gradient, style Linear.
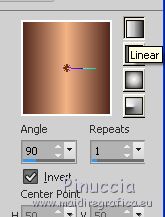
Flood Fill  the transparent image with your gradient. the transparent image with your gradient.
4. Set your foreground color to Color.
Layers>New Raster Layer.
Flood Fill  with your foreground color #f3b386. with your foreground color #f3b386.
5. Layers>New Mask layer>From image
Open the menu under the source window and you'll see all the files open.
Select the mask Narah_Mask_0307.
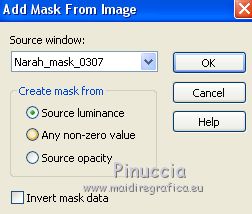
Layers>Merge>Merge Group.
Adjust>Sharpness>Sharpen More.
6. Layers>Duplicate.
Close this layer and activate the layer below of the original.
7. Open the tube paysages_0193_lisat and go to Edit>Copy.
Go back to your work and go to Edit>Paste as new layer.
Image>Resize, 1 time to 70% and 1 time to 80%, resize all layers not checked.
8. Selections>Load/Save Selection>Load Selection from Disk.
Look for and load the selection sel_kamolego_nines
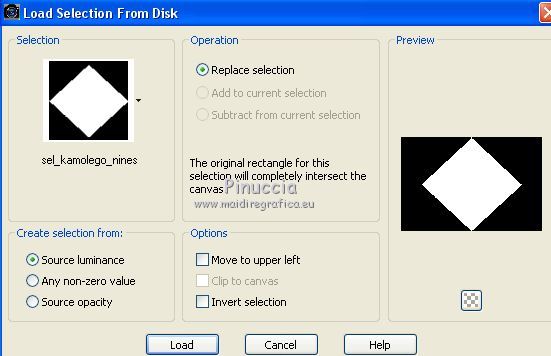
Place  rightly the tube in the selection. rightly the tube in the selection.
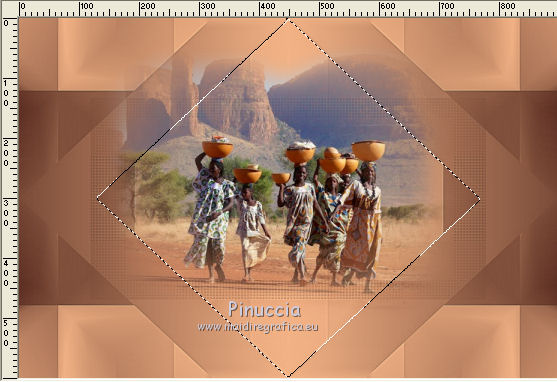
9. Selections>Invert.
Press CANC on the keyboard 
Selections>Select None.
10. Open again and activate the top layer of the copy of the mask.
Effects>Plugins>Filters Unlimited 2.0 - Simple - Left Right Wrap
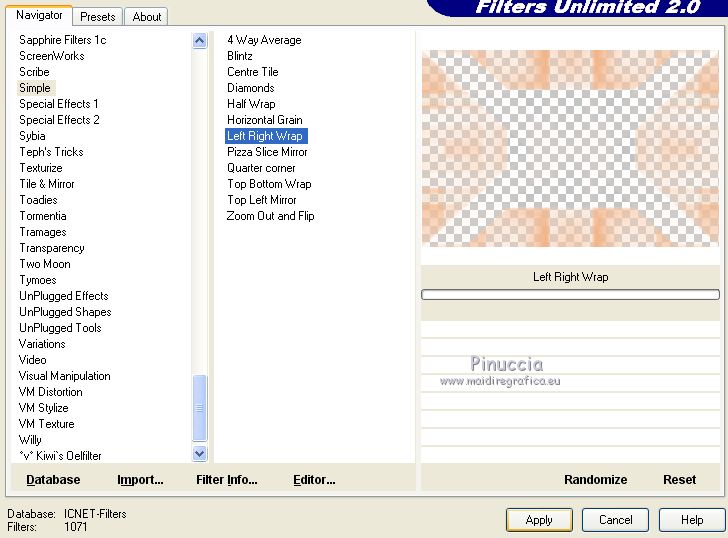
Adjust>Sharpness>Sharpen More.
11. Open the tube calguisLeopardontreekamogelo03112016 and go to Edit>Copy.
Go back to your work and go to Edit>Paste as new layer.
Image>Resize, 2 times to 80%, resize all layers not checked.
Move  the tube at the bottom left. the tube at the bottom left.
12. Effects>3D Effects>Drop Shadow, color black.
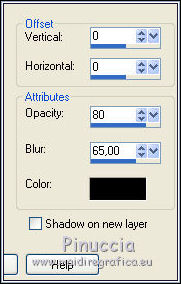
13. Layers>New Raster Layer.
Flood Fill  the layer with your background color #552a20. the layer with your background color #552a20.
14. Selections>Select All.
Selections>Modify>Contract - 2 pixels.
Press CANC on the keyboard.
Selections>Select None.
15. Layers>Merge>Merge visible.
16. Layers>Duplicate.
17. Effects>Image Effects>Seamless Tiling, Side by side.

18. Adjust>Blur>Radial Blur
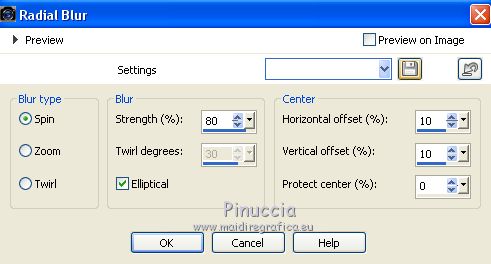
19. Image>Canvas Size - 1000 x 750 pixels.
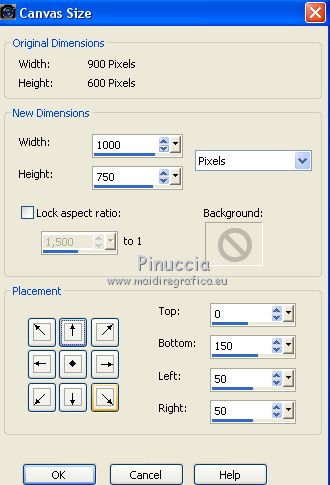
20. Effects>Plugins>Mura's Meister - Perspective Tiling.
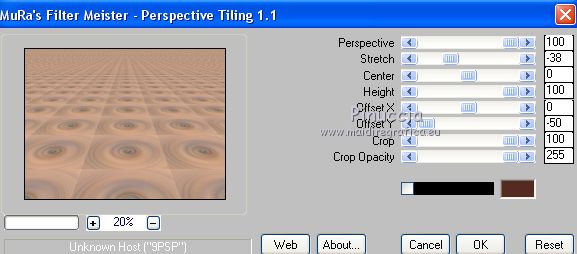
21. Layer>Arrange>Move Down.
Change the Blend Mode of this layer to Overlay.
22. Layers>New Raster Layer.
Flood Fill  the layer with your background color #552a20. the layer with your background color #552a20.
23. Open the menu under the source window
and select the mask maskyawey01.
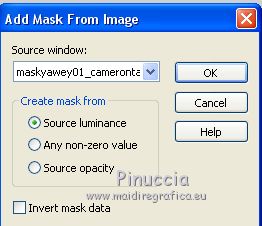
Layers>Merge>Merge Group.
Adjust>Sharpness>Sharpen More.
Change the Blend Mode of this layer to Multiply.
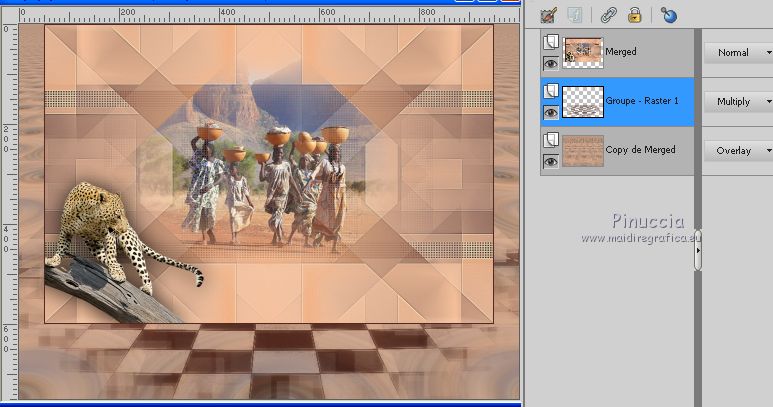
24. Activate the layer Merged.
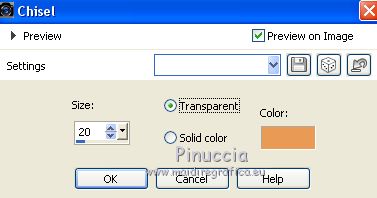
Effects>3D Effects>Chisel - color #e99a54
25. Adjust>Brightness and Contrast>Brightness and Contrast.
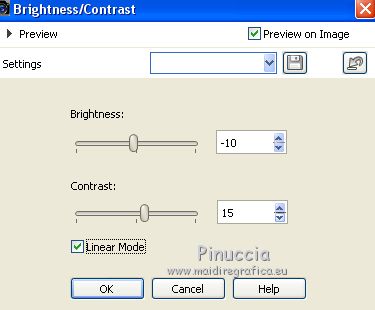
26. Set your foreground color to #903705,
and your background color to #4b271e.

3. Set your foreground color to a Foreground/Background Gradient, style Linear.
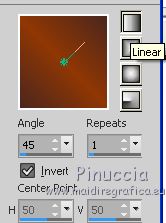
27. Layers>New Raster Layer.
Layers>Arrange>Send to Bottom.
Flood Fill  the layer with your gradient. the layer with your gradient.
28. You should have this.
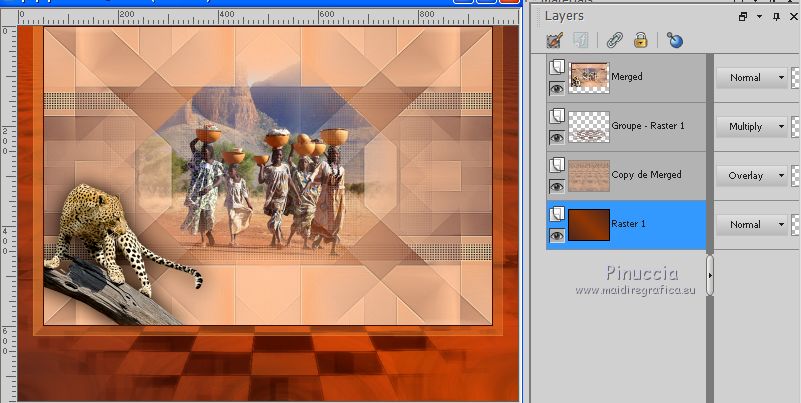
29. Activate the top layer.
Open the tube 2607-woman-LB TUBES and go to Edit>Copy.
Go back to your work and go to Edit>Paste as new layer.
Image>Resize, to 90%, resize all layers not checked.
Move  the tube at the bottom right. the tube at the bottom right.
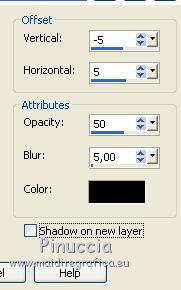
30. Effects>3D Effects>Drop Shadow, color black.
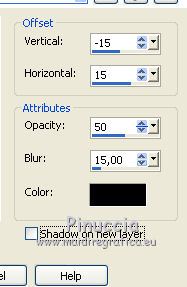
31. Open the tube CAL-1644-02117 and go to Edit>Copy.
Go back to your work and go to Edit>Paste as new layer.
Image>Resize, 1 time to 50% and 1 time to 80%, resize all layers not checked.
Move  the tube at the bottom left. the tube at the bottom left.
32. Effects>3D Effects>Drop Shadow, color black.
33. Layers>Merge>Merge visible.
34. Effects>Plugins>AAA Frames - Frame Works

35. Sign your work on a new layer.
Layers>Merge>Merge All and save as jpg.
Vos versions here

If you have problems or doubts, or you find a not worked link, or only for tell me that you enjoyed this tutorial, write to me.
7 Octobre 2018
|
 ENGLISH VERSION
