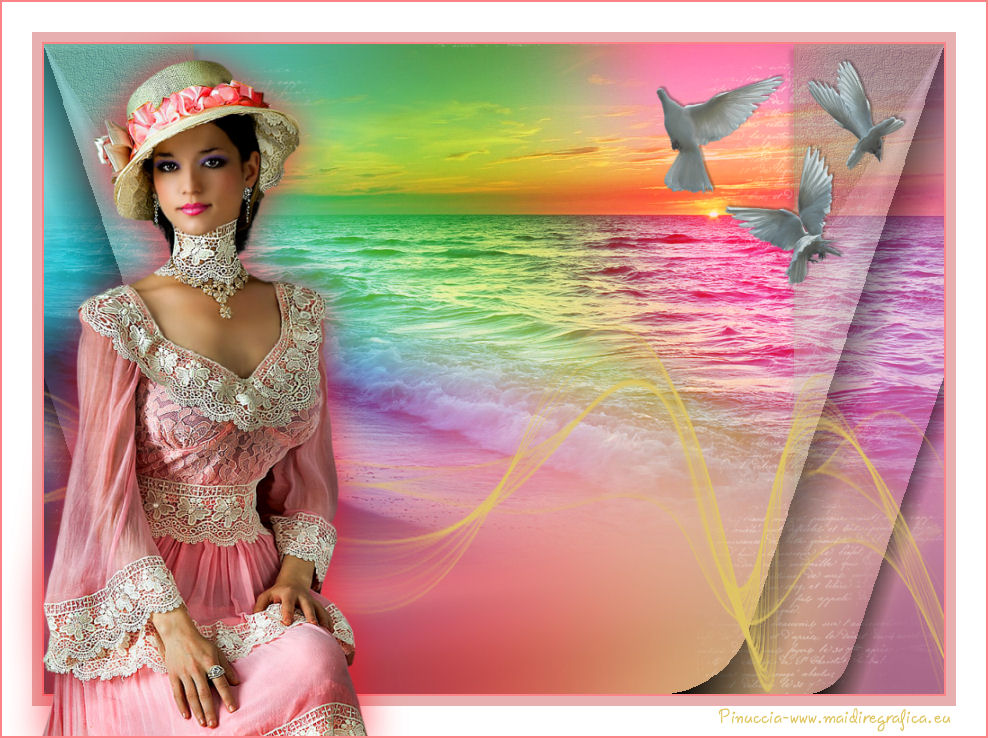
Here you find the original of this tutorial:

This tutorial was created with PSP X2 but it can also be made using other versions of PSP.
Since version PSP X4, Image>Mirror was replaced with Image>Flip Horizontal,
and Image>Flip with Image>Flip Vertical, there are some variables.
In versions X5 and X6, the functions have been improved by making available the Objects menu.
In the latest version X7 command Image>Mirror and Image>Flip returned, but with new differences.
See my schedule here
French translation here
Your versions here
For this tutorial, you will need:
Material here
Tube Mina@.Lady1.excl3.16.06.15
Misted calguismistedsummer15072014 by Guismo
DOVES-PJW-2_242
Texto doble_nines
Narah_mask_0838
Filtres:
consult, if necessary, my filter section here
Filters Unlimited 2.0 ici
Sandflower Special "v" - Page Curl Bottom Vertical ici

Open the mask in PSP and minimize it with the rest of the material.
1. Open a new transparent image 900 x 650 pixels.
2. Selections>Select All.
Open the image Nan_cor_09, Edit>Copy.
Go back to your work and go to Edit>Paste into Selection.
Selections>Select None.
3. Set the foreground color to e0c633,
and the background color to #95a169.

Set your foreground color to Foreground/Background Gradient, style Linear.

4. Layers>New Raster Layer.
Flood Fill  with the gradient.
Change the Blend mode of this layer to Luminance (Legacy).
5. Open texto_doble_nines - Edit>Copy.
Go back to your work and go to Edit>Paste as new layer.
6. Open the tube calguismistedsummer150722014 - Edit>Copy.
Go back to your work and go to Edit>Paste as new layer.
Change the Blend Mode of this layer to Overlay.

7. Effects>Image Effects>Offset.

Result.

8. Selection Tool 
(no matter the type of selection, because with the custom selection your always get a rectangle)
clic on the Custom Selection 
and set the following settings.

9. Layers>New Raster Layer.
Change the opacity of Flood fill tool to 40,
and flood fill  the layer with your background color.

10. Selections>Modify>Contract - 2 pixels.
Press CANC on the keyboard 
11. Set your background color to #afb18d,
and flood fill  the selection with this color (right clic).
12. Effects>Textures Effects>Fine Leather - color #434324.

Selections>Select None.
13. Effects>3D Effects>Drop Shadow, color black.

14. Layers>Duplicate.
Image>Mirror.
Layers>Merge>Merge down.
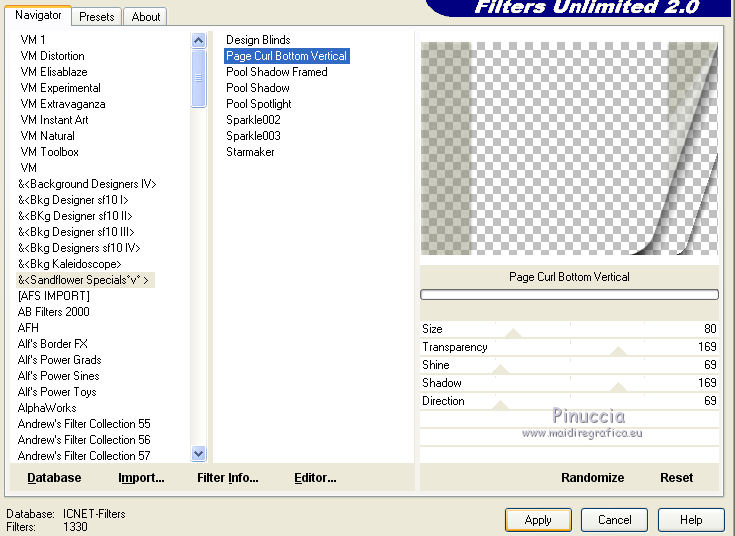
15. Effects>Plugins>Filters Unlimited 2.0 - Sandflower Special "v" - Page Curl Bottom Vertical,
default settings.

16. Repeat Effets>Modules Externes>Filters Unlimited 2.0 - Sandflower Special "v" - Page Curl Bottom Vertical,
size 80

17. Image>Mirror.
18. Repeat the steps 15 and 16.
Result.

19. Open the tube DOVES-PJW-2_242 - Edit>Copy.
Go back to your work and go to Edit>Paste as new layer.
Image>Resize, to 80%, resize all layers not checked.
Move  the tube to the upper right.
20. Effects>3D Effects>Drop Shadow, color black.

21. Layers>New raster layer.
Set your foreground color to Color.
Change again the opacity of Flood fill tool to 100.
Flood Fill  the layer with foreground color #e0c663.
22. Layers>New Mask layer>From image
Open the menu under the source window and you'll see all the files open.
Select the mask Narah_mask_0838:

Layers>Merge>Merge group.
23. Effects>Image Effects>Offset.

Image>Mirror.
24. Layers>Merge>Merge All.
Image>Ajouter des bordures, 2 pixels, symmetric, color #fa8487.
Image>Ajouter des bordures, 10 pixels, symmetric, color #e7afaf.
Image>Ajouter des bordures, 30 pixels, symmetric, color white #ffffff.
25. Open the tube Mina@.Lady1.excl3.16.06.15 - Edit>Copy.
Go back to your work and go to Edit>Paste as new layer.
Image>Resize, 1 time to 90% and 1 time to 80%, resize all layers not checked.
Move  the tube to the left side.
26. Effects>3D Effects>Drop Shadow, color #fa0c18.

27. Layers>Merge>Merge All.
Image>Add borders, 2 pixels, symmetric, color #fa8487.
28. Sign your work and save as jpg.

If you have problems or doubt, or you find a not worked link, or only for tell me that you enjoyed this tutorial, write to me.
29 Juin 2015

