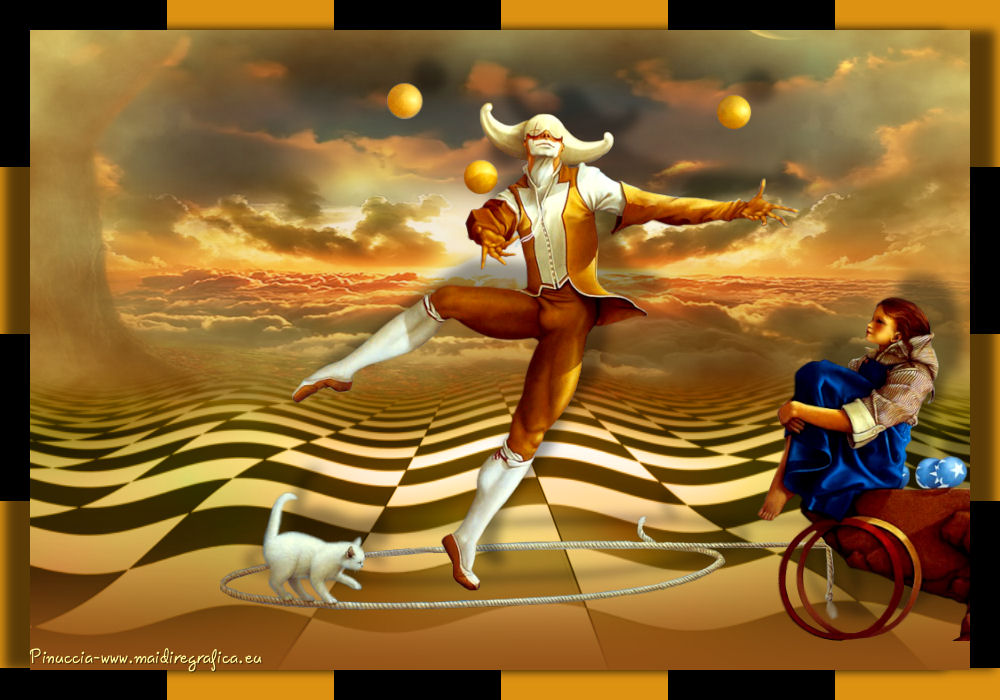
Here you find the original of this tutorial:

This tutorial was created with PSP X2 but it can also be made using other versions of PSP.
Since version PSP X4, Image>Mirror was replaced with Image>Flip Horizontal,
and Image>Flip with Image>Flip Vertical, there are some variables.
In versions X5 and X6, the functions have been improved by making available the Objects menu.
In the latest version X7 command Image>Mirror and Image>Flip returned, but with new differences.
See my schedule here
French translation here
Your versions here
For this tutorial, you will need:
Material here
mtfp_417_the_juggler_Michael_Parkes
Chouchoucats82's Tubs_Paysages29_Avril_2011
carrelage5-by-helenem
mask.ket.fadesuave
Filtres:
consult, if necessary, my filter section here
Mura's Meister - Cloud here
L&K's - L&K's Pia here

You can change Blend Modes according to your colors.
Open the mask in PSP and minimize it with the rest of the material.
1. Open a new transparent image 1000 x 700 pixels.
2. Set the foreground color to #935115,
and the background color to #fef79b.
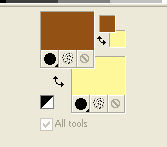
3. Effects>Plugins>Mura's Meister - Cloud.

remember that this plugin works with your materials colors, but keeps in memory the first colors setting from opening the software.
So if you have used the plugins, press Reset to be sure to have the correct colors.
If you press again Reset you can change randomly the appearance of the clouds.
This is the reason why your result will not be the same as my example.
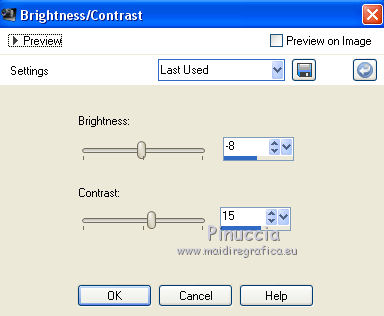
4. Adjust>Brightness and Contrast>Brightness and Contrast.
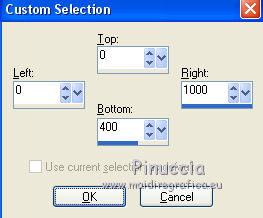
5. Selection Tool 
(no matter the type of selection, because with the custom selection your always get a rectangle)
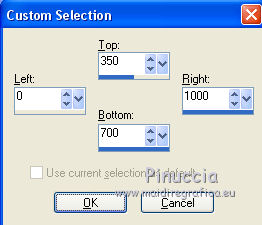
clic on the Custom Selection 
and set the following settings.
6. Layers>New Raster layer.
Open the tube Chouchoucats82's Tubes_paysages_29 y - Edit>Copy.
Go back to your work and go to Edit>Paste into Selection.
Sélections>Désélectionner tout.
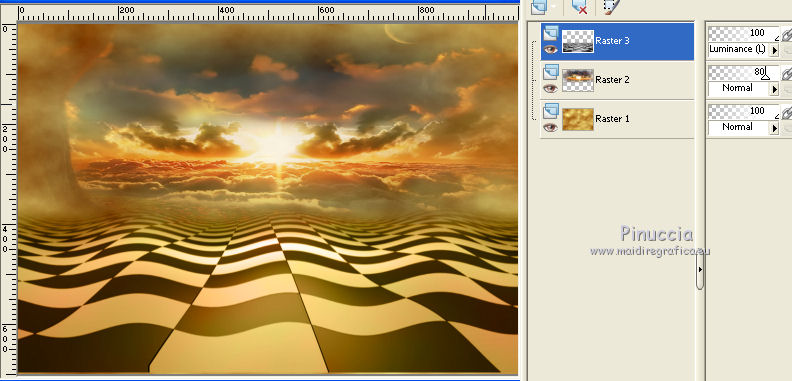
7. Change the opacity of this layer to 80%.
8. Again Custom Selection 
9. Layers>New Raster Layer.
Open carrelage5-by-helenem - Edit>Copy.
Go back to your work and go to Edit>Paste into Selection.
Selections>Select None.
With the Eraser Tool  , erase the watermark.
for my example, I made:
K key to activate the Pick Tool 
with PSP 9 D key to activate Deformation Tool 
I moved the tube a bit higher and I pushed the knot down to the edge.

10. Change the blend mode of this layer to Luminance (Legacy).
11. Layers>Merge>Merge visible.
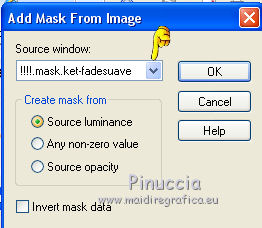
12. Layers>New Mask layer>From image
Open the menu under the source window and you'll see all the files open.
Select the mask mask.ket-fadesuave:
Layers>Merge>Merge group.
Apply the mask one more time.
Layers>Merge>Merge group.
13. Adjust>Brightness and Contrast>Brightness and Contrast, same settings.

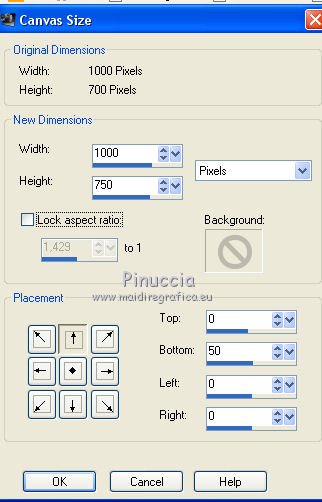
14. Image>Canvas size - 1000 x 750 pixels.
15. Layers>New Raster Layer.
Layers>Arrange>Send to Bottom.
Flood Fill  with the color #935115.
16. Activate the top layer.
Open the tube mtfp_417_the_juggler_Michael_Parkes, that has two calques.
Copy/Paste as new layers the two layers
et arrange  them as in my example.
17. On the two layers:
Effects>3D Effects>Drop Shadow, color black.
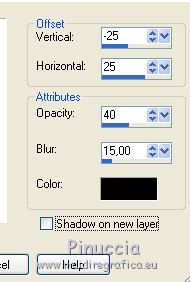
18. On the two layers:
Adjust>Brightness and Contrast>Brightness and Contrast, same settings.

19. Activate the top layer.
Layers>New Raster Layer.
Set your foreground color to #de9212,
Flood Fill  the layer with this color.
20. Selections>Select All.
Selections>Modify>Contract - 30 pixels.
Press CANC on the keyboard 
Selections>Invert.
21. Effects>Plugins>L&K's - L&K's Pia
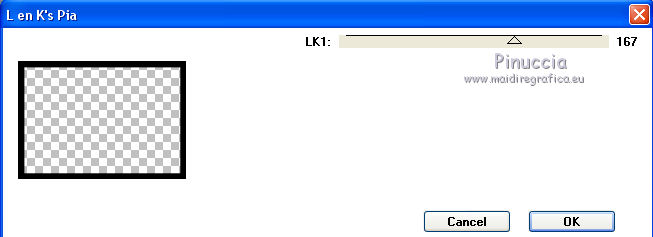
22. Selections>Invert.
Effects>3D Effects>Drop Shadow, color #6a1800.
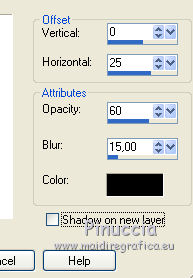
Repeat Drop Shadow, but vertical and horizontal to 0/-25.
23. Sign your work.
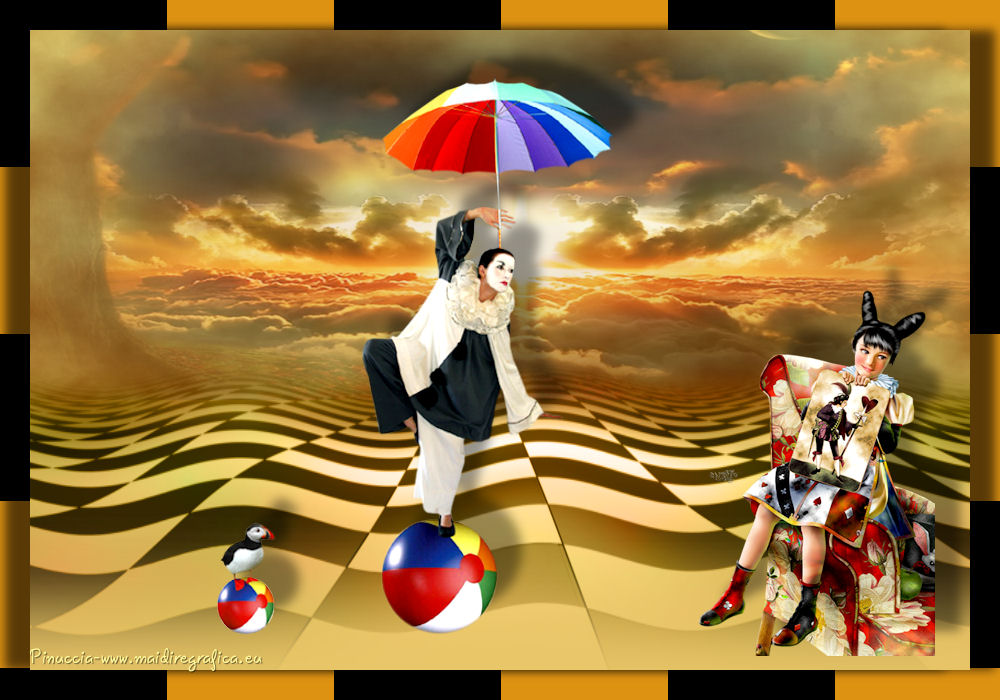
Layers>Merge>Merge All and save as jpg.
The tubes of this version are by Krys

If you have problems or doubt, or you find a not worked link, or only for tell me that you enjoyed this tutorial, write to me.
5 Août 2015
