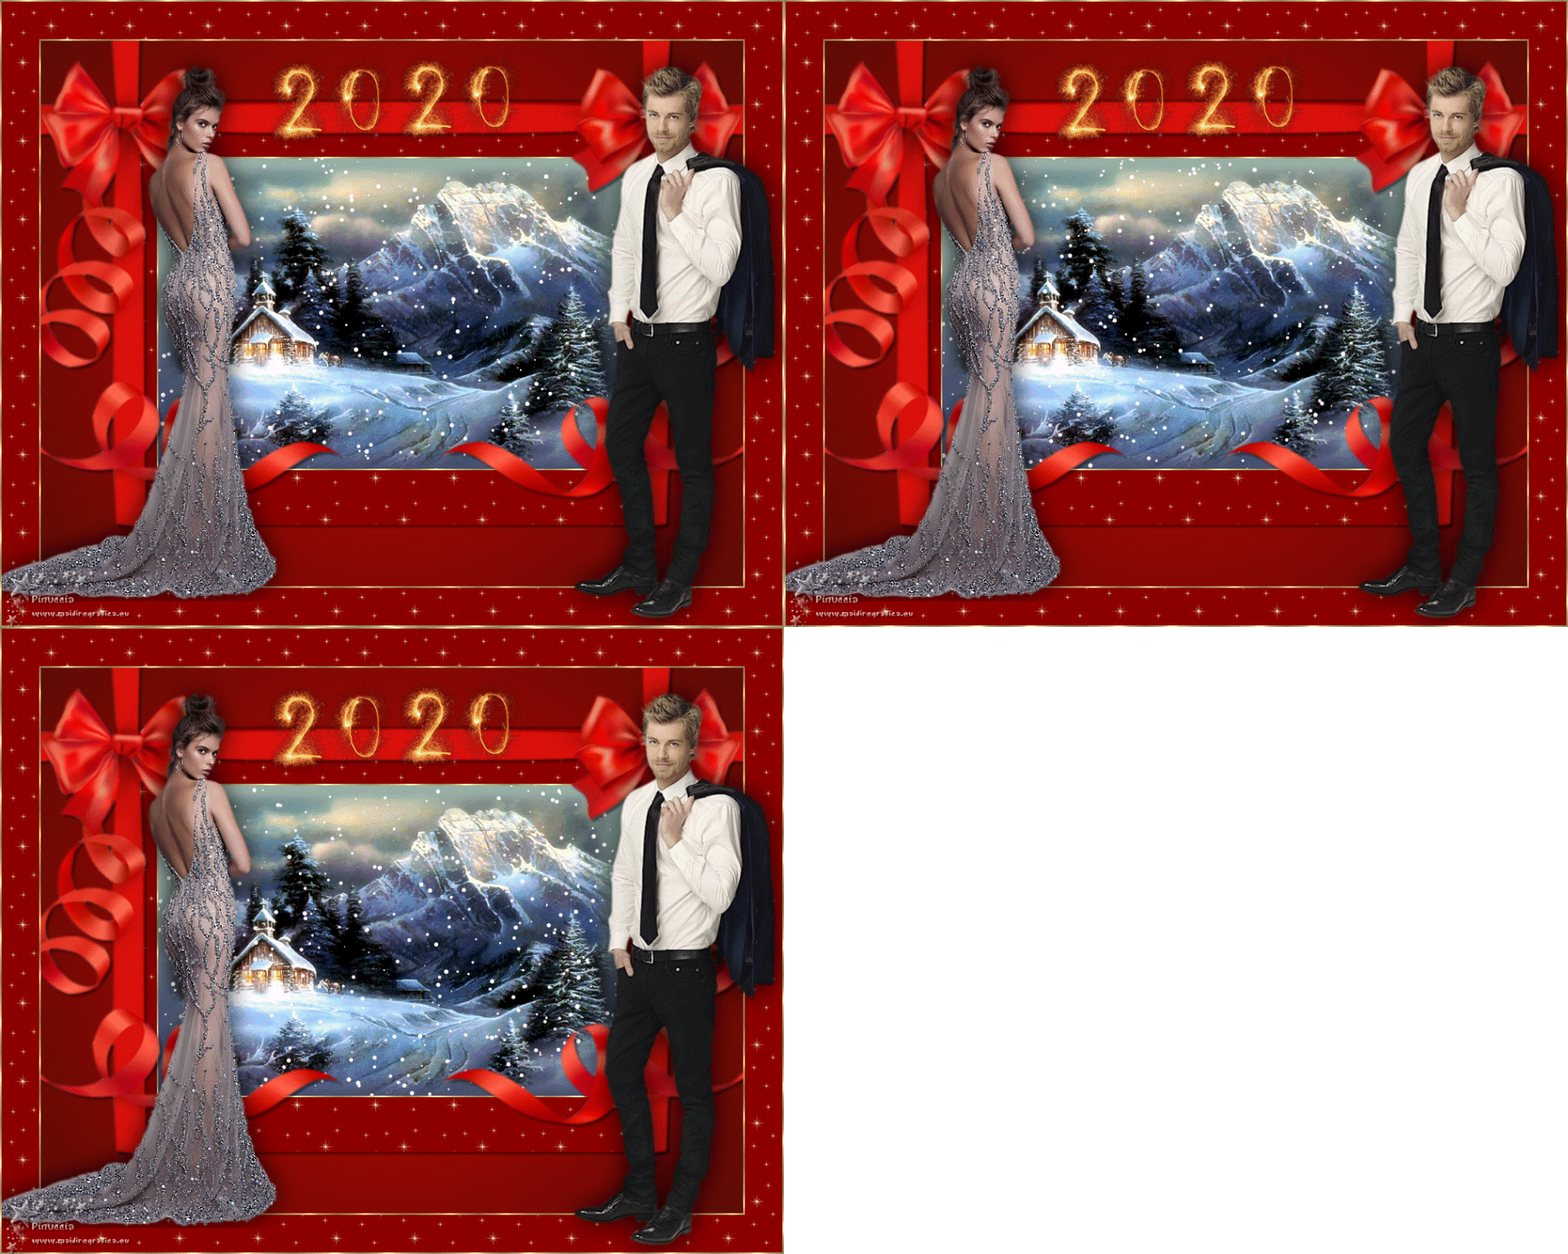
Here you find the original of this tutorial:

This tutorial was created with PSP X2 but it can also be made using other versions of PSP.
Since version PSP X4, Image>Mirror was replaced with Image>Flip Horizontal,
and Image>Flip with Image>Flip Vertical, there are some variables.
In versions X5 and X6, the functions have been improved by making available the Objects menu.
In the latest version X7 command Image>Mirror and Image>Flip returned, but with new differences.
See my schedule here
French translation of december 2014 here
Your versions here
For this tutorial, you will need:
Material here
For the tubes thanks Animabelle, Anna.br, Beatriz, Linda and Malacka
Effects>Plugins
consult, if necessary, my filter section here
VDL Adrenaline - Snowflakes here
Animation Shop here

You can change Blend Modes according to your colors.
In the newest versions of PSP, you don't find the foreground/background gradient (Corel_06_029).
You can use the gradients of the older versions.
The Gradient of CorelX here
Open the patterns PSP and minimize them with the rest of the material.
1. Set your foreground color to #5c0b05,
and your background color to #c40501.

Set your foreground color to a Foreground/Background Gradient, style Sunburst.

2. Open a new transparent image 900 x 700 pixels.
Flood Fill  the transparent image with your Gradient.
3. Selection Tool 
(no matter the type of selection, because with the custom selection your always get a rectangle)
clic on the Custom Selection 
and set the following settings.

4. Set your foreground color to Pattern, and select the pattern fondo Estrellitas

Set your background color to Pattern and select the pattern goldfill.


5. Layers>New Raster Layer.
Flood Fill  with your foreground pattern.
Selections>Select None.
For my example, I applied Effects>3D Effects>Drop Shadow, color black.

Repeat Drop Shadow, vertical and horizontal -2.
6. Custom Selection 

Press CANC on the keyboard 
Flood Fill  the selection with your golden patter (right button).
7. Selections>Modify>Contract - 2 pixels.
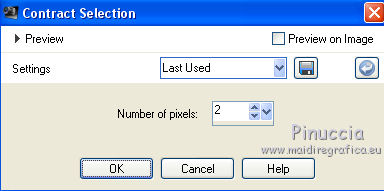
Press CANC on the keyboard.
Keep selected.
8. Layers>New Raster Layer.
Open the tube anna.br_christmas-night
Edit>Copy Special>Copy Merged (to copy tube with background layer)
go back to your work and go to Edit>Paste into Selection.
If you don't made the animation, made the step 10 (Snowflakes) and go to step 13 (Select None).
9. Rename this layer P1.
Layers>Duplicate - 2 times and sane the layers P2 and P3.
Activate the layer P1.
10. Effects>Plugins>VDL Adrenaline - Snowflakes.
with the new version of this plugin (the result doesn't change):
Effects>Plugins>VanDerLee - Snowflakes

11. Activate the layer P2
Repeat Effects>Plugins>VDL Adrenaline - Snowflakes, Random Seed 75 and ok.

Close this layer and activate the layer P3.
12. Repeat Effects>Plugins>VDL Adrenaline - Snowflakes, Random Seed 80 and ok.

Close this layer.
13. Selections>Select None.
14. Open the tube 1577-cinta LB Tubes and go to Edit>Copy
Go back to your work and go to Edit>Paste as new layer.
Place  rightly the tube.
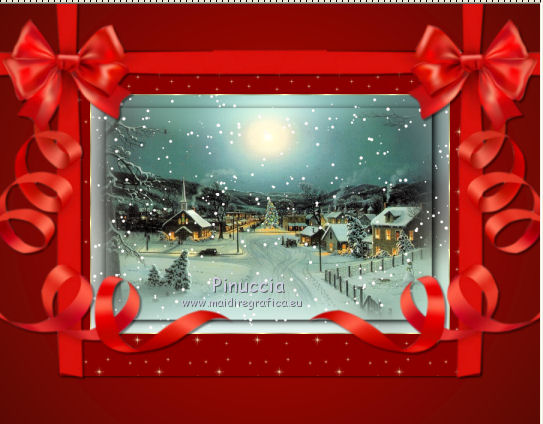
15. Activate the bottom layer.
Selections>Select All.
Image>Crop the selection.
16. Activate again your top layer.
Layers>New Raster Layer.
Flood Fill  the layer with your golden patter (right button).
17. Selections>Select All.
Selections>Modify>Contract - 2 pixels.
Press CANC on the keyboard.
Selections>Select None.
18. Image>Canvas Size - 1000 x 800 pixels.
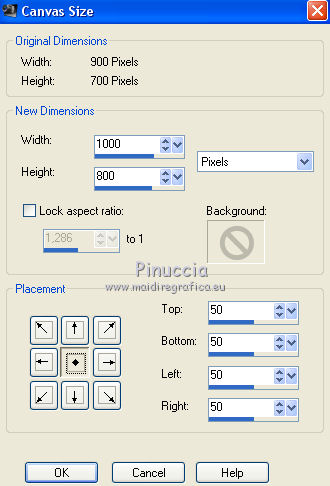
19. Activate your Magic Wand Tools 
and click on the transparent part to select it.
20. Layers>New Raster Layer.
Flood Fill  with the pattern Estrellitas (left button).
Selections>Select None.
21. Open the tube LF-2015.
I joined a layer for the year 2020
Edit>Copy.
Go back to your work and go to Edit>Paste as new layer.
Image>Resize, 3 times to 80%, resize all layers not checked.
Move  the tube up to the center.

22. Open the tube 112_femme_animabelle_p4 and go to Edit>Copy.
Go back to your work and go to Edit>Paste as new layer.
Image>Resize, 2 times to 80%, resize all layers not checked.
Move  the tube to the left side.
23. Effects>3D Effects>Drop Shadow, color black.

24. Open the tube of the man and go to Edit>Copy.
Go back to your work and go to Edit>Paste as new layer.
Image>Resize, to 80%, resize all layers not checked.
Move  the tube to the right side.
Effects>3D Effects>Drop Shadow, same settings.
25. Layers>New Raster Layer.
Flood Fill  the layer with the golden pattern (right button).
26. Selections>Select All.
Selections>Modify>Contract - 2 pixels.
Press CANC on the keyboard.
Selections>Select None.
Sign your work on a new layer.
If you don't made the animation:
Layers>Merge>Merge All and save as jpg.
Animation
1. Your layers P2 and P3 are closed.

Edit>Copy Special>Copy Merged.
Open Animation Shop and go to Edit>Paste>Paste as new animation.
2. Go back to PSP.
Close the layer P1 and open the layer P2.

Edit>Copy Special>Copy Merged.
Go back to Animation Shop and go to Edit>Paste>Paste after the current frame.
3. Again to PSP.
Close the layer P2 and open the layer P3.

Edit>Copy Special>Copy Merged.
Go back to Animation Shop and go to Edit>Paste>Paste after the current frame.
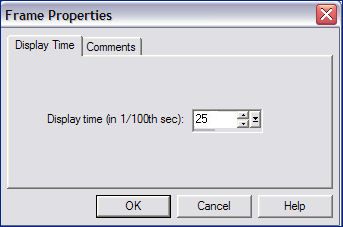
4. Edit>Select All.
Animation>Frame Properties and set to 25.
Check your result clicking on View  and save as gif.

If you have problems or doubt, or you find a not worked link, or only for tell me that you enjoyed this tutorial, write to me.
24 December 2019
 english version