|
TOP GLADYS MATUS
 ENGLISH VERSION ENGLISH VERSION
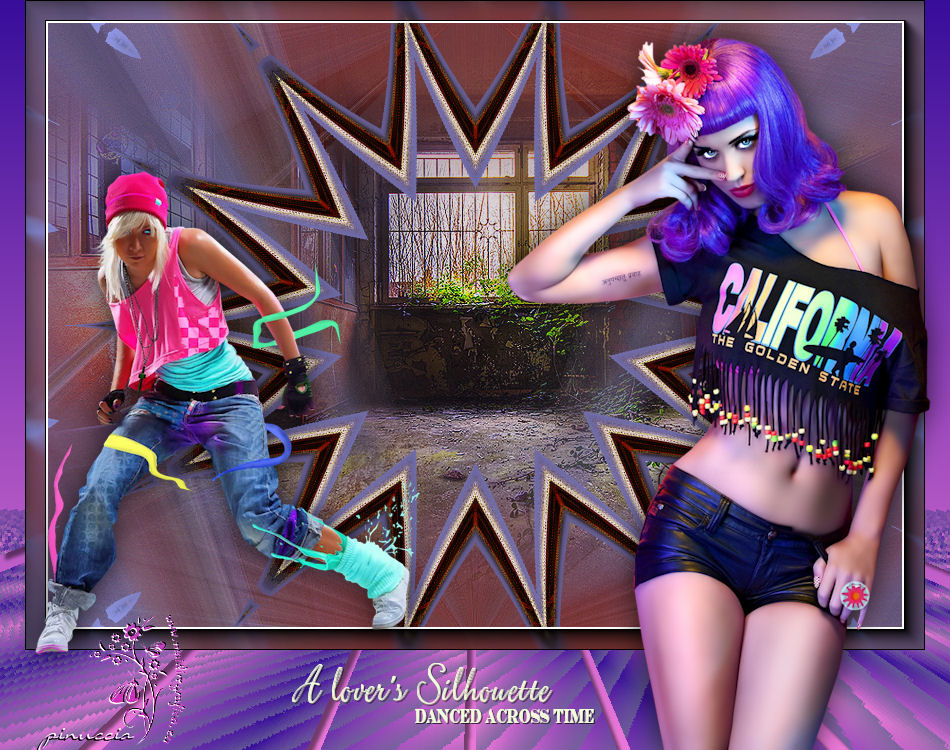
Here you find the original of this tutorial:

This tutorial was translated with PSPX3 but it can also be made using other versions of PSP.
Since version PSP X4, Image>Mirror was replaced with Image>Flip Horizontal,
and Image>Flip with Image>Flip Vertical, there are some variables.
In versions X5 and X6, the functions have been improved by making available the Objects menu.
In the latest version X7 command Image>Mirror and Image>Flip returned, but with new differences.
See my schedule here
French translation here
Your versions here
For this tutorial, you will need:
Material here
Tube 143_femme_p5_animabelle (not supplied)
Tube femmes_0282_lisat
Mist DBK URBAN-COLLECTION26 by Karina
Texto RoxPoetry15
Plugins
consult, if necessary, my filter section here
Filters Unlimited 2 here
Mura's Meister - Perspective Tiling here
VM Distortion - Broken Mirror here
AAA Frames - Foto Frame here
Filters VM Distortion can be used alone or imported into Filters Unlimited.
(How do, you see here)
If a plugin supplied appears with this icon  it must necessarily be imported into Unlimited it must necessarily be imported into Unlimited

You can change Blend Modes according to your colors.
In the newest versions of PSP, you don't find the foreground/background gradient (Corel_06_029).
You can use the gradients of the older versions.
The Gradient of CorelX here
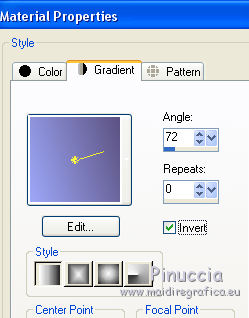
1. Set your foreground color to #5c5282,
Set your Background color to #9da7f8.

Set your foreground color to a Foreground/Background Gradient, style Linear.
2. Open a new transparent image 900 x 650 pixels.
Flood Fill  the transparent image with your Gradient. the transparent image with your Gradient.
3. Open the tube DBK URBAN-COLLECTION26 - Edit>Copy.
.
Go back to your work and go to Edit>Paste as new layer.
4. Layers>Merge>Merge down.
5. K key to activate the Pick tool 
if you use PSP 9 D key to activate the Deformation tool 
mode Scale 
push the central top node down until 300 pixels
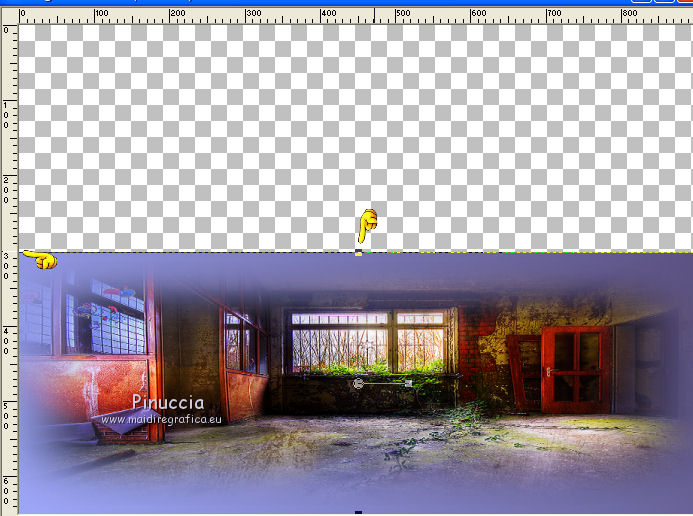
and after push the central bottom node up to 450 pixels.

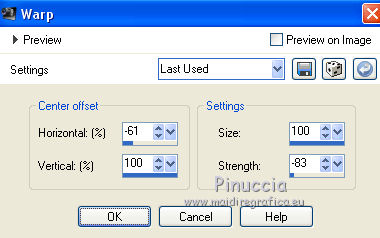
6. Effects>Distorsion Effects>Warp.
7. Layers>Duplicate.
Image>Mirror.
Image>Flip.
8. Layers>Merge>Merge down.
9. Layers>Duplicate and close the layer for a moment.
10. Go back to the layer below of the original.
11. Adjust>Blur>Radial Blur.
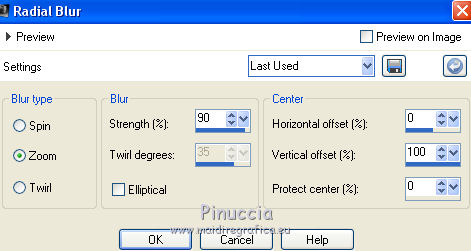
12. Effects>Edge Effects>Enhance More.
13. Layers>Duplicate.
14. Effects>Geometric Effects>Skew
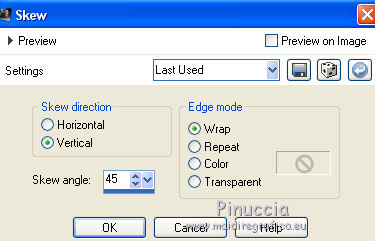
15. Layers>Duplicate.
Image>Mirror.
16. Open and activate the closed layer
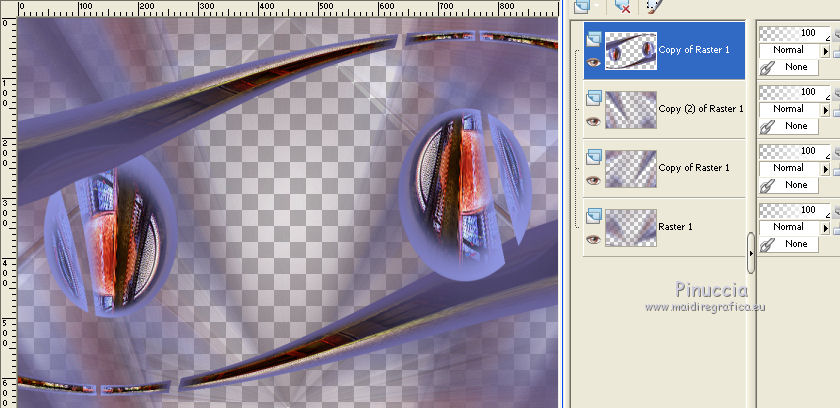
17. Effects>Reflection Effects>Kaleidoscope.
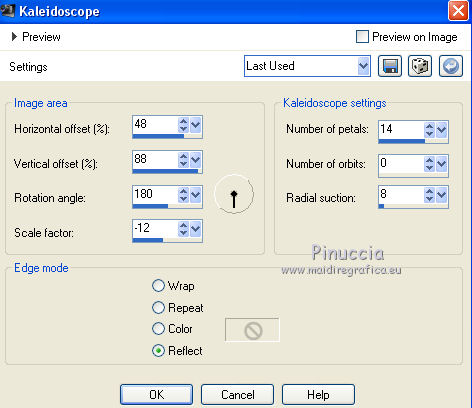
18. Edit>Paste as new layer (the tube DBK URBAN-COLLECTION26 is still in memory).
Layers>Arrange>Move down - 3 times.
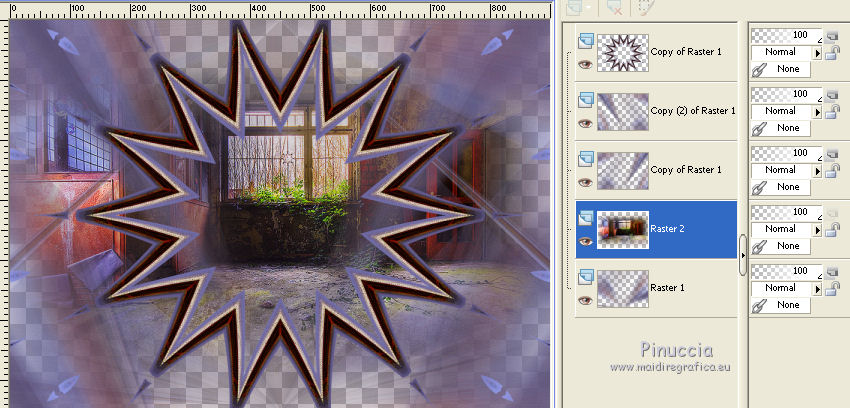
19. Layers>New Raster Layer.
Layers>Arrange>Send to Bottom.
Set your foreground color to #8a241d
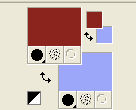
Flood Fill  the layer with this color. the layer with this color.
20. Layers>Merge>Merge visible.
21. Effects>Plugins>AAA Frames - Foto Frame.

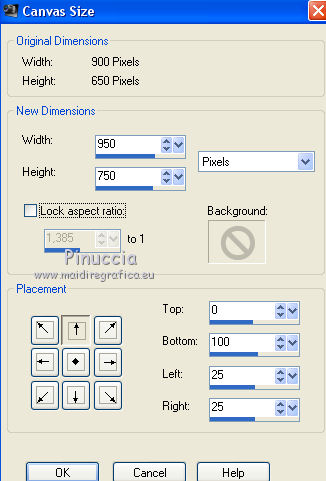
22. Image>Canvas Size - 950 x 750 pixels.
23. Set your foreground color to #370d9a
Set your Background color to #eb78d8.

Set your foreground color to a Foreground/Background Gradient.
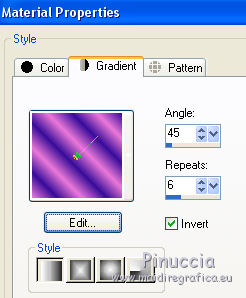
Flood Fill  the layer with your gradient. the layer with your gradient.
24. Effects>Texture Effects>Blinds, color #6a6694.
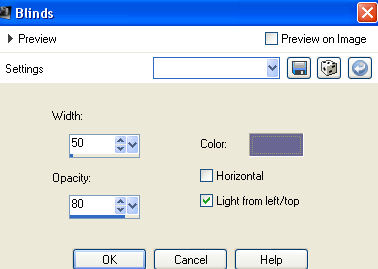
25. Effects>Plugins>Mura's Meister - Perspective Tiling.
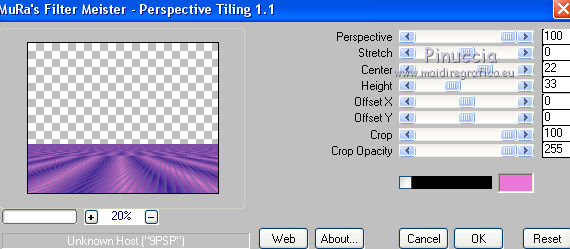
26. Effects>Plugins>Filters Unlimited 2.0 - VM Distortion - Broken Mirror.

27. Effects>3D Effects>Drop Shadow, color black.
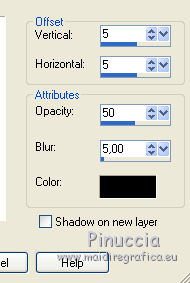
28. Layers>New Raster Layer.
Layers>Arrange>Send to Bottom.
Change the settings of your gradient.
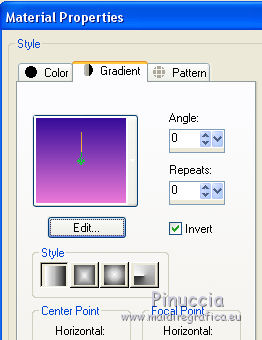
Flood Fill  the layer with your gradient. the layer with your gradient.
29. Activate the top layer.
Open the tube femmes_0282_lisat - Edit>Copy.
.
Go back to your work and go to Edit>Paste as new layer.
Image>Resize, 3 time to 80%, resize all layers not checked.
Place  rightly the tube. rightly the tube.
30. Effects>3D Effec>Drop Shadow, color black.

31. Open the tube 143_femme_p5_animabelle - Edit>Copy.
.
Go back to your work and go to Edit>Paste as new layer.
Image>Resize, to 90%, resize all layers not checked.
Move  the tube to the right side. the tube to the right side.
Effects>3D Effects>Drop Shadow, same settings.
32. Open the texte Texto RoxPoetry15 - Edit>Copy.
.
Go back to your work and go to Edit>Paste as new layer.
Place  rightly the text. rightly the text.
33. Image>Add borders, 2 pixels, symmetric, color #090d3f.
Image>Add borders, 5 pixels, symmetric, color #f3fedd.
Image>Add borders, 20 pixels, symmetric, color #090d3f.
34. Sign your work and save as jpg.

If you have problems or doubts, or you find a not worked link, or only for tell me that you enjoyed this tutorial, write to me.
5 August 2017
|
 ENGLISH VERSION
