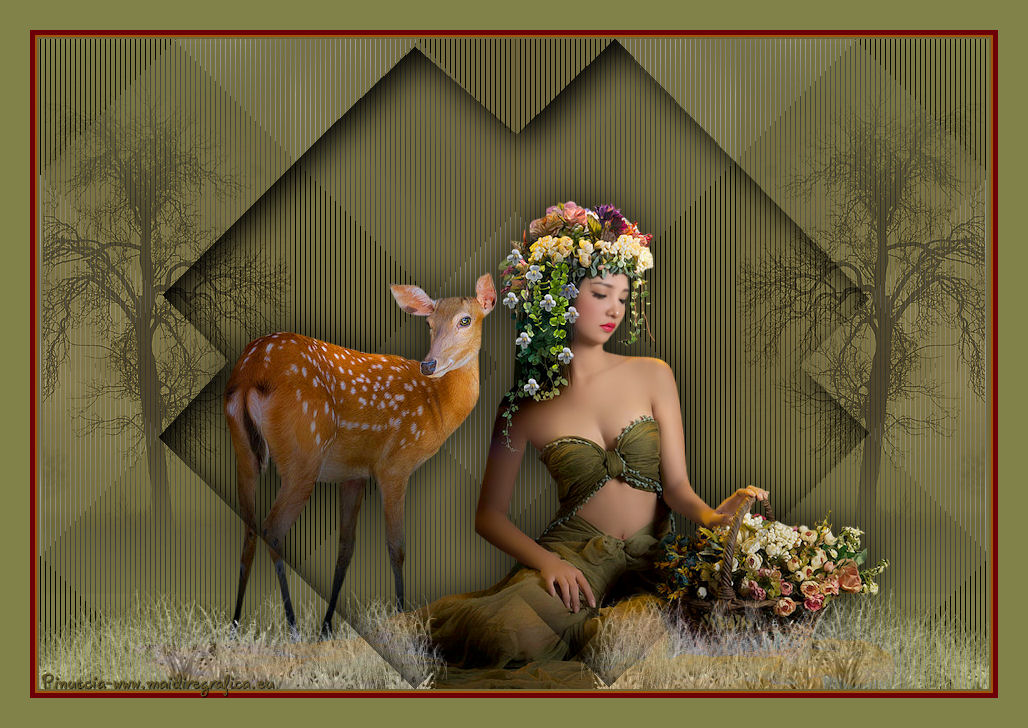
This tutorial was translated with PSPX3 but it can also be made using other versions of PSP.
Since version PSP X4, Image>Mirror was replaced with Image>Flip Horizontal,
and Image>Flip with Image>Flip Vertical, there are some variables.
In versions X5 and X6, the functions have been improved by making available the Objects menu.
In the latest version X7 command Image>Mirror and Image>Flip returned, but with new differences.
See my schedule here
French translation here
Your versions here
For this tutorial, you will need:
Material here
Tube Min@Duong01.14.01.16
lunapaisagem5354
Tube M-L-gras
Plugins
consult, if necessary, my filter section here
Filters Unlimited 2.0 ici
Simple - 4way average ici
Tramages - Tow the line ici
Mura's Seamless - Duplicate ici
VM Toolbox - Grid ici
Filters Simple, Tramages, Mura's Seamless, VM Toolbox can be used alone or imported into Filters Unlimited.
(How do, you see here)
If a plugin supplied appears with this icon  it must necessarily be imported into Unlimited

Copy the selections in the Selections Folder.
1. Open a new transparent image 950 x 650 pixels.
2. Set your foreground color to #81814a.
Set your background color to #6f653d.
Set your foreground color to a foreground/background gradient, style Rectangular.
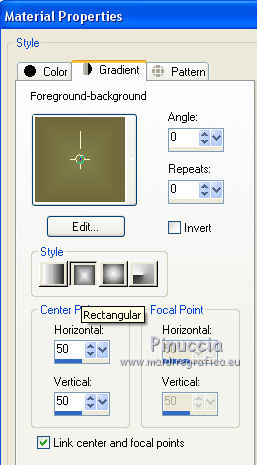
Flood Fill  your transparente image with your gradient.
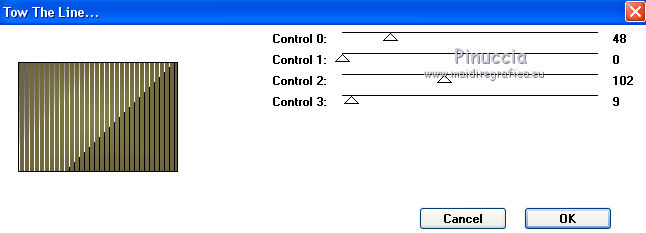
3. Effects>Plugins>Tramages - Tow the lines.
4. Effects>Plugins>Simple - 4Way Average.
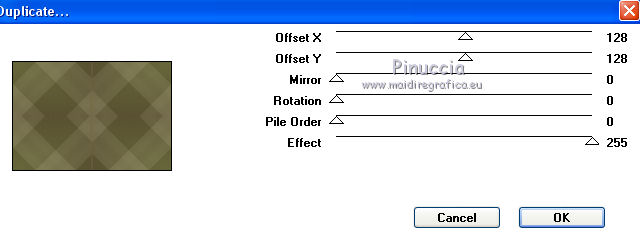
5. Effects>Plugins>Mura's Seamless - Duplicate.
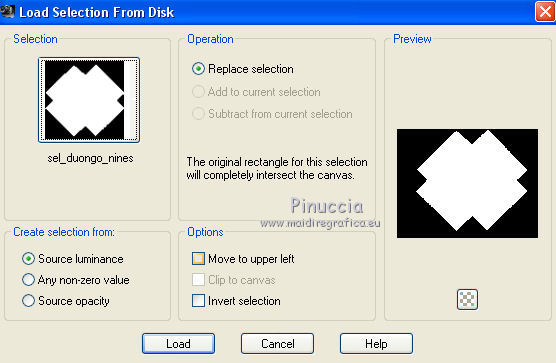
6. Selections>Load/Save Selection>Load Selection from Disk.
Look for and load the selection sel_duongo_nines.
7. Layers>New Raster Layer.
Open the tube Min@Duong01.14.01.16 - Edit>Copy.
Go back to your work and go to Edit>Paste into selection.
8. Adjust>Blur>Gaussian Blur - radius 50.

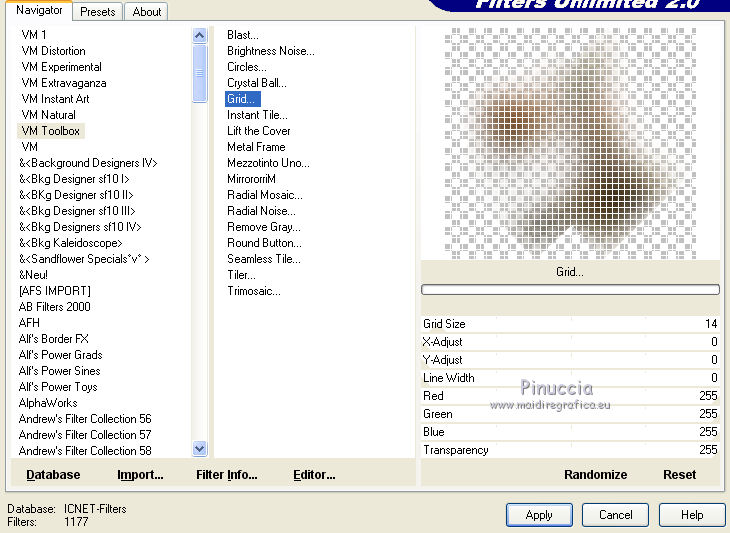
9. Effects>Plugins>Filters Unlimited 2.0 - VM Toolbox - Grid.
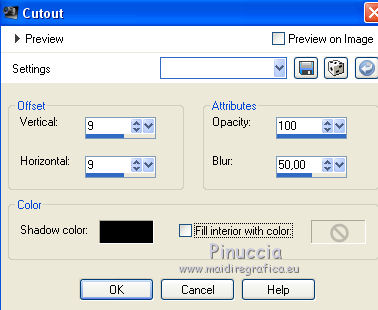
10. Effects>3D Effets>Cutout, color black.
Selections>Select None.
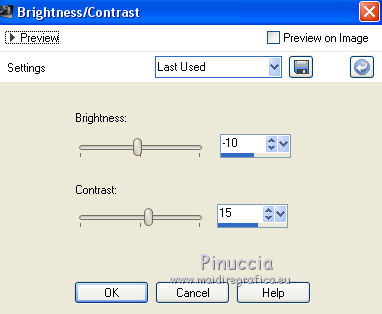
11. Adjust>Brightness and Contrast>Brightness and Contrast.
12. Open the tube tube M-L-gras - Edit>Copy.
Go back to your work and go to Edit>Paste as new layer.
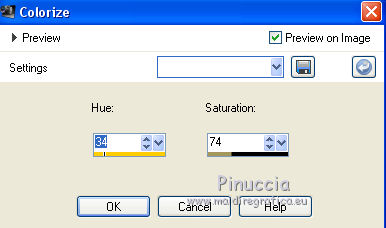
13. Adjust>Hue and Saturation>Colorize.
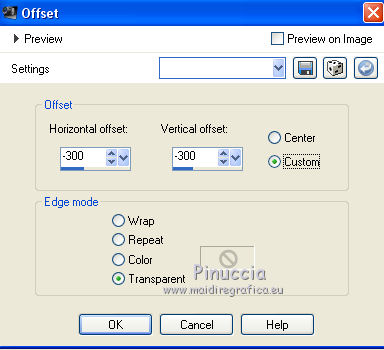
14. Effects>Image Effects>Offset.
15. Layers>Arrange>Move down.
16. Effects>3D Effects>Drop Shadow, color black.
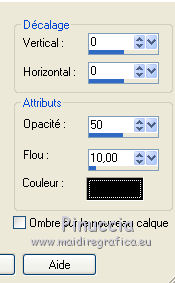
Change the blend mode of this layer to Luminance (legacy).
17. Layers>Duplicate.
Image>Mirror.
18. Activate the bottom layer - Raster 1.
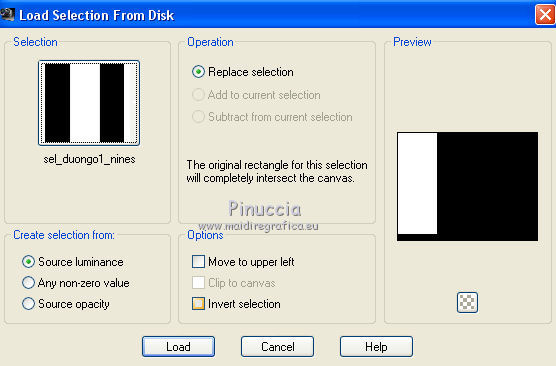
19. Selections>Load/Save Selection>Load Selection from Disk.
Look for and load the selection sel_duongo1_nines.
20. Open the tube lunapaisagem5354 - Edit>Copy.
Go back to your work and go to Edit>Paste as new layer.
Move  the tube in the center of the selection.
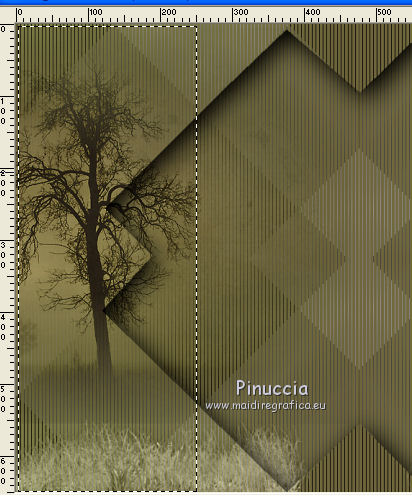
Selections>Invert.
Press CANC on the keyboard 
Selections>Select None.
Change the opacity of this layer to 50%.
21. Layers>Duplicate.
Image>Mirror.
22. Open the tube Min@.Duong01.14.01.16 - Edit>Copy.
Go back to your work and go to Edit>Paste as new layer.
Image>Resize, to 80%, resize all layers not checked.
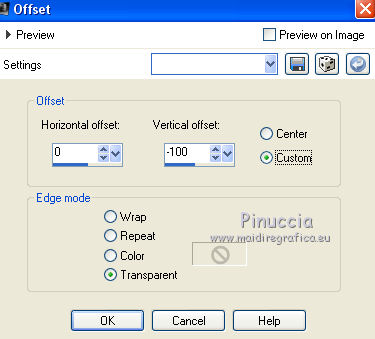
23. Effects>Image Effects>Offset.
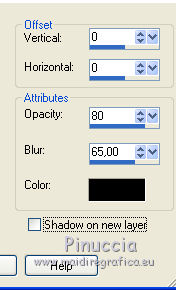
24. Effects>3D Effects>Drop Shadow, color black.
25. Calques>Fusionner>Tous.
26. Image>Add borders, 2 pixels, symmetric, background color #6f653d.
Image>Add borders, 2 pixels #a0550b.
Image>Add borders, 5 pixels #6c0006.
Image>Add borders, 30 pixels, symmetric, foreground color #81814a.
27. Sign your work and save as.

If you have problems or doubt, or you find a not worked link, or only for tell me that you enjoyed this tutorial, write to me.
16 February 2016
