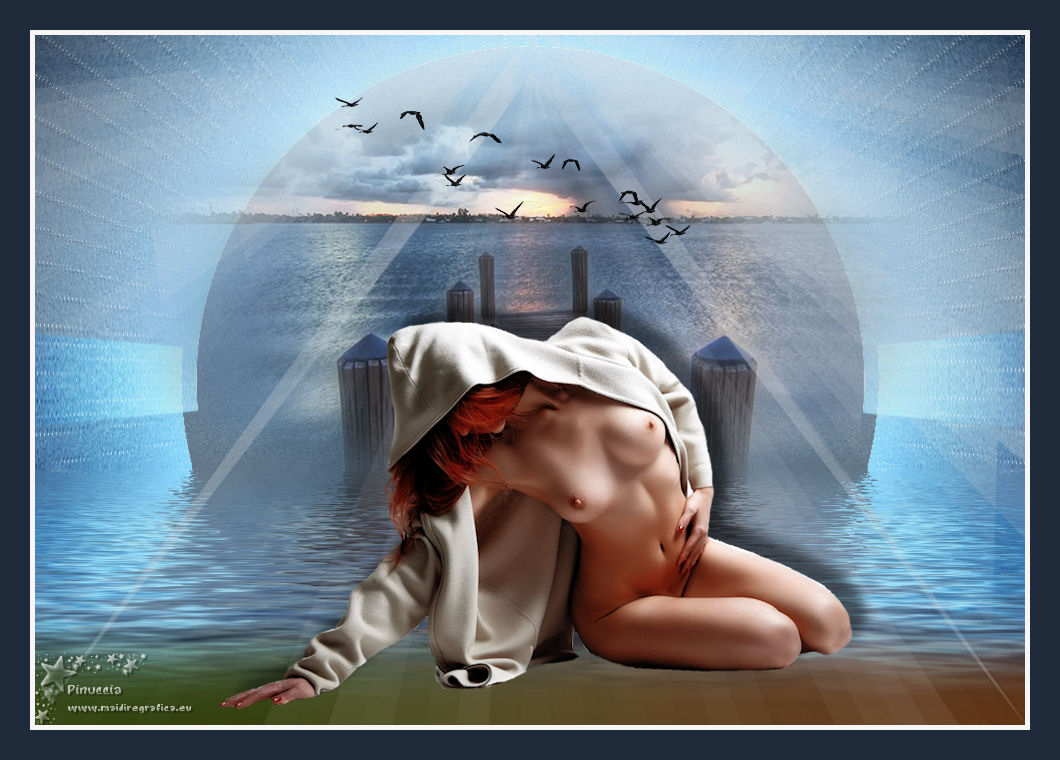
This tutorial was translated with PSPX3 but it can also be made using other versions of PSP.
Since version PSP X4, Image>Mirror was replaced with Image>Flip Horizontal,
and Image>Flip with Image>Flip Vertical, there are some variables.
In versions X5 and X6, the functions have been improved by making available the Objects menu.
In the latest version X7 command Image>Mirror and Image>Flip returned, but with new differences.
See my schedule here
French translation here
Your versions here
For this tutorial, you will need:
Material here
For the tubes thanks Mara Pontes, Animabelle and Ipdragonfly.
For the mask thanks Narah.
Plugins
consult, if necessary, my filter section here
AP 01 Innovations - Lines SilverLining here
Mura's Meister - Pole Transform here
FM Tile Tools - Saturation Emboss here
Flaming Pear - Flood here

You can change Blend Modes according to your colors.
In the newest versions of PSP, you cannot find the foreground/background gradient ou Corel_06_29.
You can use the Gradient folder of Corel X that you can find here
Copy the selection in the Selections Folder.
Open the masks in PSP and minimize them with the rest of the material.
1. Open a new transparent image 1000 x 700 pixels.
2. Set your foreground color to #c1e7ff,
and your background color to #1f2b3a.
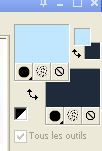
Set your foreground color to a Foreground/Background Gradient, style Linear.
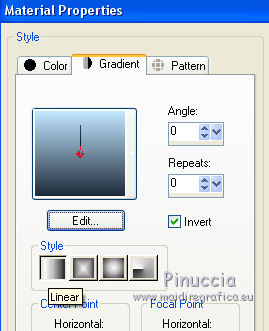
Flood Fill  the transparent image with your Gradient.
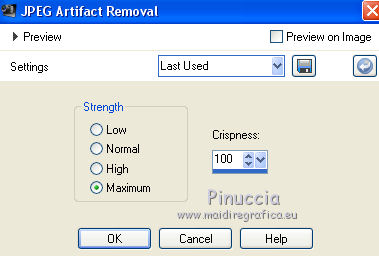
3. Adjust>Add/Remove Noise>JPEG Artifact Removal.
4. Selections>Load/Save Selection>Load Selection from Disk.
Look for and load the selection sel_desnudo_nines.
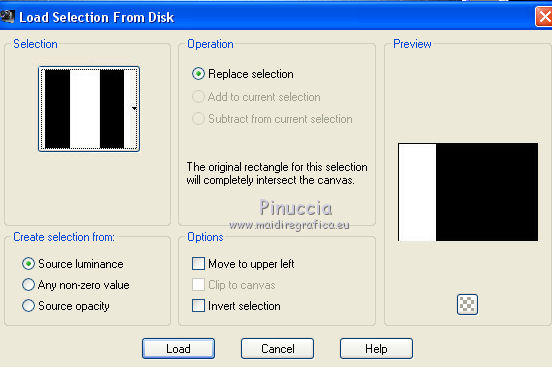
Selections>Promote Selection to Layer.
5. Effects>Plugins>AP 01 Innovations - Lines SilverLining.

6. Effects>Plugins>FM Tile Tools - Saturation Emboss, default settings.

Selections>Select None.
7. Layers>Duplicate.
Image>Mirror.
Layers>Merge>Merge Down.
8. Effects>Plugins>Mura's Meister - Pole Transform.

9. Layers>Duplicate.
Image>Flip.
10. Effects>Geometric Effects>Spherize
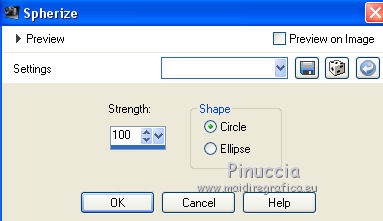
Change the Blend Mode of this layer to Hard Light.
11. Open the tube 141_paysage_p2_animabelle and go to Edit>Copy.
Go back to your work and go to Edit>Paste as new layer.
Move  the tube a bit higher.
12. Layers>Merge>Merge visible.
13. Effects>Plugins>Flaming Pear - Flood - color #152b50.

14. Layers>New Mask layer>From image
Open the menu under the source window and you'll see all the files open.
Select the mask mask-Fade-suave.
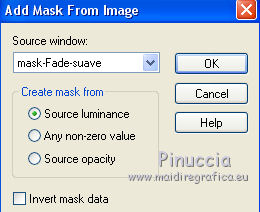
Layers>Merge>Merge Group.
Apply the mask other two times (don't forget to merge the group).
15. Layers>New Raster Layer.
Layers>Arrange>Send to Bottom.
Flood Fill  with your background color #1f2b3a.
Change the Blend Mode of this layer to Dodge (you'll see the result later).
16. Set your foreground color to #e0e1e1.
Layers>New Raster Layer.
Layers>Arrange>Send to Bottom.
Flood Fill  the layer with your foreground color #e0e1e1.
17. Layers>New Mask layer>From image
Open the menu under the source window
and select the mask Narah_mask_0760.
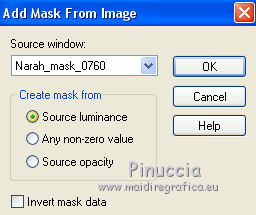
Layers>Merge>Merge Group.
18. Image>Flip.
Reduce the opacity of this layer to 50%.
19. Open tube2385_mulher_mara_pontes and go to Edit>Copy.
Go back to your work and go to Edit>Paste as new layer.
Image>Resize, 1 time to 80% and 1 time to 90%, resize all layers not checked.
Place  rightly the tube.
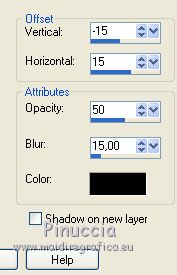
20. Effects>3D Effects>Drop Shadow, color black.
21. Set your foreground color to #004000,
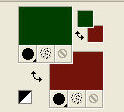
and your background color to #73150b.
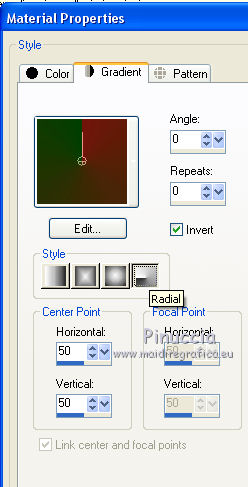
Set your foreground color to a Foreground/Background Gradient, style Radial.
Layers>New Raster Layer.
Layers>Arrange>Send to Bottom.
Flood Fill  the layer with your Gradient.
22. Activate the top layer.
Open the tube bird_brushes_II_by_Ipdragonfly and go to Edit>Copy.
Go back to your work and go to Edit>Paste as new layer.
Place  the tube over the landscape.
23. Set your foreground color to #f7f5f6.
Stay on the top layer.
Layers>New Raster Layer.
Flood Fill  with your foreground color #f7f5f6.
24. Selections>Select All.
Selections>Modify>Contract - 5 pixels.
Press CANC on the keyboard 
Selectins>Select None.
25. Layers>Merge>Merge All.
26. Image>Add borders, 30 pixels, symmetric, color #1f2b3a.
27. Sign your work and save as jpg.
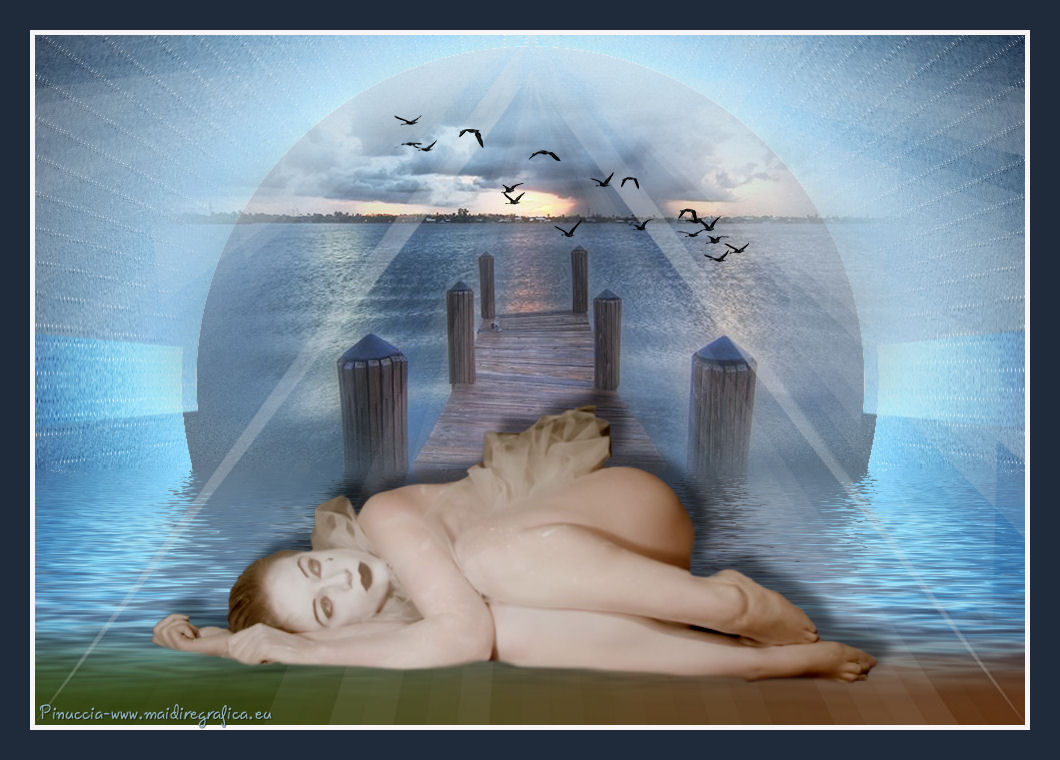
The tube of this version is by Luz Cristina

If you have problems or doubt, or you find a not worked link, or only for tell me that you enjoyed this tutorial, write to me.
20 December 2019
