|
TOP CONISTON
ENGLISH VERSION
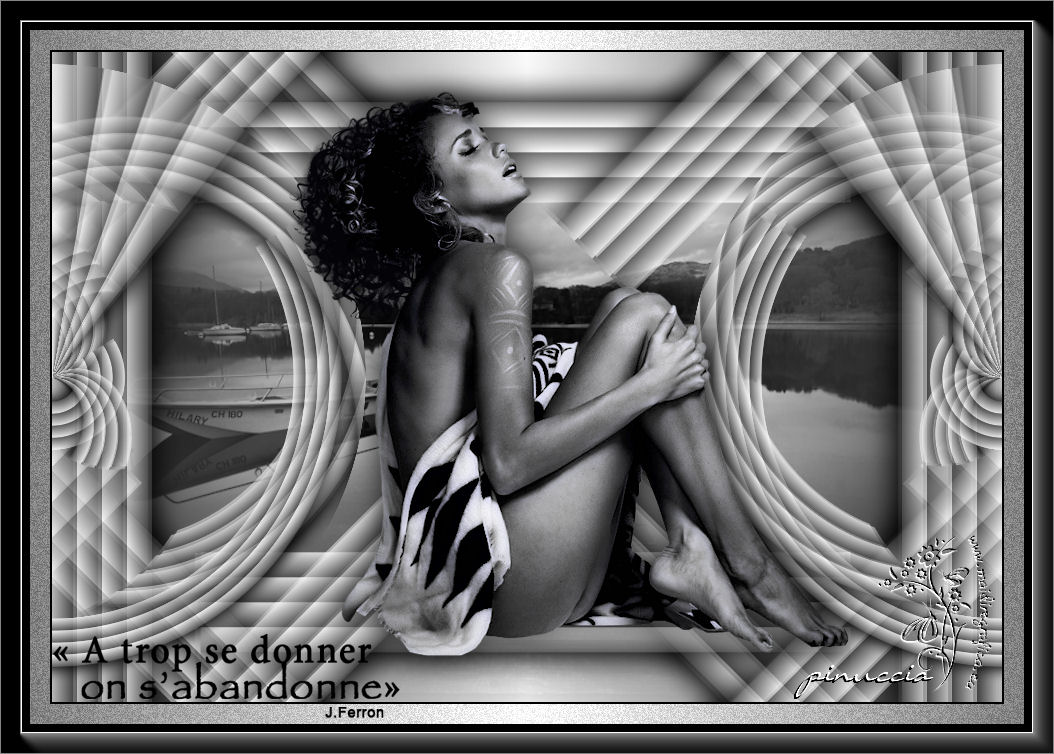
Here you find the original of this tutorial:

This tutorial was translated with PSPX3 but it can also be made using other versions of PSP.
Since version PSP X4, Image>Mirror was replaced with Image>Flip Horizontal,
and Image>Flip with Image>Flip Vertical, there are some variables.
In versions X5 and X6, the functions have been improved by making available the Objects menu.
In the latest version X7 command Image>Mirror and Image>Flip returned, but with new differences.
See my schedule here
French translation here
Your versions here
For this tutorial, you will need:
Material here
Tube Gabry-woman 93-17
Mist marknelson_coniston_jetty_tubed_by_thafs
Texto by Colybrix
Plugins
consult, if necessary, my filter section here
Mura's Meister - Pole Transform here
Simple - Left Right Wrap (bonus) here
Mura's Meister - Copies here
AAA Frames - Foto Frame here
Filters Unlimited 2.0 here
Filters Scribe can be used alone or imported into Filters Unlimited.
(How do, you see here)
If a plugin supplied appears with this icon  it must necessarily be imported into Unlimited it must necessarily be imported into Unlimited

You can change Blend Modes according to your colors.
In the newest versions of PSP, you don't find the foreground/background gradient (Corel_06_029).
You can use the gradients of the older versions.
The Gradient of CorelX here
1. Open a new transparent image 950 x 650 pixels.
2. Set your foreground color to #ffffff,
Set your background color to #000000.
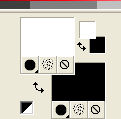
Set your foreground color to a Foreground/Background Gradient, style Linear.
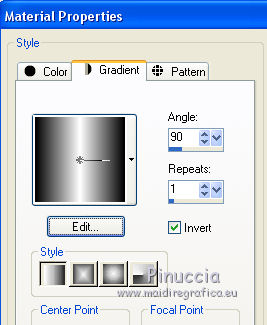
Flood Fill  the transparent image with your Gradient. the transparent image with your Gradient.
3. Open the tube marknelson_coniston_jetty_tubed_by_thafs - Edit>Copy.
Go back to your work and go to Edit>Paste as new layer.
4. Activate the Pick Tool 
mode Scale 
pull the nodes to extend the tube until the bords.
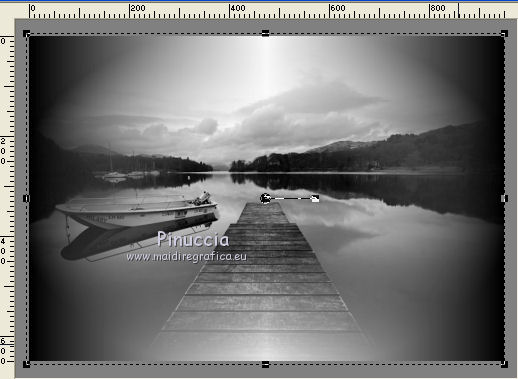
Change the Blend Mode of this layer to Luminance (Legacy).
5. Selection Tool 
(no matter the type of selection, because with the custom selection your always get a rectangle)
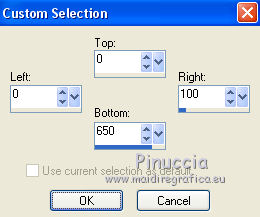
clic on the Custom Selection 
and set the following settings.
6. Set your foreground color to Color.
Layer>New Raster Layer.
Réduce the opacity of the Flood Fill Tool to 50,
Flood Fill  the selection with the color white. the selection with the color white.
don't forget to set the opacity again to 100
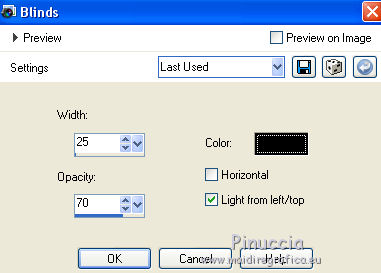
7. Effects>Texture>Blinds - color black.
Selections>Select None.
8. Effects>3D Effects>Drop Shadow, color black.

9. Layers>Duplicate.
Image>Mirror.
10. Layers>Merge>Merge Down.
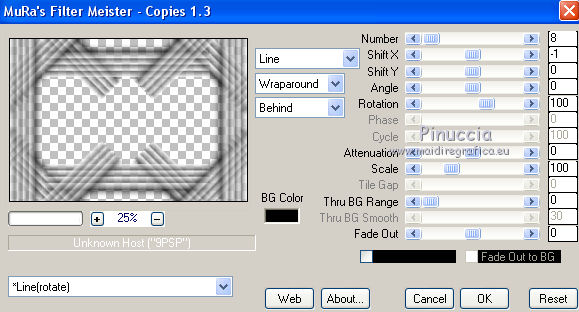
11. Effects>Plugins>Mura's Meister - Copies.
12. Layers>Duplicate.
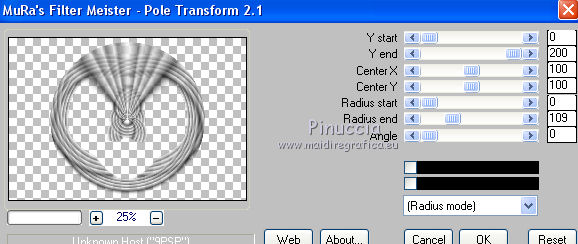
13. Effects>Plugins>Mura's Meister - Pole Transform.
14. Effects>Plugins>Simple - Left Right Wrap.
15. Open the tube Gabry-woman 93-17 - Edit>Copy.
Go back to your work and go to Edit>Paste as new layer.
Image>Resize, to 90%, resize all layers not checked.
Place  rightly the tube, see my example. rightly the tube, see my example.
16. Effects>3D Effects>Drop Shadow, color black.

17. Calques>Fusionner>Tous.
18. Image>Add borders, 2 pixels, symmetric, color black.
Image>Add borders, 2 pixels, symmetric, color white.
Image>Add borders, 20 pixels, symmetric, color black.
20. Activate the Magic Wand tool 
and clic on the 20 pixels bord to select it.
Set your foreground color to Gradient
Flood Fill  the selection with your Gradient. the selection with your Gradient.
21. Adjust>Add/Remove Noise>Add Noise.
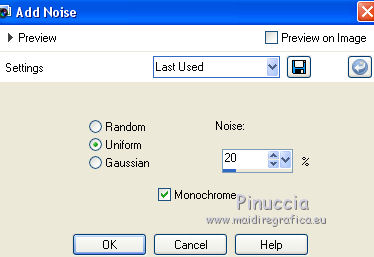
Selections>Select None.
22. Image>Add borders, 30 pixels, symmetric, color black.
23. Effects>Plugins>AAA Frames - Foto Frame.
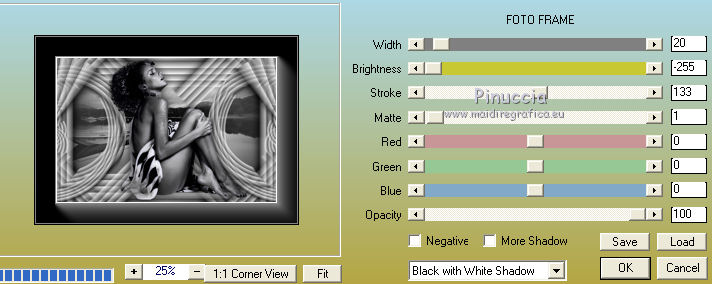
24. Open the tube Texto by Colybrix - Edit>Copy.
Go back to your work and go to Edit>Paste as new layer.
Image>Resize, to 80%, resize all layers not checked.
Move  the text at the bottom right. the text at the bottom right.
25. Layers>Merge>Merge All.
Image>Resize, to 90%, resize all layers checked.
Sign your work and save as jpg.

If you have problems or doubts, or you find a not worked link, or only for tell me that you enjoyed this tutorial, write to me.
6 May 2017
|
