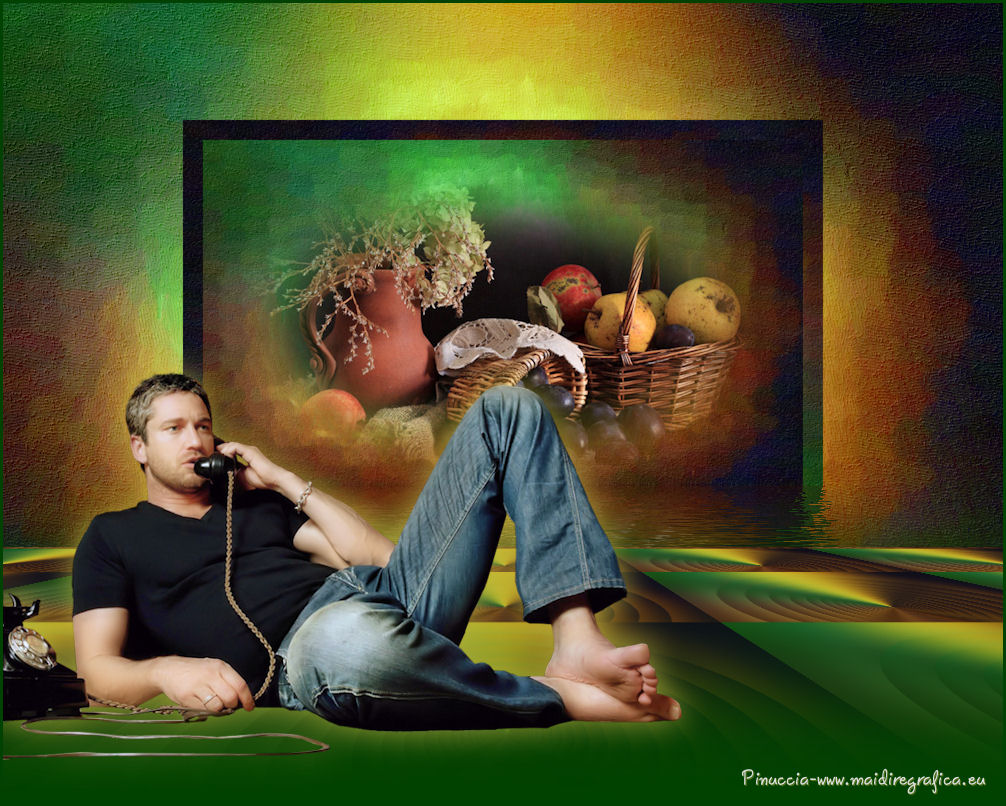
This tutorial was created with PSP X2 but it can also be made using other versions of PSP.
Since version PSP X4, Image>Mirror was replaced with Image>Flip Horizontal,
and Image>Flip with Image>Flip Vertical, there are some variables.
In versions X5 and X6, the functions have been improved by making available the Objects menu.
In the latest version X7 command Image>Mirror and Image>Flip returned, but with new differences.
See my schedule here
French translation here
Your versions here
For this tutorial, you will need:
Material here
Tube Homme-72-Azalee
139_divers_p2_animabelle
Image space-3-by-HeleneM
Mask_lotty
mask.ket-fadesuave
Filtres:
consult, if necessary, my filter section here
Virtual Painter 4 here
Filters Unlimited 2.0 here
Flaming Pear - Flood here
FM Tile Tools - saturation Emboss here
Mura's Meister - Perspective Tiling here

You can change Blend Modes according to your colors.
Copy the preset Emboss 3 dans le dossier Presets.
Open the masks in PSP and minimize them with the rest of the material.
1. Open a new transparent image 1000 x 650 pixels.
2. Selections>Select All.
Open the image space-3-by-HeleneM - Edit>Copy.
Go back to your work and go to Edit>Paste into Selection.
Selections>Select None.
3. Effects>Plugins>Virtual Painter 4.
Filter: Oil Painting - Material: Stucco (Sand) - Adjust: all Normal.

Clic on the check mark to apply.

4. Layers>Duplicate.
5. Effects>Plugins>Filters Unlimited 2.0 - Buttons & Frames - Mirrored Frame.

6. Open the tube 139_divers_ps_animabelle - Edit>Copy.
Go back to your work and go to Edit>Paste as new layer.
Layers>Merge>Merge down.
7. Image>Resize, 2 times to 80%, resize all layers not checked.
8. Effects>Plugins>Flaming Pear - Flood - couleur #490d00.

9. Activate the bottom layer Raster 1.
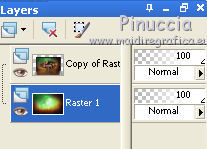
10. Layers>New Raster layer.
Set your foreground color to #fbc283.
Opacity of Flood fill Tool to 50%.

Flood Fill  the layer with your foreground color.
11. Layers>New Mask layer>From image
Open the menu under the source window and you'll see all the files open.
Select the mask lotty:
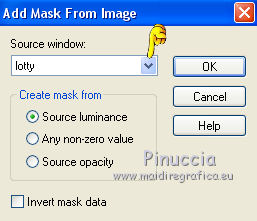
Layers>Merge>Merge group.
12. Effects>User Defined Filter - select the preset Emboss 3 and ok.

Change the Blend mode to Hard Light.
13. Effects>Plugins>FM Tile Tools - Saturation Emboss.

14. Layers>Merge>Merge visible.
15. Layers>New Mask layer>From image
Open the menu under the source window
and select the mask mask-ket-fade suave:
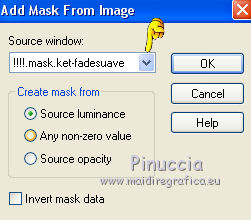
Layers>Merge>Merge group.
Apply the mask another time.
Layers>Merge>Merge group.
16. Layers>Duplicate.
17. Adjust>Blur>Gaussian Blur - radius 50.

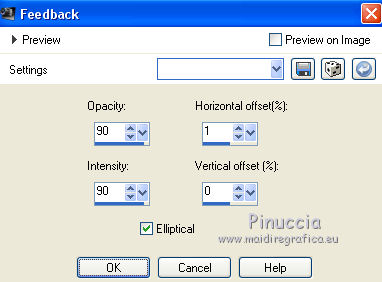
18. Effects>Reflection Effects>Feedback.
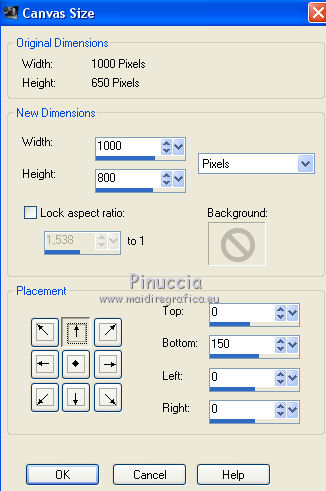
19. Image>Canvas Size - 1000 x 800 pixels.
20. Effects>Plugins>Mura's Meister - Perspective Tiling.

21. Activate the Magic Wand Tool 
clic on the transparent part to select it.

Press 5 times CANC on the keyboard 
Selections>Select None.
22. Layers>New Mask layer>From image
Open the menu under the source window
and select the mask mask-ket-fade suave:

Layers>Merge>Merge group.
Apply the mask another time.
Layers>Merge>Merge group.
23. Layers>New Raster Layer.
Layers>Arrange>Send to Bottom.
Set your foreground color to #004200.
Opacity of Flood Fill Tool again to 100%,
Flood fill  the layer with your foreground color #004200.
24. Activate the top layer.
Open the tube Homme-72-Azalee - Edit>Copy.
Go back to your work and go to Edit>Paste as new layer.
Image>Resize, 1 times to 80% and 1 time to 90%, resize all layers not checked.
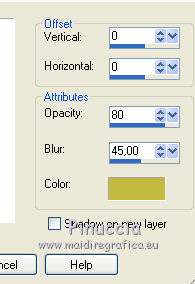
25. Effects>3D Effects>Drop Shadow, color #c4ba40.
25. Layers>Merge>Merge All.
Image>Add borders, 3 pixels, symmetric, color #014203.
26. Sign your work and save as jpg.

If you have problems or doubt, or you find a not worked link, or only for tell me that you enjoyed this tutorial, write to me.
24 September 2015
 english version