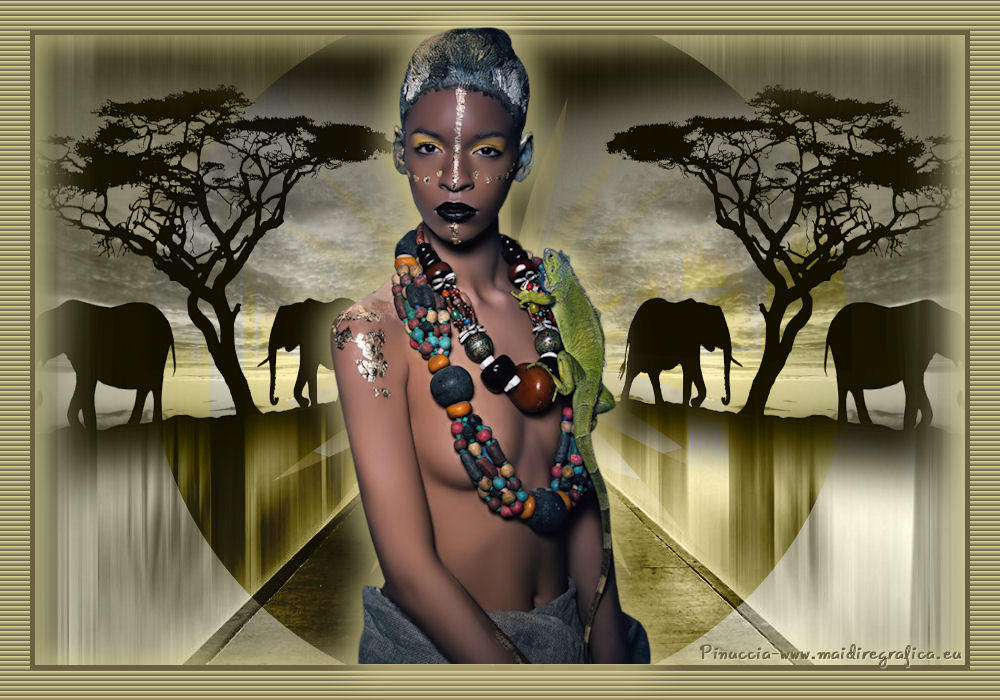
Here you find the original of this tutorial:

This tutorial was created with PSP X2 but it can also be made using other versions of PSP.
Since version PSP X4, Image>Mirror was replaced with Image>Flip Horizontal,
and Image>Flip with Image>Flip Vertical, there are some variables.
In versions X5 and X6, the functions have been improved by making available the Objects menu.
In the latest version X7 command Image>Mirror and Image>Flip returned, but with new differences.
See my schedule here
French translation here
Your versions here
For this tutorial, you will need:
Material here
Tube K@rine_dreams_African_Woman_3070
Tube DBK BG MIST-060 by Katrina
74_masque_Animabelle_page 4
Filtres:
consult, if necessary, my filter section here
Andromeda - Perspective ici
Flaming Pear - Flexify 2 ici

1. Open a new transparent image 1000 x 700 pixels.
2. Set the foreground color to #282712,
and the background color to #6a6041.

Set the Foreground color to Foreground/background Gradient, style Linear.

Flood Fill  with the gradient.
3. Selections>Select All.
Layers>New raster layer.
4. Open 74_masque_Animabelle_page 4 - Edit>Copy.
Back to your work and go to Edit>Paste into Selection.
Selections>Select None.
5. Blend mode of this layer to Luminance (legacy).
6. Selection Tool 
(no matter the type of selection, because with the custom selection your always get a rectangle)
clic on the Custom Selection 
and set the following settings.

7. Activer the layer below (the layer with the gradient).
Selections>Promote the selection to layer.
Selections>Select None.
8. Effects>Plugins>Flaming Pear - Flexify2:
color Tab #282712.

9. Layers>Arrange>Bring to Top.
Blend mode of this layer to Overlay.

10. Open the tube DBK BG MIST-060 - Edit>Copy.
Go back to your work and Edit>Paste as new layer.
Image>Resize, 80%, resize all layers not checked.
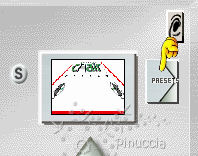
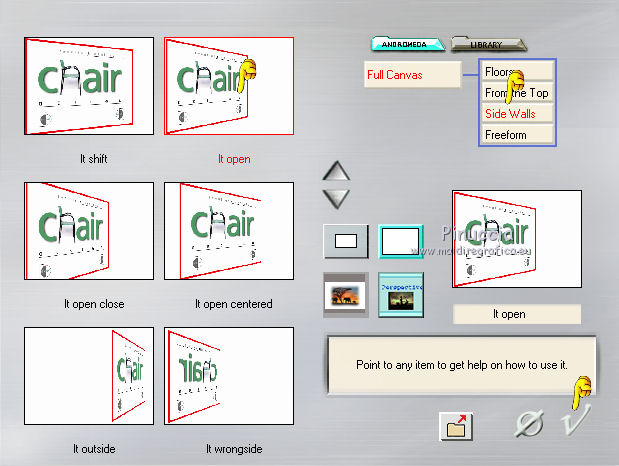
11. Effects>Plugins>Andromeda - Perspective
clic on Presets:

set the following settings, and clic on the check mark at the bottom right to apply.

again clic on the check mark to close.

12. Effects>Image Effets>Offset.

Blend mode of this layer to Luminance (Legacy).

13. Layers>Duplicate.
Image>Mirror.
Layers>Merge>Merge down.
14. Layers>New raster layer.
Set the foreground color to #d9cf96.
Flood fill  with this color.
15. Selections>Select All.
Selections>Modify>Contract - 30 pixels.
Press CANC on the keyboard 
Selections>Invert.
16. Effects>Texture Effects>Blinds - color black.

16. Again Selections>Invert.
Flood Fill  with background color #6a6041.
17. Selections>Modify>Contract - 5 pixels.
Press CANC on the keyboard.
Selections>Select None.
18. Effects>3D Effects>Drop Shadow, color #d9cf96.

Edit>Repeat Drop Shadow.
19. Open the tube K@rine_dream_African_Woman_3070 - Edit>Copy.
Go back to your work and Edit>Paste as new layer.
Image>Resize, 1 time 80%, 1 time 90%, resize all layers not checked.
20. Effects>3D Effects>Drop Shadow, color #d9cf96.

Edit>Repeat Drop Shadow.
21. Sign your work.
Layers>Merge>Merge All and save as jpg.

If you have problems or doubt, or you find a not worked link, or only for tell me that you enjoyed this tutorial, write to me.
6 April 2014

