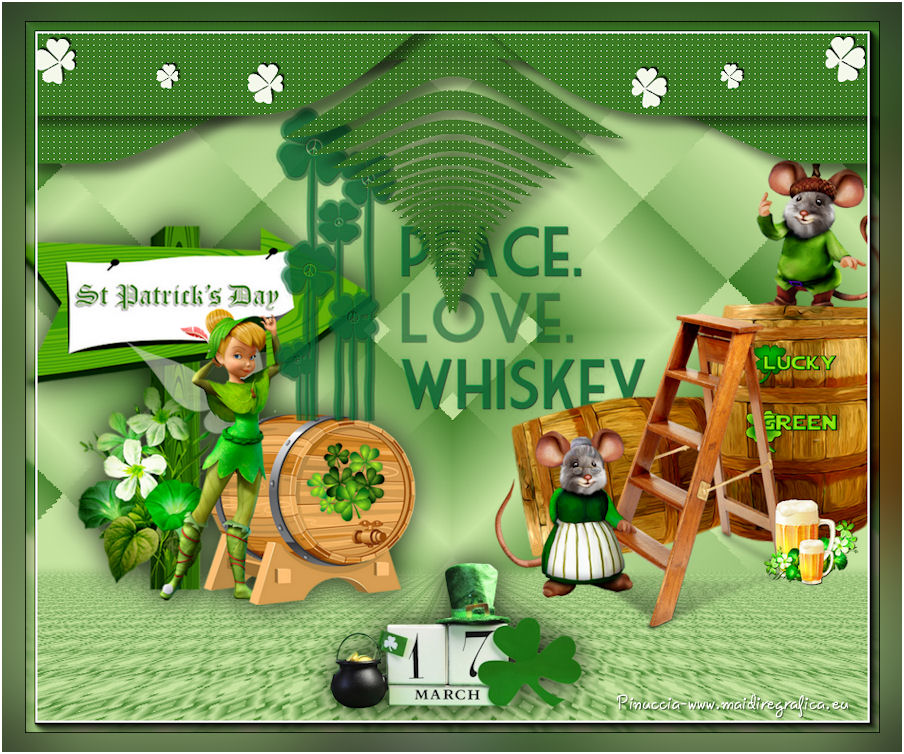
This tutorial was translated with PSPX3 but it can also be made using other versions of PSP.
Since version PSP X4, Image>Mirror was replaced with Image>Flip Horizontal,
and Image>Flip with Image>Flip Vertical, there are some variables.
In versions X5 and X6, the functions have been improved by making available the Objects menu.
In the latest version X7 command Image>Mirror and Image>Flip returned, but with new differences.
See my schedule here
French translation here
Your versions here
For this tutorial, you will need:
Material here
Tube 4a379303 by Gaïa
Tube ba9006e3 by Gaïa
Tube calguisstpatrickwa04032017 by Guismo
Tube calguisstpatrick04032017 by Guismo
flores blancas_nines
Plugins
consult, if necessary, my filter section here
Filters Unlimited 2.0 here
VM Distortion - Tilomat 2000, Kaleidoscope here
Mura's Meister - Perspective Tiling here
AAA Frames - Foto Frame here
Filters VM Distortion can be used alone or imported into Filters Unlimited.
(How do, you see here)
If a plugin supplied appears with this icon  it must necessarily be imported into Unlimited

You can change Blend Modes according to your colors.
In the newest versions of PSP, you don't find the foreground/background gradient (Corel_06_029).
You can use the gradients of the older versions.
The Gradient of CorelX here
Set your foreground color to #c7e4a1.
Set your background color to #3c7b24.
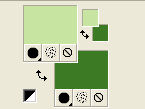
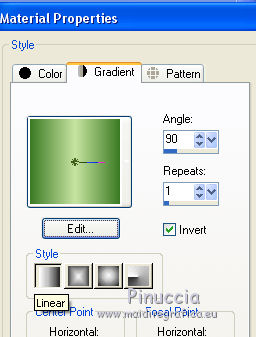
Set your foreground color to a Foreground/Background Gradient, style Linear.
1. Open a new transparent image 900 x 650 pixels.
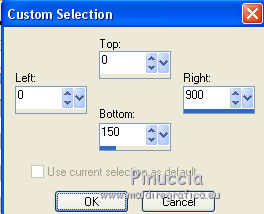
2. Selection Tool 
(no matter the type of selection, because with the custom selection your always get a rectangle)
clic on the Custom Selection 
and set the following settings.
3. Flood Fill  the selection with your background color #3c7b24.
Selections>Select None.
4. Effects>Distortion Effects>Warp.
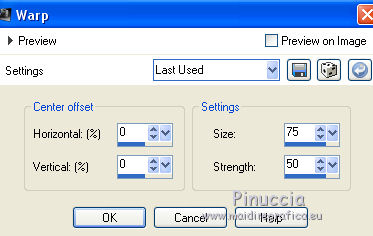
5. Layers>Duplicate.
6. Effects>Reflection Effects>Feedback.
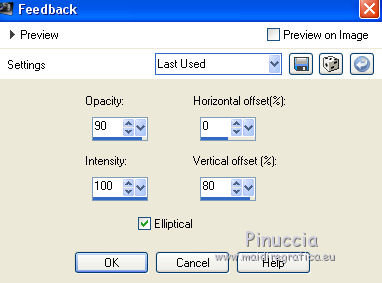
7. Effects>Distortion Effects>Pinch.

Edit>Repeat Pinch.
8. Effects>Image Effects>Offset.
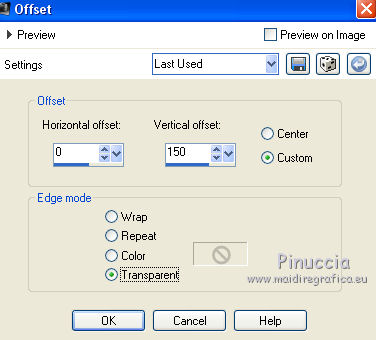
9. Effects>Texture Effects>Weave
weave color: background color #3c7b24
gap color: #f8fcf0.
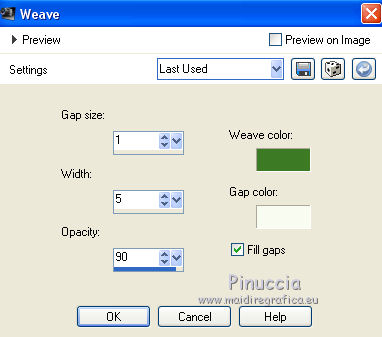
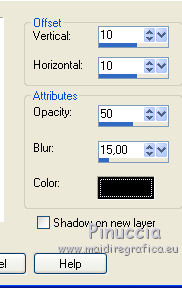
10. Effects>3D Effects>Drop Shadow, color black.
11. Activate the layer below.
Repeat Effects>Texture Effects>Weave, same settings.
Effects>3D Effects>Drop Shadow, same settings.
12. Layers>New Raster Layer.
Layers>Arrange>Send to Bottom.
Flood Fill  the layer with your Gradient.
13. Open the tube 4a379303 by Gaïa - Edit>Copy.
Go back to your work and go to Edit>Paste as new layer.
Eraser the watermark.
Image>Resize, to 80%, resize all layers not checked.
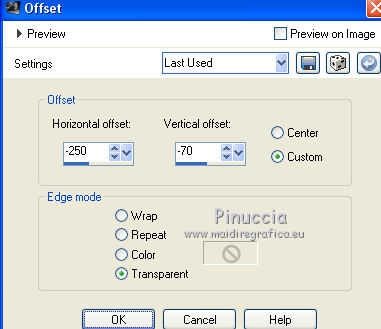
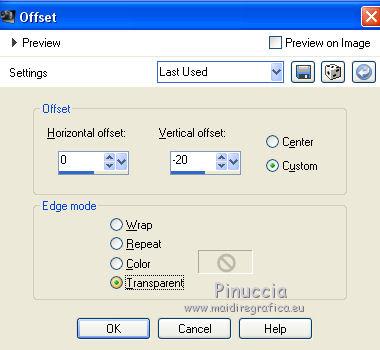
14. Effects>Image Effects>Offset.
15. Effects>3D Effects>Drop Shadow, color black.

16. Open the tube ba9006e3 by Gaïa - Edit>Copy.
Go back to your work and go to Edit>Paste as new layer.
Eraser the watermark.
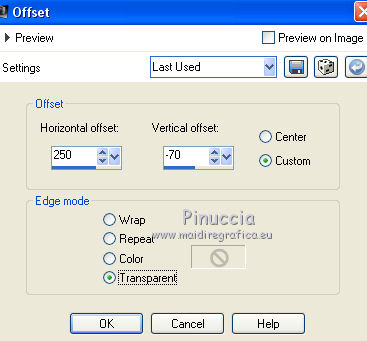
17. Effects>Image Effects>Offset.
18. Effects>3D Effects>Drop Shadow, color black.

19. Activate the bottom layer (the gradient).
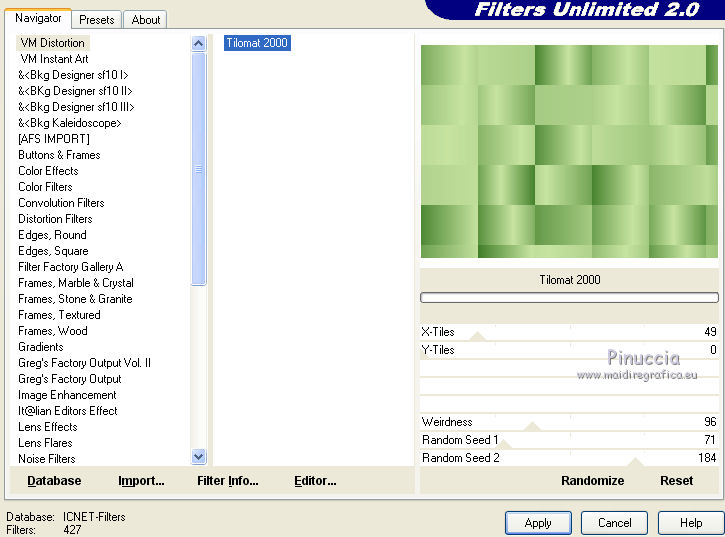
20. Effects>Plugins>VM Distortion - Tilomat 2000, default settings.
21. Effects>Plugins>VM Distortion - Kaleidoscope.
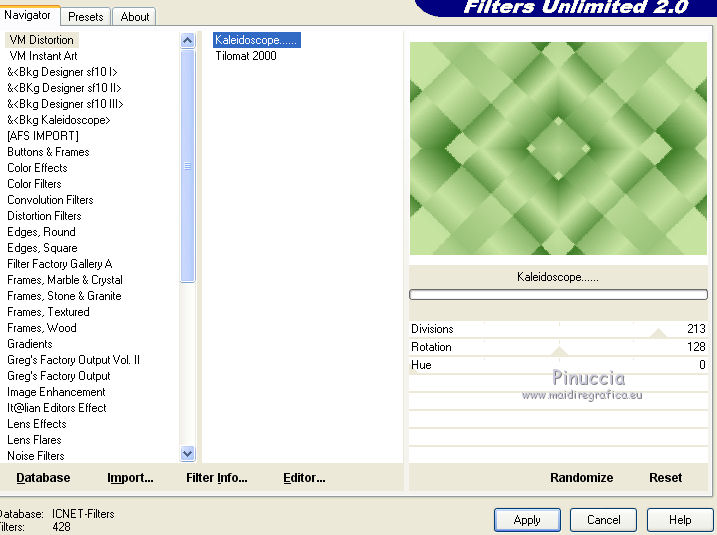
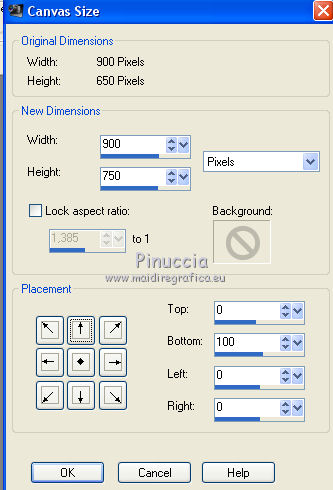
22. Layers>Duplicate.
Image>Canvas Size - 900 x 750 pixels.
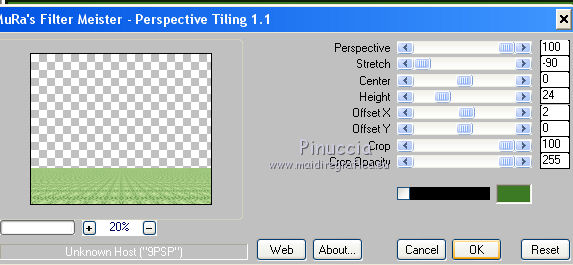
24. Effects>Plugins>Mura's Meister - Perspective Tiling.
25. Activate the Magic Wand Tool  tolerance 20 et feather 20
clic on the transparent part to select it.
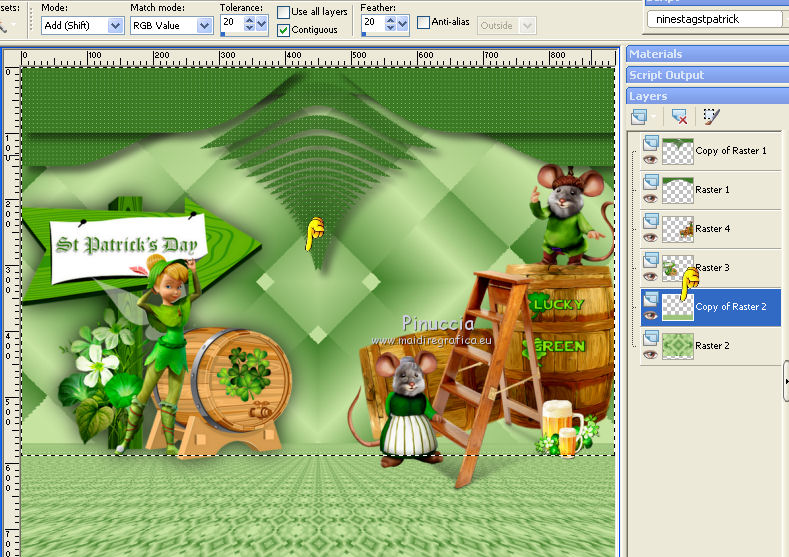
Press 6 times CANC on the keyboard 
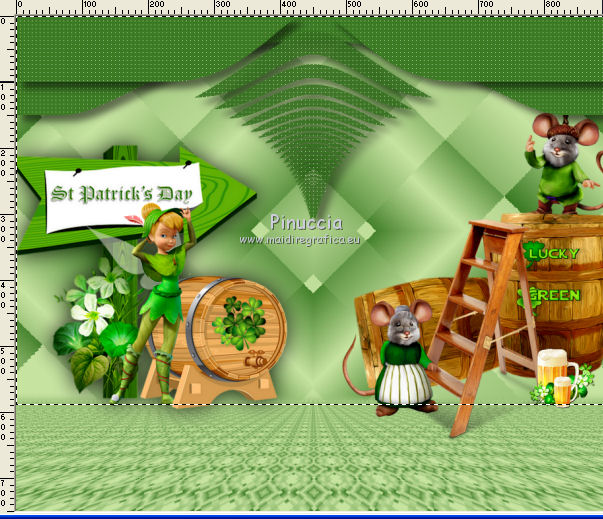
Selections>Select None.
26. Activate the layer of the first tube.
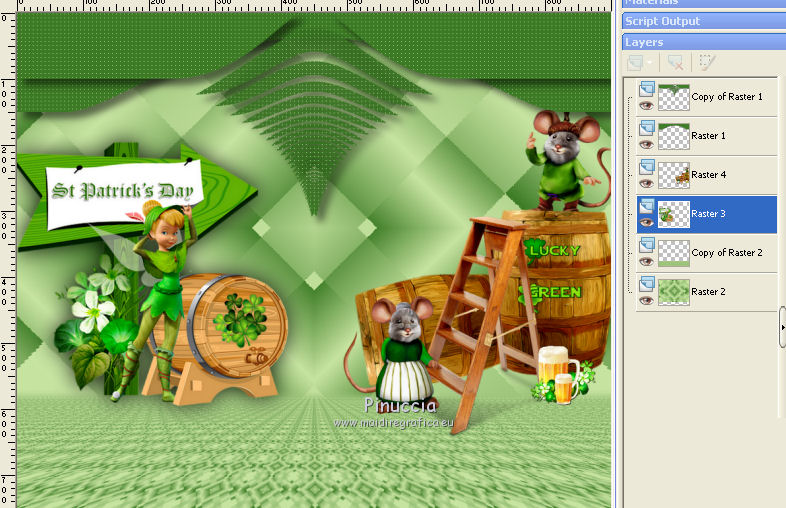
27. Effects>Image Effects>Offset.
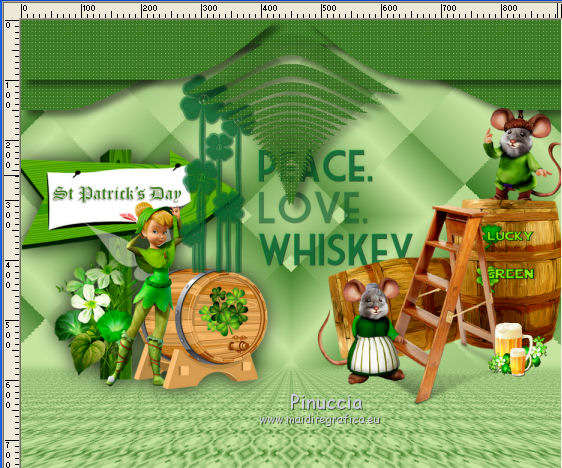
28. Open the tube calguisstpatrickwa04032017 - Edit>Copy.
Go back to your work and go to Edit>Paste as new layer.
Image>Resize, to 80%, resize all layers not checked.
29. Layers>Duplicate.
Layers>Merge>Merge down.
Place  the tube in the middle of the image.
30. Activate the bottom layer.
Open the tube calguisstpatrick04032017 - Edit>Copy.
Go back to your work and go to Edit>Paste as new layer.
Image>Resize, to 50%, resize all layers not checked.
31. Effects>3D Effects>Drop Shadow, color black.

Move  the tube at the bottom.
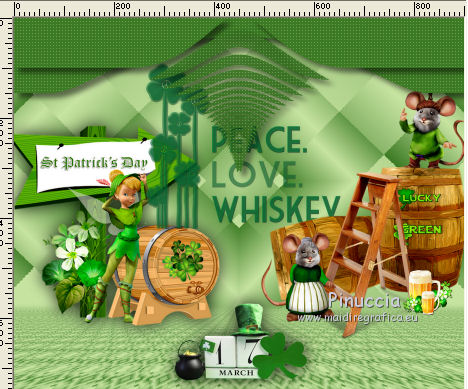
32. Open the tube las flores blancas_nines - Edit>Copy.
Go back to your work and go to Edit>Paste as new layer.
Move  the tube at the top
(not too near the border)
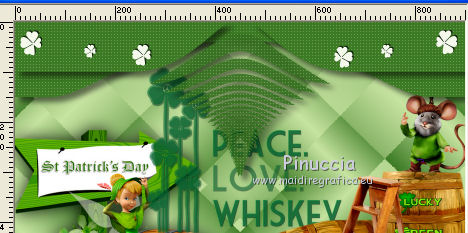
34. Layers>Merge>Merge visible.
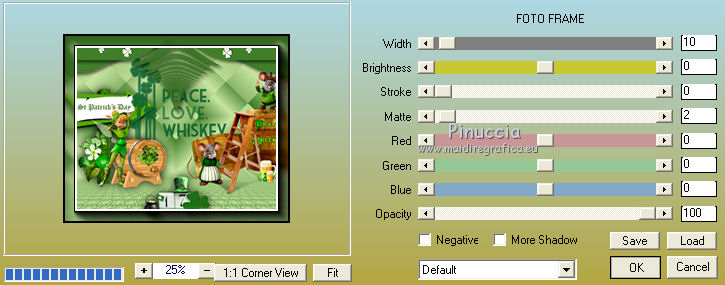
35. Effects>Plugins>AAA Frames - Foto Frame.
36. Edit>Copy.
37. Image>Resize, to 95%, resize all layers not checked.
38. Layers>New Raster Layer.
Layers>Arrange>Send to bottom.
Selections>Select All.
Edit>Paste into Selection.
Selections>Select None.
39. Adjust>Blur>Gaussian Blur - radius 50.

40. Image>Add borders, 2 pixels, symmetric, color white.
41. Sign your work and save as jpg.

If you have problems or doubt, or you find a not worked link, or only for tell me that you enjoyed this tutorial, write to me.
14 March 2017
