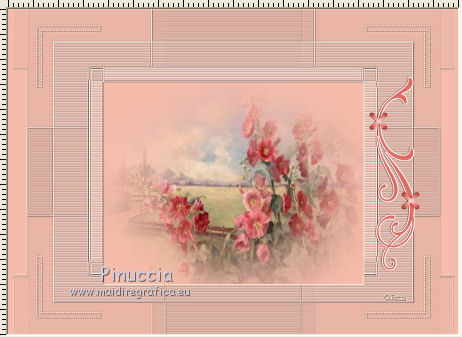
This tutorial was translated with PSPX3 but it can also be made using other versions of PSP.
Since version PSP X4, Image>Mirror was replaced with Image>Flip Horizontal,
and Image>Flip with Image>Flip Vertical, there are some variables.
In versions X5 and X6, the functions have been improved by making available the Objects menu.
In the latest version X7 command Image>Mirror and Image>Flip returned, but with new differences.
See my schedule here
French translation here
Your versions here
For this tutorial, you will need:
Material here
Tube calguissexygirl05012015 by Guismo
404_paysage_p3_animabelle
Adorno AF-swirls-ScrappyDayz
Mask hummel-jutta-mask80
WorkArt_ac

Open the mask in PSP et minimize it with the rest of the material.
1. Open a new transparent image 900 x 650 pixels.
2. Set your foreground color to #faf3e9,
and your background color to #f5bcab.

Flood fill  the transparent image with your background color #f5bcab.
3. Layers>New Raster Layer.
Flood fill  the layer with your foreground color #faf3e9.
4. Layers>New Mask layer>From image
Open the menu under the source window and you'll see all the files open.
Select the mask hummel-jutta-mask80:

Layers>Merge>Merge group.
5. Selection Tool 
(no matter the type of selection, because with the custom selection your always get a rectangle)
clic on the Custom Selection 
and set the following settings.

Press CANC on the keyboard 
6. Effects>Texture Effects>Blinds, background color #f5bcab.

7. Adjust>Sharpness>Sharpen more.
8. Effects>3D Effects>Drop Shadow, color black.

9. Custom Selection  , same settings.

10. Layers>New Raster Layer.
Ouvrir le tube 404_paysage_p3_animabelle - Edit>Copy.
Go back to your work and go to Edit>Paste into Selection.
Selections>Select None.
11. Ouvrir le tube AF-swirls-ScrappyDayz - Edit>Copy.
Go back to your work and go to Edit>Paste as new layer.
Move  the tube to the right side.

12. Layers>Duplicate.
Image>Mirror.
13. Layers>Merge>Merge All.
14. Set your foreground color to #c34049;
keep your foreground color to #faf3e9.

Set your foreground color to a foreground/background gradient, style Linear.

15. Image>Add borders, 2 pixels, symmetric, background color #c34049.
Image>Add borders, 10 pixels, symmetric, foreground color #faf3e9.
Image>Add borders, 20 pixels, symmetric, background color #c34049.
Image>Add borders, 30 pixels, symmetric, foreground color #faf3e9.
16. Activate the Magic Wand tool 
clic on the last bord to select it.
Flood Fill  the selection with your gradient.
17. Selections>Invert.
18. Effects>3D Effects>Drop Shadow, color white.

Repeat Drop Shadow, but vertical and horizontal -10.
Selections>Select None.
19. Open the tube calguissexygirl05012015 - Edit>Copy.
go back to your work and go to Edit>Paste as new layer.
Image>Resize, to 90%, resize all layers not checked.
Move  the tube to the left side.
20. Effects>3D Effects>Drop Shadow, color black.

21. Open the wordart WorkArt_ac - Edit>Copy.
go back to your work and go to Edit>Paste as new layer.
Move  the text to the right side.
22. Image>Add borders, 2 pixels, symmetric, background color #c34049.
23. Sign your work and save as jpg.
Tubes of this version are by Guismo


If you have problems or doubt, or you find a not worked link, or only for tell me that you enjoyed this tutorial, write to me.
9 March 2016

