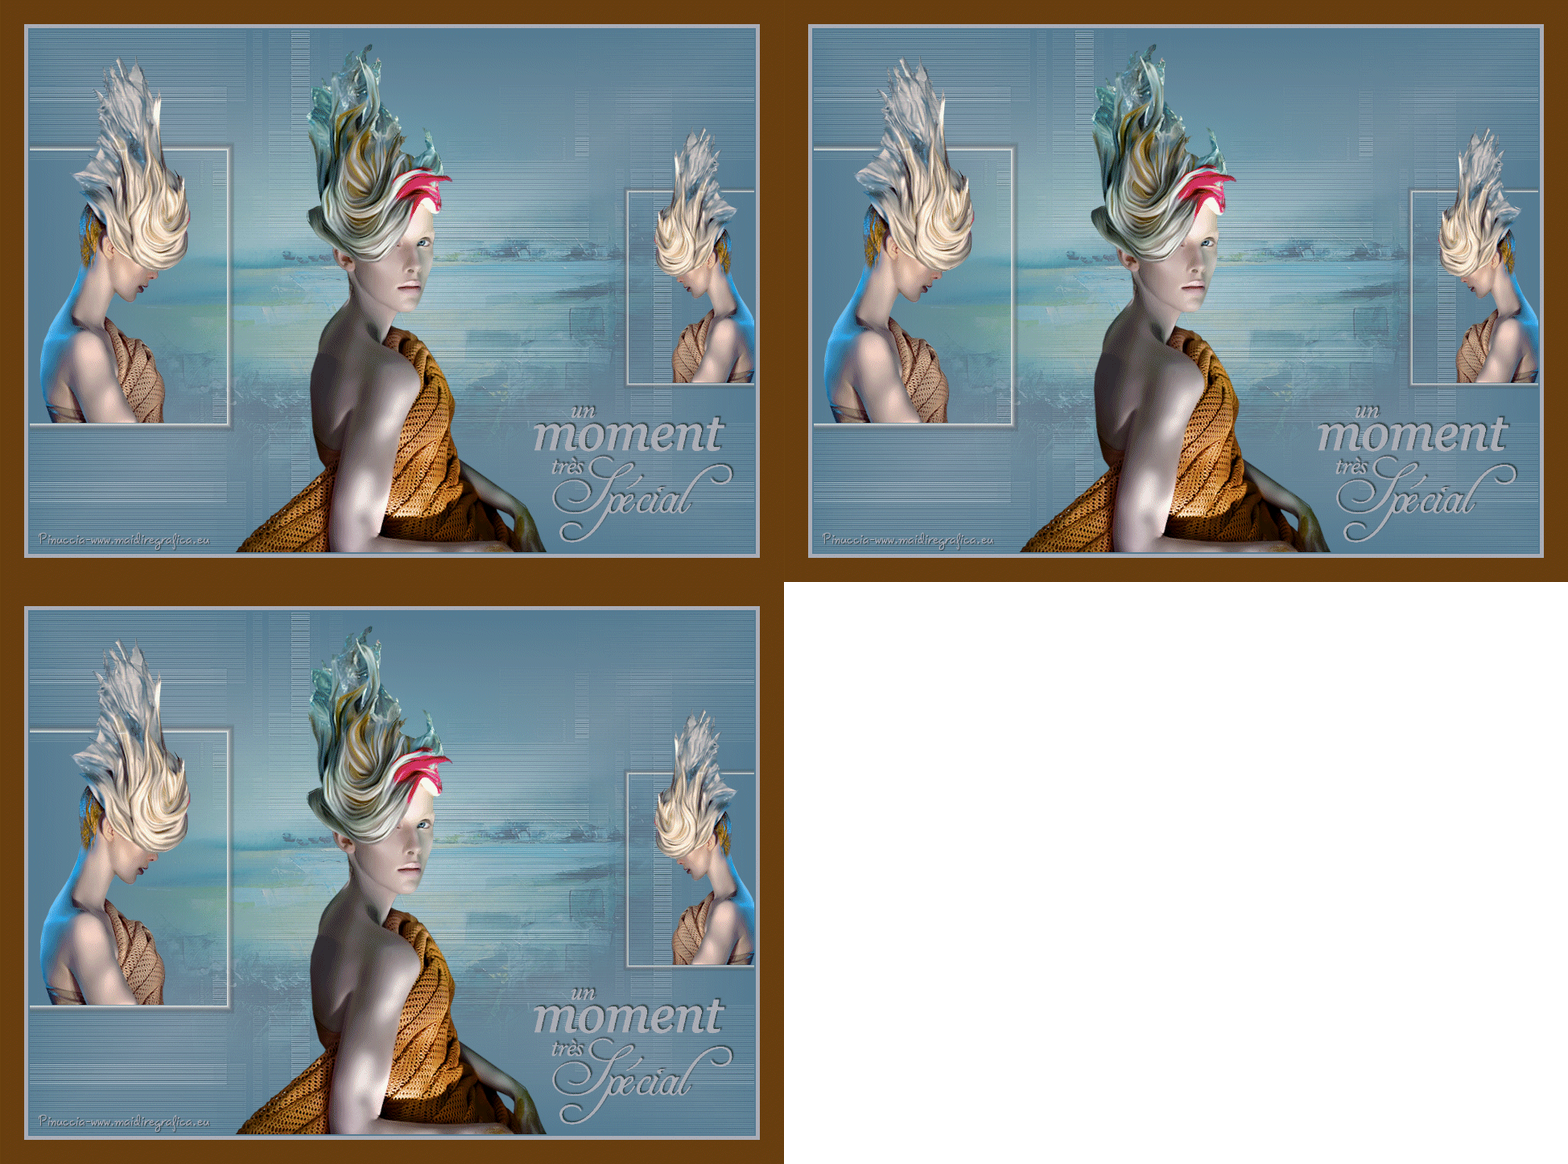
This tutorial was translated with PSPX3 but it can also be made using other versions of PSP.
Since version PSP X4, Image>Mirror was replaced with Image>Flip Horizontal,
and Image>Flip with Image>Flip Vertical, there are some variables.
In versions X5 and X6, the functions have been improved by making available the Objects menu.
In the latest version X7 command Image>Mirror and Image>Flip returned, but with new differences.
See my schedule here
French translation here
Your versions here
For this tutorial, you will need:
Material here
Tube calguisportraitbeauty25102016
Tube calguisbeautyportrait25102016
Mist_8_abstrait_animabelle
adita-mask-les-estela-02
Texto_ac
Plugins
consult, if necessary, my filter section here
Eye Candy 4000 - Jiggle here
Animation Shop ici

You can change Blend Modes according to your colors.
In the newest versions of PSP, you don't find the foreground/background gradient (Corel_06_029).
You can use the gradients of the older versions.
The Gradient of CorelX here
Copy the selection in the Selections Folder.
Open the mask in PSP and minimize it with the rest of the material.
1. Open a new transparent image 900 x 650 pixels.
2. Set your foreground color to #547b91
set your background color to #a9adb5.
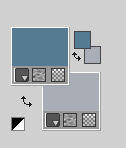
Set your foreground color to a Foreground/Background gradient, style Rectangular.

Flood Fill  the transparent image with your Gradient.
3. Open the tube 8_abstrait_animabelle - Edit>Copy.
Go back to your work and go to Edit>Paste as new layer.
Change the Blend Mode of this layer to Soft Light.
4. Layers>New Raster Layer.
Flood Fill  with your background color #a9adb5.
5. Layers>New Mask layer>From image
Open the menu under the source window and you'll see all the files open.
Select the mask adita-mask-les-estela-02:

Layers>Merge>Merge group.
6. Adjust>Sharpness>Sharpen More - 2 times.
7. Open the tube calguisbeautyportrait25102016 - Edit>Copy.
Go back to your work and go to Edit>Paste as new layer.
Image>Resize, 3 times to 80%, resize all layers not checked.
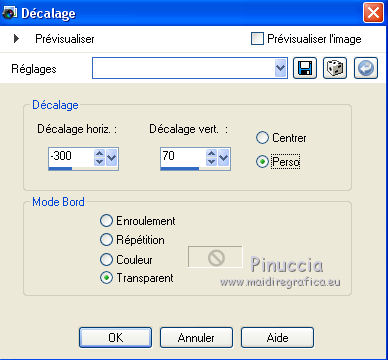
8. Effects>Image Effects>Offset.
9. Layers>New Raster Layer.
Selection Tool 
(no matter the type of selection, because with the custom selection your always get a rectangle)
clic on the Custom Selection 
and set the following settings.

If it is necessary, place  rightly the tube on the line of the selection.
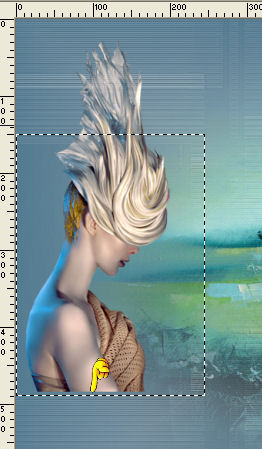
Go back to the layer of custom selection.
10. Effects>3D Effects>Chisel, color white.

Selections>Select None.
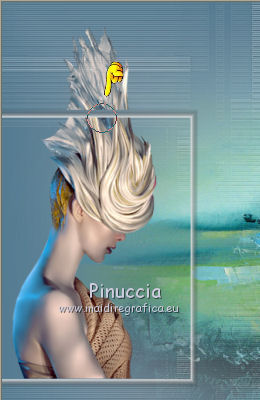
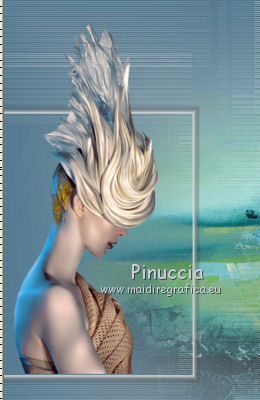
11. Activate the Eraser tool 
erase the part of the frame on the head.
12. Layers>Merge>Merge down.
13. Layers>Duplicate.
Image>Mirror.
Image>Resize, to 70%, resize all layers not checked.
14. Effects>3D Effects>Offset

15. Open the tube calguisportraitbeauty25102016 - Edit>Copy.
Go back to your work and go to Edit>Paste as new layer.
Image>Resize, 1 time to 80% and 1 time to 90%, resize all layers not checked.
Place  the tube in the middle of the image, see my example.
16. Open texto_ac - Edit>Copy.
Go back to your work and go to Edit>Paste as new layer.
Move  the text at the bottom right.
17. Sign your work.
Layers>Merge>Merge All.
if you want keep the selections opened: don't merge the layers and go to the step 19a
19. Image>Add borders, 2 pixels, symmetric, color #547b91.
Image>Add borders, 5 pixels, symmetric, color #a9adb5.
Image>Add borders, 30 pixels, symmetric, color #683e0f.
19a, To add the borders without merging the layers:
Layers>New Raster Layer.
Selections>Select All.
Image>Canvas Size - 904 x 654 pixels.

Selections>Invert.
Flood Fill  with your foreground color #547b91.
Selections>Select All.
Image>Canvas Size - 914 x 664 pixels.

Selections>Invert.
Flood Fill  with your background color #a9adb5.
Selections>Select All.
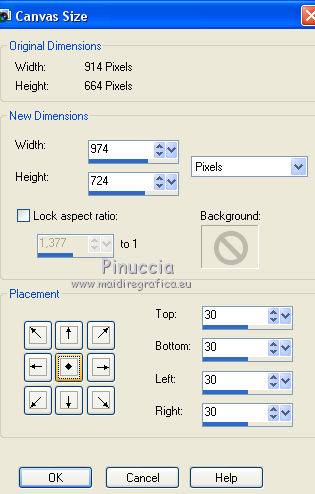
Image>Canvas Size - 974 x 724 pixels.
Selections>Invert.
Set your foreground color to #683e0f
Flood Fill  with color #683e0f.
Selections>Select None.
20. Selections>Load/Save Selections>Load Selection from Disk.
Look for and load the selection sel_potrait_nines.

If you have kept the layers opened, you can place better the tube in the selection.
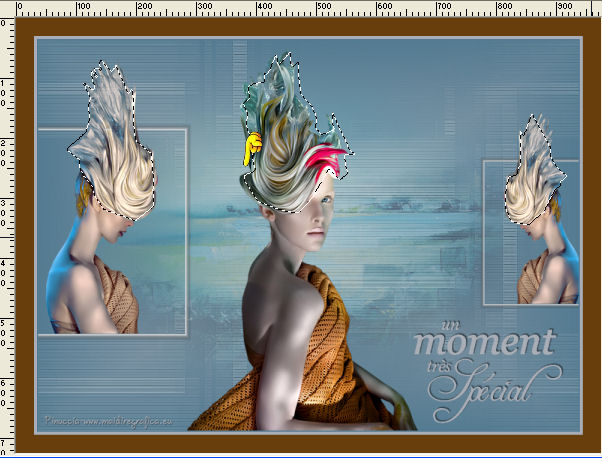
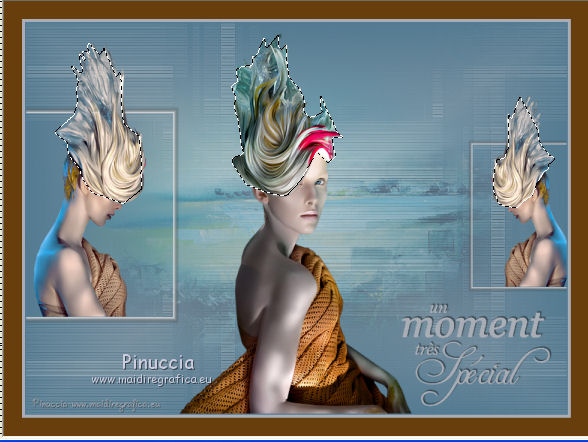
Now that all is ok, you can merge the layers.
Layers>Merge>Merge All.
20. Calques>Dupliquer - 2 time
and rename the layers 1, 2 and 3.
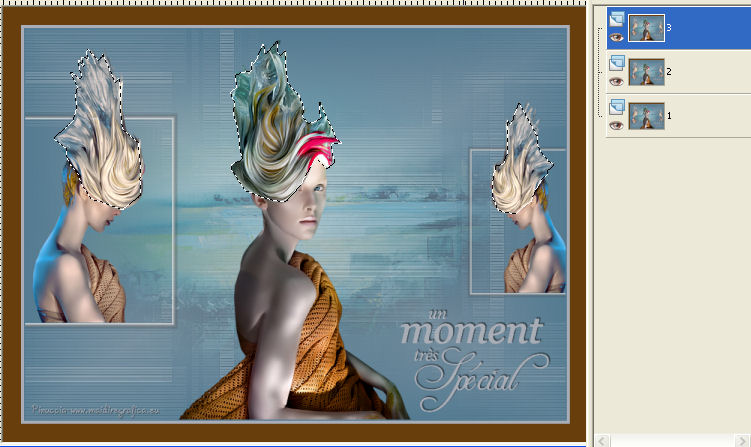
21. Activate the layer 1
22. Effects>Plugins>Eye Candy 4000 - Jiggle
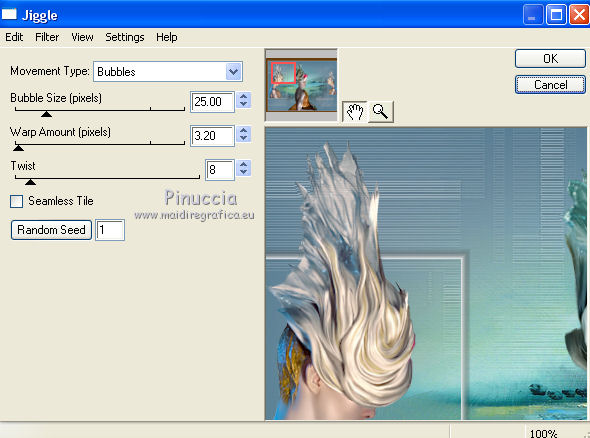
23. Activate the layer 2.
Repeat Effects>Plugins>Eye Candy 4000 - Jiggle, clic on Random Seed and ok.
24. Activate the layer 3.
Repeat Effects>Plugins>Eye Candy 4000 - Jiggle, clic on Random Seed and ok.
25. Selections>Select None.
Animation
1. Activate the layer 1.
Edit>Copy.
Open Animation Shop and Edit>Paste>Paste as new image.
2. Go back to PSP.
Activate the layer 2.
Edit>Copy.
Go back to Animation Shop and Edit>Paste after the active image.
3. Again go back to PSP.
Activate the layer 3.
Go back to Animation Shop and Edit>Paste after the active image.
4. View Animation

to check the result and save as gif.

If you have problems or doubt, or you find a not worked link, or only for tell me that you enjoyed this tutorial, write to me.
25 November 2016
