|
TAG NATIVITY
 ENGLISH VERSION ENGLISH VERSION

Here you find the original of this tutorial:

This tutorial was translated with PSPX7 but it can also be made using other versions of PSP.
Since version PSP X4, Image>Mirror was replaced with Image>Flip Horizontal,
and Image>Flip with Image>Flip Vertical, there are some variables.
In versions X5 and X6, the functions have been improved by making available the Objects menu.
In the latest version X7 command Image>Mirror and Image>Flip returned, but with new differences.
See my schedule here

French translation here
your versions ici
For this tutorial, you will need:
Material here
Tube nativity by Lana
Imagen BLUE
Tube CAL-2162-100217-Loroi
Tube CAL-2161-100217-Loroi
Adorno_luz_navidad_nines
Marco_plateado_nines
Marco_plateado2_nines
Adorno_cintas_nines
Wort GTD Christmas music WA1
(you find here the links to the material authors' sites)
Plugins
consult, if necessary, my filter section here
Mura's Meister - Perspective Tiling here
Mura's Meister - Cloud here
Tramages - Pool Shadow here
Filters Unlimited 2.0 here
Filters VM Tramages can be used alone or imported into Filters Unlimited.
(How do, you see here)
If a plugin supplied appears with this icon  it must necessarily be imported into Unlimited it must necessarily be imported into Unlimited

You can change Blend Modes according to your colors.
In the newest versions of PSP, you don't find the foreground/background gradient (Corel_06_029).
You can use the gradients of the older versions.
The Gradient of CorelX here
Copy the selection in the Selections Folder.
1. Open a new transparent image 900 x 700 pixels.
2. Open the image BLUE and minimize it.
Set your foreground color to Pattern and select the image with these settings.
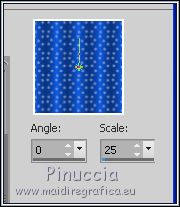
3. Flood Fill  the transparent image with the Pattern. the transparent image with the Pattern.
4. Selections>Load/Save Selection>Load Selection from Disk.
Look for and load the sélection sel.nav.18.nines.
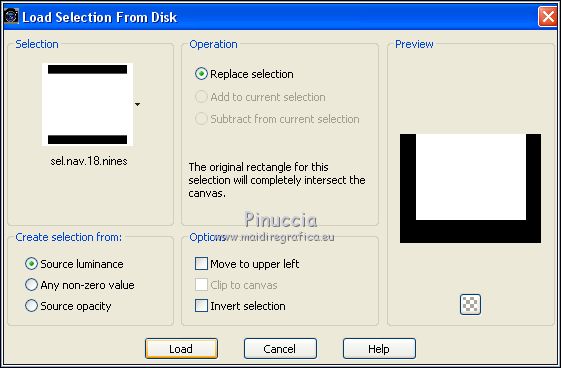
Press CANC on the keyboard 
Selections>Select None.
5. Layers>Duplicate.
6. Effects>Plugins>Mura's Meister - Perspective Tiling.
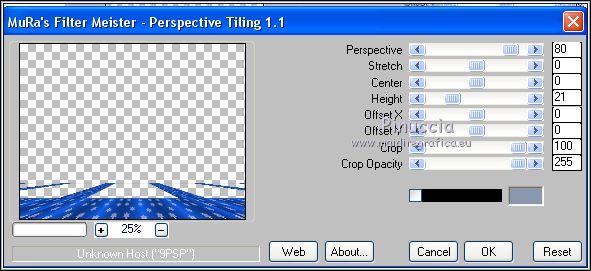
7. Effects>3D Effects>Drop Shadow, color black.
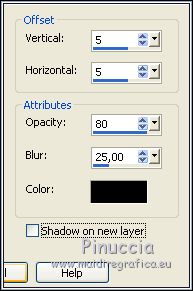
Edit>Repeat Drop Shadow.
8. Set your foreground color to #102c82,
and your background color to #0070d2.

Set your foreground color to a Foreground/Background Gradient, style Linear.
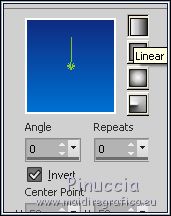
9. Selections>Load/Save Selection>Load Selection from Disk.
Load again the selection sel.nav.18.nines.

Layers>New Raster Layer.
Flood Fill  the selection with your gradient. the selection with your gradient.
10. Effects>Plugins>Mura's Meister - Cloud
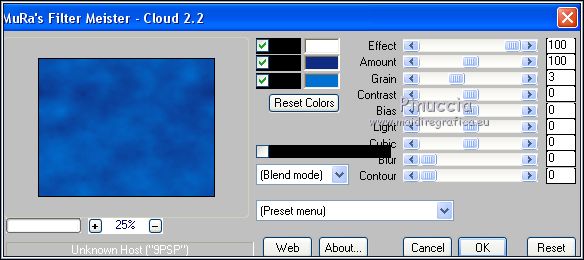
Keep selected.
11. Open Adorno_luz_navidad_nines - Edit>Copy.
Go back to your work and go to Edit>Paste as new layer.
Erase the watermark.
Move  the tube as below. the tube as below.
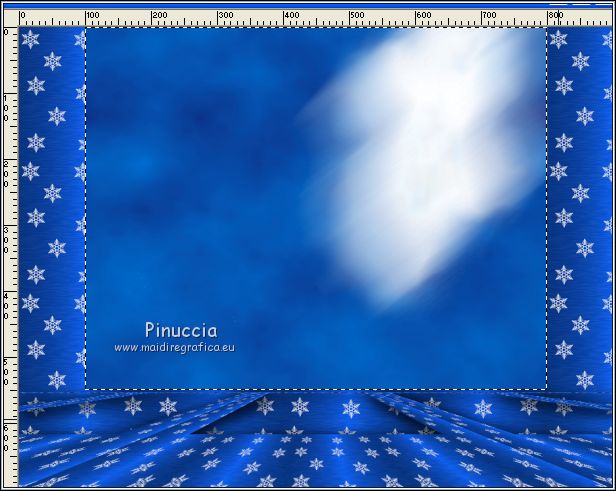
Change the Blend Mode of this layer to Overlay.
Keep always selected.
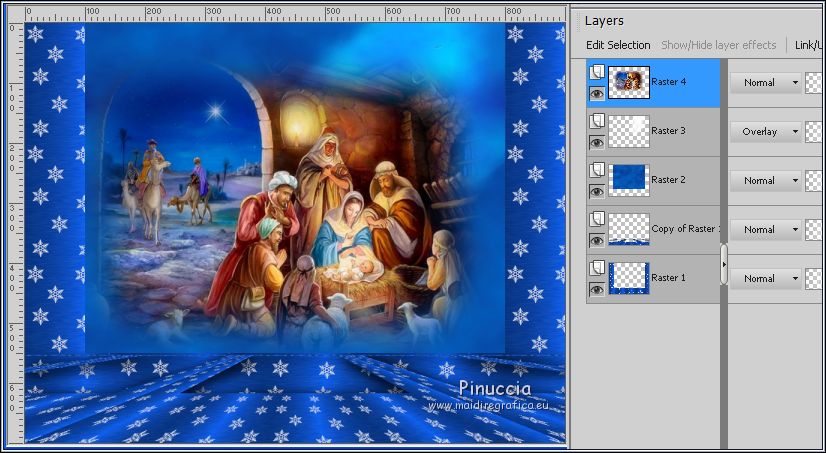
12. Layers>New Raster Layer.
Open the tube nativity by Lana, erase the watermark and go to Edit>Copy.
Go back to your work and go to Edit>Paste into Selection.
Selections>Select None.
13. Open Marco_plateado_nines - Edit>Copy.
Go back to your work and go to Edit>Paste as new layer.
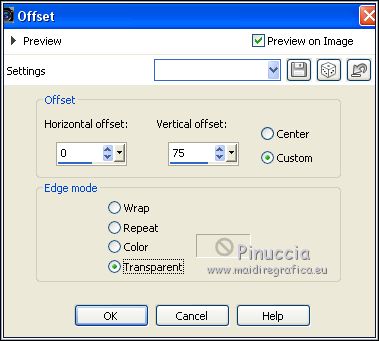
14. Effects>Image Effects>Offset.
15. Open the tube CAL-2162-100217-Loroi, erase the watermark and go to Edit>Copy.
Go back to your work and go to Edit>Paste as new layer.
Image>Resize, to 70%, resize all layer not checked.
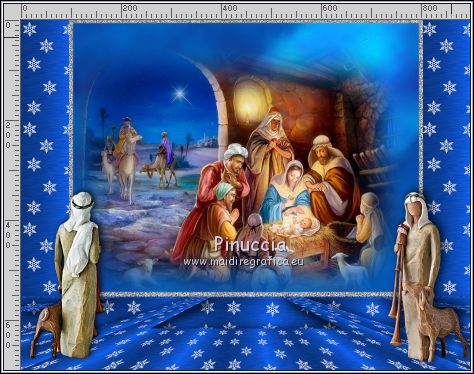
Move  the tube at the bottom left. the tube at the bottom left.
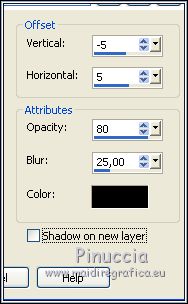
16. Effects>3D Effects>Drop Shadow, color black.
17. Open the tube CAL-2161-100217-Loroi erase the watermark and go to Edit>Copy.
Go back to your work and go to Edit>Paste as new layer.
Image>Resize, to 50%, resize all layers not checked.
Move  the tube at the bottom right. the tube at the bottom right.
Effects>3D Effects>Drop Shadow, same settings.
18. Layers>New Raster Layer.
Selections>Select All.
Activate again Marco_plateado_nines - Edit>Copy.
Go back to your work and go to Edit>Paste into Selection.
Selections>Select None.
19. Layers>Merge>Merge All.
20. Image>Add border, 50 pixels, symmetric, foreground colo #102c82.
Select this border with your Magic Wand Tool 
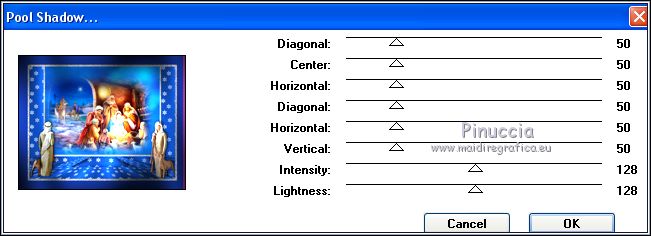
21. Effects>Plugins>Tramages - Pool Shadow, default settings.
Selections>Select None.
22. Open Adorno_Marco_plateado2_nines erase the watermark and go to Edit>Copy.
Go back to your work and go to Edit>Paste as new layer.
23. Effects>3D Effects>Drop Shadow, color black.
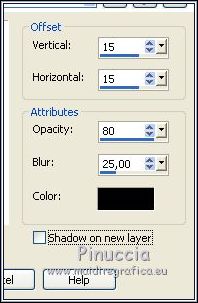
24. Open GTD Christmas music WA1 - Edit>Copy.
Go back to your work and go to Edit>Paste as new layer.
Move  the tube down. the tube down.
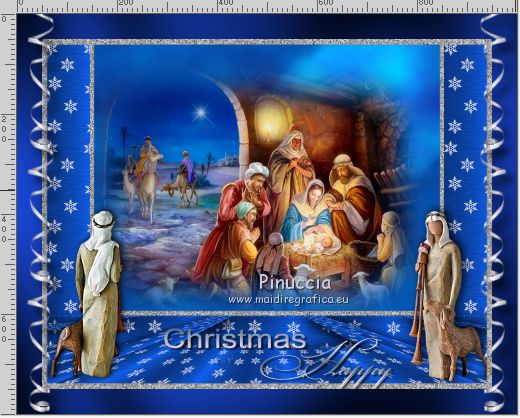
25. Layers>Merge>Merge All.
26. Image>Add borders, 3 pixels, symmetric, color #ffffff.
Select this border with your Magic Wand Tool 
Set your foreground color to Pattern and select a silver pattern at your choice.
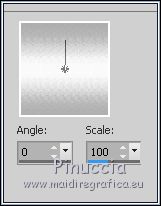
Flood Fill  the selection with the silver pattern. the selection with the silver pattern.
Selections>Select None.
27. Sign your work and save as jpg.
The tube of this version is by Sharlimar

Your versions here

If you have problems or doubts, or you find a not worked link, or only for tell me that you enjoyed this tutorial, write to me.
26 Octobre 2018
|
 ENGLISH VERSION

 ENGLISH VERSION
