|
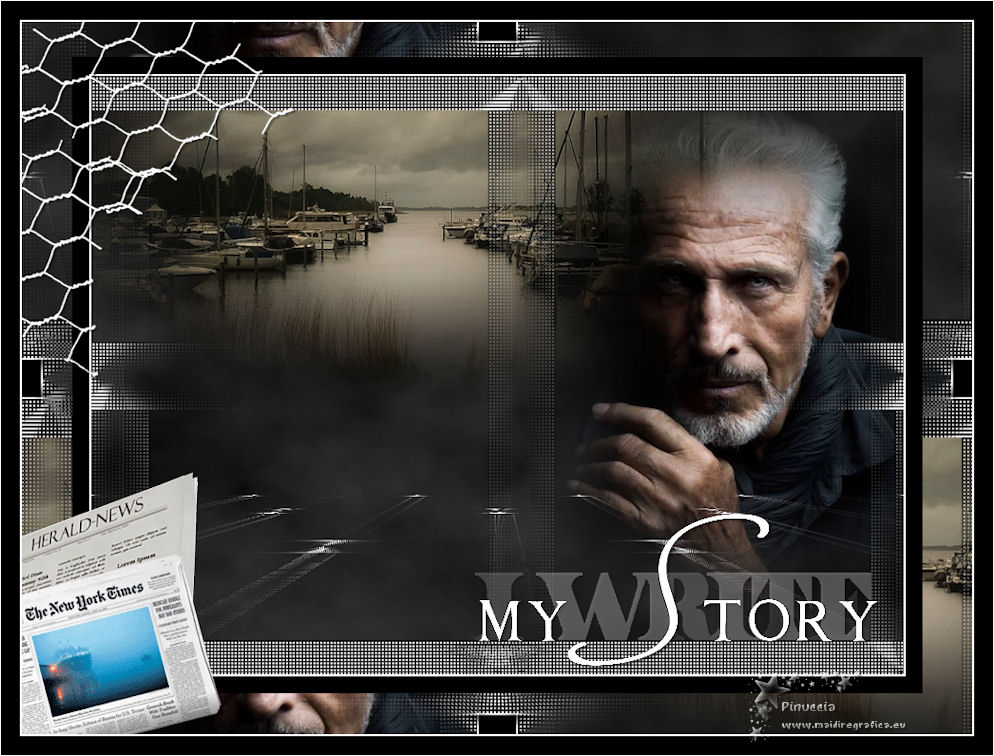
TAG MY STORY
 ENGLISH VERSION ENGLISH VERSION
Here you find the original of this tutorial:

This tutorial was translated with PSPX7 but it can also be made using other versions of PSP.
Since version PSP X4, Image>Mirror was replaced with Image>Flip Horizontal,
and Image>Flip with Image>Flip Vertical, there are some variables.
In versions X5 and X6, the functions have been improved by making available the Objects menu.
In the latest version X7 command Image>Mirror and Image>Flip returned, but with new differences.
See my schedule here
French translation here
your versions ici
For this tutorial, you will need:
Material here
2786-man-Misted-LB TUBES
27_Page5_Paysages_Animabelle
Adorno_blanco_nines
newspaper-07
GG08-TheNewYorkTimes by Gran Gran
Texto 004_mystory_byjakline
(you find here the links to the material authors' sites)
Plugins
consult, if necessary, my filter section here
Mura's Meister - Cloud here
Mura's Meister - Perspective Tiling here

You can change Blend Modes according to your colors.
1. Open a new transparent image 950 x 700 pixels.
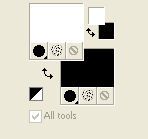
2. Set your foreground color to #ffffff,
and your background color to #000000.
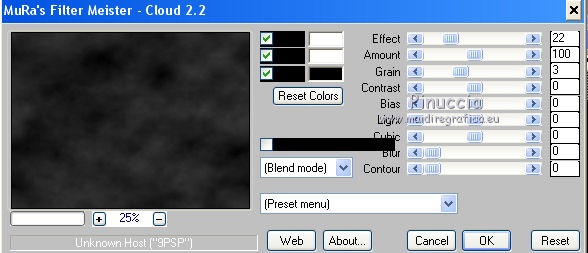
3. Effects>Plugins>Mura's Meister - Cloud
4. Open the tube 27_Pages5_Paysages_Animabelle - Edit>Copy.
Go back to your work and go to Edit>Paste as new layer.
5. Effects>Image Effects>Offset.

6. Layers>New Raster Layer.
Flood Fill  with color black. with color black.
7. Selections>Select All.
Selections>Modify>Contract - 40 pixels.
Press CANC on the keyboard 
Selections>Invert.
8. Effects>Texture Effects>Weave
weave color #000000
gap color #ffffff.

Selections>Select None.
9. Effects>Image Effects>Seamless Tiling, Side by side.

10. Effects>Image Effects>Enhance More.
11. Layers>Duplicate.
12. Effects>Image Effects>Seamless Tiling, default settings.

13. Layers>Duplicate.
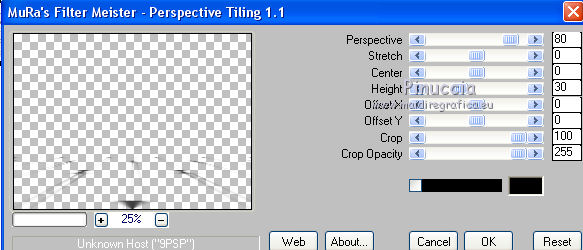
14. Effects>Plugins>Mura's Meister - Perspective Tiling.
15. Effects>Edge Effects>Enhance More.
16. Open 2786-man-Misted-LB TUBES - - Edit>Copy.
Go back to your work and go to Edit>Paste as new layer.
17. Effects>Image Effects>Offset.

18. Layers>Arrange>Move Down - 4 times

19. Layers>Merge>Merge All.
20. Image>Add borders, 2 pixels, symmetric, color #ffffff.
Image>Add borders, 20 pixels, symmetric, color #000000.
21. Layers>Promote Background layer.
22. Edit>Copy.
23. Image>Resize, to 90%, resize all layers not checked.
24. Image>Canvas Size - 1000 x 750 pixels.

25. Layers>New Raster Layer.
Layers>Arrange>Send to Bottom.
Selections>Select All.
26. Edit>Paste into Selection.
Selections>Select None.
26. Effects>Image Effects>Seamless Tiling, default settings.
27. Activate the top layer.
Open Adorno-blanco_nines - - Edit>Copy.
Go back to your work and go to Edit>Paste as new layer.
28. Effects>Image Effects>Offset.

29. Open newspaper-07 - - Edit>Copy.
Go back to your work and go to Edit>Paste as new layer.
Image>Resize, to 80%, resize all layers not checked.
Move  the tube at the bottom left. the tube at the bottom left.
30. Open GG08-TheNewYorkTimes - - Edit>Copy.
Go back to your work and go to Edit>Paste as new layer.
Move this newspaper over the previous one.
31. Open the text 004_mystory_byjakline - - Edit>Copy.
Go back to your work and go to Edit>Paste as new layer.
Move the texte at the bottom right.
32. Layers>Merge>Merge All.
33. Image>Add borders, 2 pixels, symmetric, color #ffffff.
Image>Add borders, 20 pixels, symmetric, color #000000.
Image>Add borders, 1 pixel, symmetric, color #ffffff.
34. Image>Resize, to 95%, resize all layers checked.
35. Sign your work and save as.
Your versions here

If you have problems or doubts, or you find a not worked link, or only for tell me that you enjoyed this tutorial, write to me.
30 Juin 2018
|


