|
TAG MY SPA
 ENGLISH VERSION ENGLISH VERSION
Here you find the original of this tutorial:

This tutorial was translated with PSPX7 but it can also be made using other versions of PSP.
Since version PSP X4, Image>Mirror was replaced with Image>Flip Horizontal,
and Image>Flip with Image>Flip Vertical, there are some variables.
In versions X5 and X6, the functions have been improved by making available the Objects menu.
In the latest version X7 command Image>Mirror and Image>Flip returned, but with new differences.
See my schedule here
French translation here
Your versions ici
For this tutorial, you will need:
Material here
Tube 9 Creation Cloclo
366_paysage_p3_animabelle
CAL-2729-052118D.Eskridge
Imagen_ BS14z-Fondo8b
espuma_nines
patron madera17
(you find here the links to the material authors' sites)

You can change Blend Modes according to your colors.
Open the pattern Madera 17 in PSP and minimize it with the rest of the material.
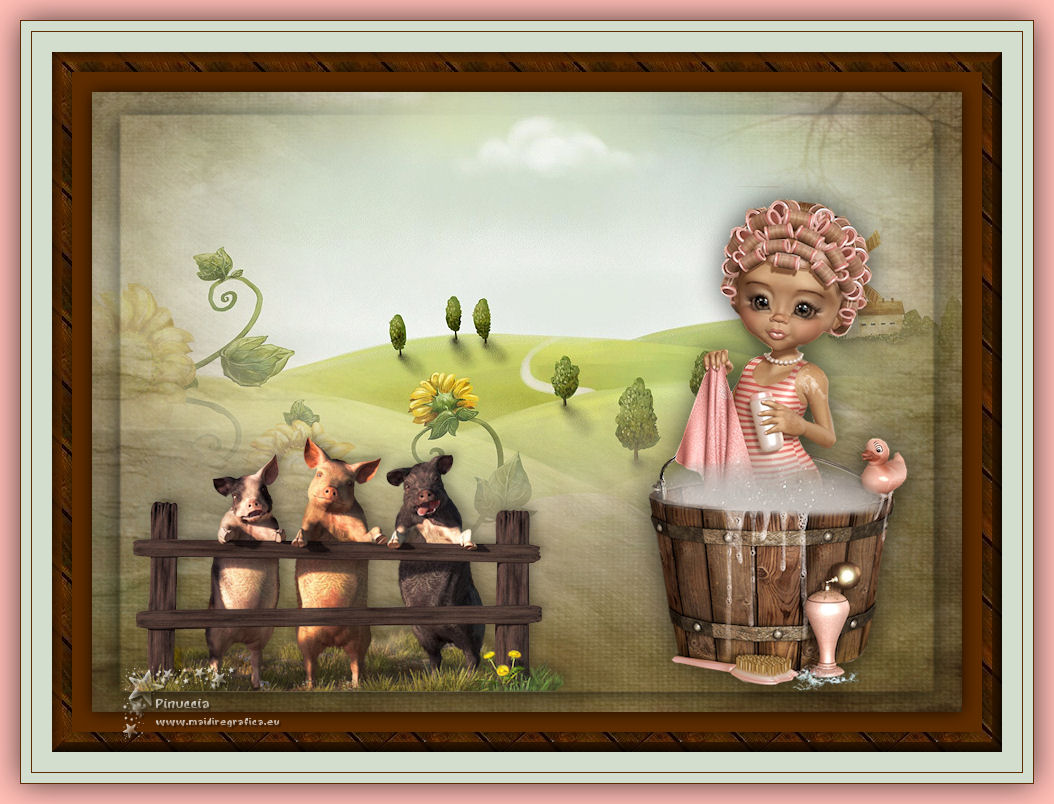
1. Open a new transparent image 950 x 700 pixels.
2. Set your foreground color to Pattern and select the pattern Madera 17

Set your background color to #5d2b00
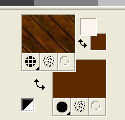
Flood Fill  the transparent image with your Pattern. the transparent image with your Pattern.
3. Selections>Select All.
Selections>Modify>Contract - 20 pixels.
Press CANC on the keyboard 
4. Selections>Invert.
Effects>3D Effects>Buttonize - background color #5d2b00.

5. Selections>Invert.
Effects>3D Effects>Drop Shadow, color black.

Keep selected.
6. Layers>New Raster Layer.
Layers>Arrange>Send to Bottom.
Flood Fill the layer with your background color #5d2b00.
7. Selections>Modify>Contract - 20 pixels.
Press CANC on the keyboard.
8. Effects>3D Effects>Drop Shadow, color black.
Keep always selected.
9. Layers>New Raster Layer.
Layers>Arrange>Send to Bottom.
10. Open BS14z-Fondo8b and go to Edit>Copy.
Go back to your work and go to Edit>Paste into Selection.
Selections>Select None.

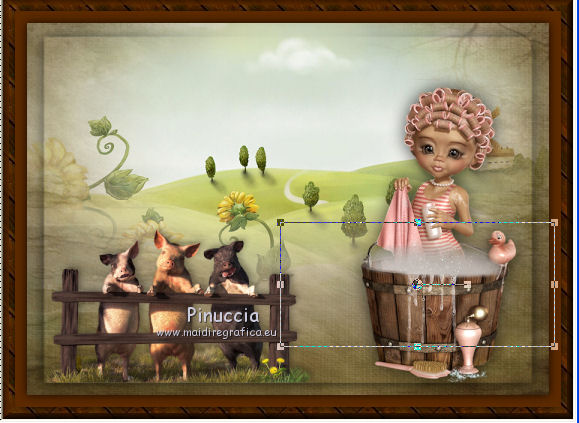
11. Open the tube 366_paysage_p3_animabelle - Edit>Copy.
Go back to your work and go to Edit>Paste as new layer.
12. Effects>Image Effects>Offset.

13. Layers>Duplicate.
Layers>Merge>Merge Down.
14. Open the tube CAL-2729-052118D.Eskridge, erase the watermark and go to Edit>Copy.
Go back to your work and go to Edit>Paste as new layer.
Image>Redimensionner, 3 times to 80%, resize all layers not checked.
Move  the tube at the bottom left. the tube at the bottom left.
15. Effects>3D Effects>Drop Shadow, color black.

16. Open the tube 9 Creation Cloclo, erase the watemark and go to Edit>Copy.
Go back to your work and go to Edit>Paste as new layer.
Image>Resize, to 90%, resize all layers not checked.
Move the tube to the right side.
17. Effects>3D Effects>Drop Shadow, color black.

18. Open the tube espuma_nines - Edit>Copy.
Go back to your work and go to Edit>Paste as new layer.
Place the tube on the girl's tub.
19. Layers>Merge>Merge All.
20. Image>Add borders, 20 pixels, symmetric, color #d3dece.
Image>Add borders, 1 pixel, symmetric, color #5d2b00.
Image>Add borders, 10 pixels, symmetric, color #d3dece.
Image>Add borders, 1 pixel, symmetric, color #5d2b00.
Image>Add borders, 20 pixels, symmetric, color #ffbdb5.
21. Select the last border with your Magic Wand Tool 
Selections>Invert.
22. Effetcs>3D Effects>Drop Shadow, color black.
Selections>Select None.
23. Sign your work and save as jpg.
Your versions here

If you have problems or doubts, or you find a not worked link, or only for tell me that you enjoyed this tutorial, write to me.
24 January 2019
|


