|
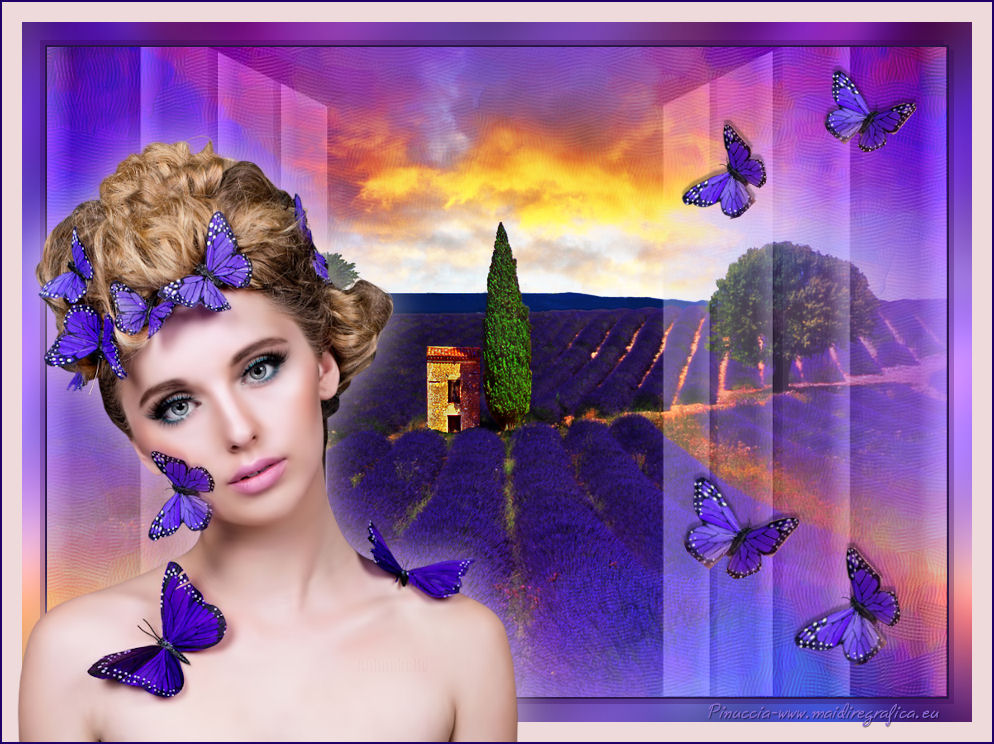
TAG MARIPOSAS
english version

Here you find the original of this tutorial:

This tutorial was translated with PSPX3 but it can also be made using other versions of PSP.
Since version PSP X4, Image>Mirror was replaced with Image>Flip Horizontal,
and Image>Flip with Image>Flip Vertical, there are some variables.
In versions X5 and X6, the functions have been improved by making available the Objects menu.
In the latest version X7 command Image>Mirror and Image>Flip returned, but with new differences.
See my schedule here
French translation here
Your versions here
For this tutorial, you will need:
Material here
Tube 47_Femme_Page6_Animabelle
Mist_309_paysage_p3_animabelle
Tube mariposas_nines
Narah_mask_0981
Plugins
consult, if necessary, my filter section here
Filters Unlimited 2.0 here
Tramages - Pool Shadow here
FM Tile Tools - Saturation Emboss here
Virtual Painter 4 here
Filters Tramages can be used alone or imported into Filters Unlimited.
(How do, you see here)
If a plugin supplied appears with this icon  it must necessarily be imported into Unlimited it must necessarily be imported into Unlimited

You can change Blend Modes according to your colors.
In the newest versions of PSP, you don't find the foreground/background gradient (Corel_06_029).
You can use the gradients of the older versions.
The Gradient of CorelX here
Open the mask and minimize it with the rest of the material.
1. Open a new transparent image 900 x 650 pixels.
2. Set your Foreground color to #5902c5,
and your Background color to #8d6fdb.

Set your Foreground Color to a Foreground/Background Gradient, style Linear.
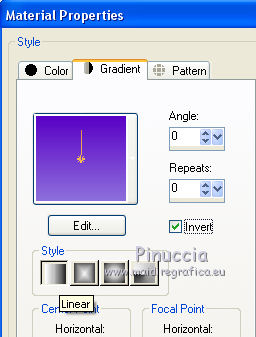
Flood Fill  the transparent image with your Gradient. the transparent image with your Gradient.
3. Open the tube 309_paysage_p3_animabelle - Edit>Copy.
Go back to your work and go to Edit>Paste as new layer.
4. Effects>Image Effects>Seamless Tiling, default settings.

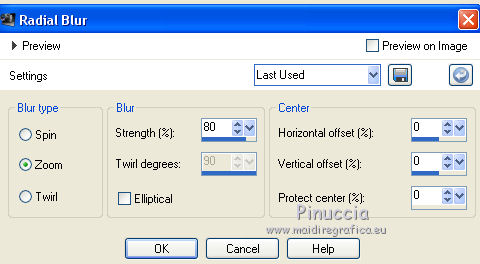
5. Adjust>Blur>Radial Blur.
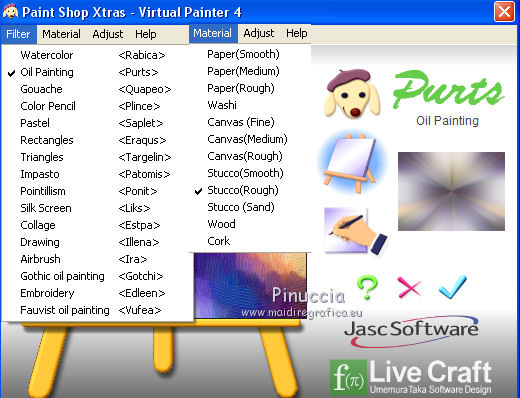
6. Effects>Plugins>Virtual Painter
Filter: Oil painting - Material: Stucco (Rough)
7. Effects>Plugins>FM Tile Tools - Saturation Emboss, default settings.

8. Edit>Paste as new layer (the tube 309_paysage_p3_animabelle is still in memory).
9. Layers>Duplicate.
Change the Blend mode of this layer to Hard Light.
10. Set your Foreground color to #eedadb.
Layers>New Raster Layer.
Change the opacity of your Flood Fill tool to 50%.
Flood Fill  the layer with your Foreground color #eedadb. the layer with your Foreground color #eedadb.
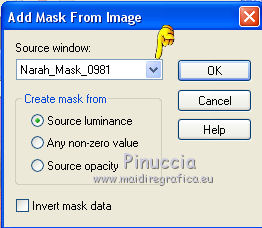
11. Layers>New Mask layer>From image
Open the menu under the source window and you'll see all the files open.
Select the mask Narah_mask_0981:
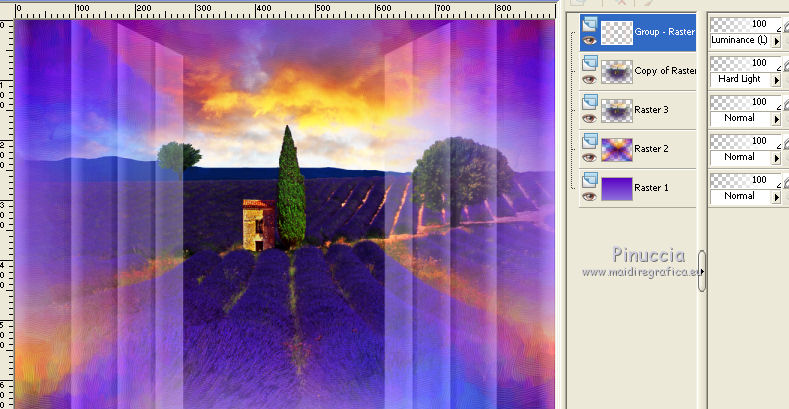
Layers>Merge>Merge group.
12. Change the Blend Mode of this Layer to Luminance (legacy).
13. Layers>Merge>Merge All.
14. Edit>Copy.
15. Image>Add borders, 2 pixels, symmetric, color #281546.
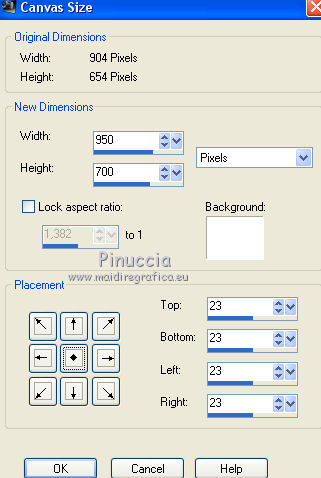
16. Image>Canvas Size - 950 x 700 pixels.
17. Activate the Magic Wand tool 
and clic on the white border to select it.
Edit>Paste into Selection.
18. Adjust>Blur>Gaussian Blur, radius 15.

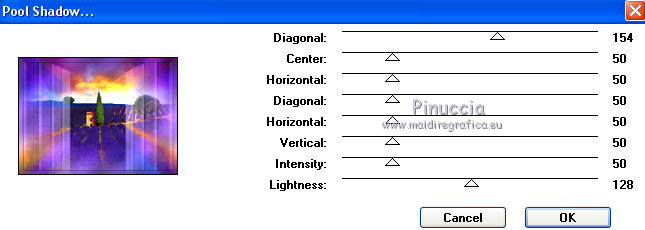
19. Effects>Plugins>Tramages - Pool Shadow.
20. Selections>Invert.
21. Effects>3D Effects>Drop Shadow, color black.
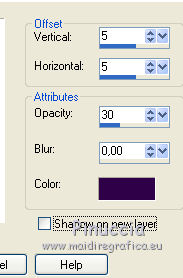
Repeat Drop Shadow, vertical et horizontal -5.
Selections>Select None.
22. Image>Add borders, 20 pixels, symmetric, color #eedadb.
23. Open the tube 47_Femme_Page6_Animabelle - Édition>Copier.
Revenir sur votre travail et Édition>Coller comme nouveau calque.
Image>Resize, to 80%, resize all layers not checked.
Move  the tube to the left side. the tube to the left side.
24. Effects>3D Effects>Drop Shadow, color #eedadb.

25. Open the tube tube_mariposas_nines - Édition>Copier.
Revenir sur votre travail et Édition>Coller comme nouveau calque.
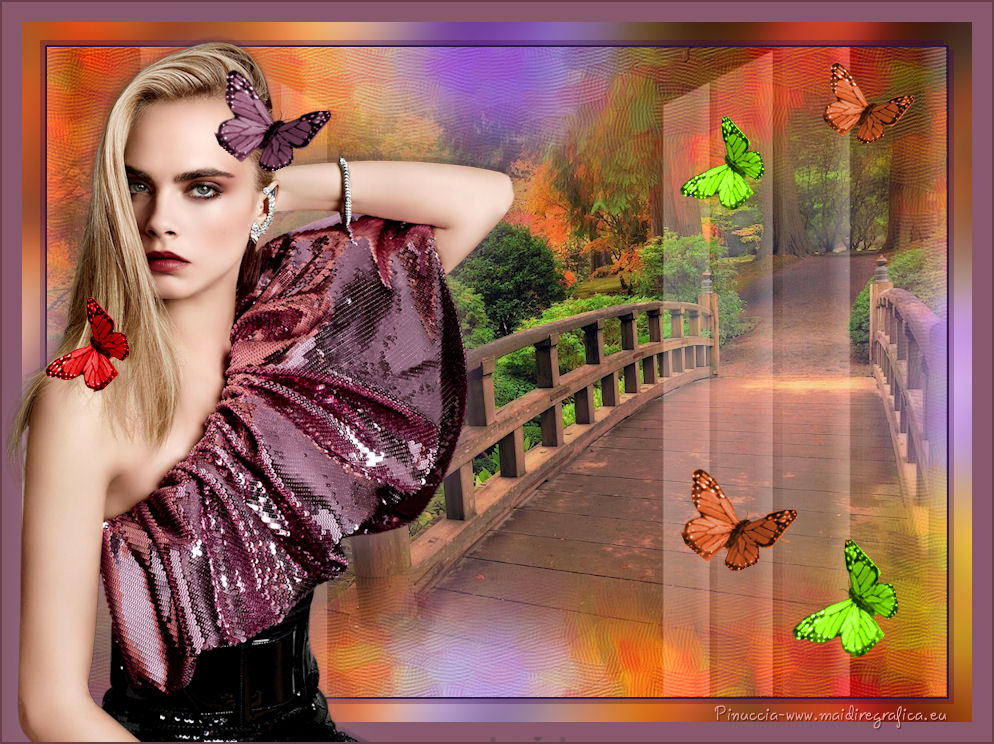
Move  the tube to the right side, see my example. the tube to the right side, see my example.
26. Effects>3D Effects>Drop Shadow, colore black.
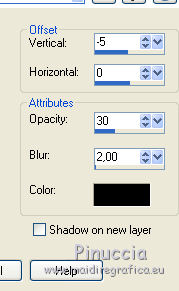
27. Layers>Merge>Merge All.
Image>Add borders, 2 pixels, symmetric, color #200065.
28. Sign your work and save as jpg.
The tubes of this version are by Min@

If you have problems or doubts, or you find a not worked link, or only for tell me that you enjoyed this tutorial, write to me.
22 September 2016
|
