|
TAG LOST
 ENGLISH VERSION ENGLISH VERSION

Here you find the original of this tutorial:

This tutorial was translated with PSPX2 but it can also be made using other versions of PSP.
Since version PSP X4, Image>Mirror was replaced with Image>Flip Horizontal,
and Image>Flip with Image>Flip Vertical, there are some variables.
In versions X5 and X6, the functions have been improved by making available the Objects menu.
In the latest version X7 command Image>Mirror and Image>Flip returned, but with new differences.
See my schedule here
French translation here
your versions ici
For this tutorial, you will need:
Material here
Femme 508 by Lily
calguisrosemist2889 by Guismo
Forma 23_Nines
Forma 17_Nines
Work schrift1
accent 8 by tina
(you find here the links to the material authors' sites)
Plugins
consult, if necessary, my filter section here
Filters Unlimited 2.0 here
Nik Software - Color Efex Pro here

You can change Blend Modes according to your colors.
In the newest versions of PSP, you don't find the foreground/background gradient (Corel_06_029).
You can use the gradients of the older versions.
The Gradient of CorelX here
Open the golden pattern in PSP and minimize it with the rest of the material.
1. Open a new transparent image 900 x 650 pixels.
2. Set your foreground color to #b17041.
Set your background color to #fcd6bc.
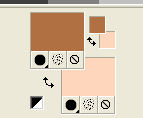
Set your foreground color to a Foreground/Background Gradient, style Sunburst.
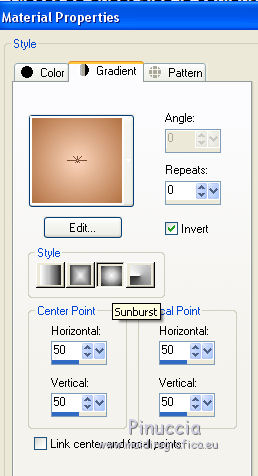
Flood Fill  the transparent image with your gradient. the transparent image with your gradient.
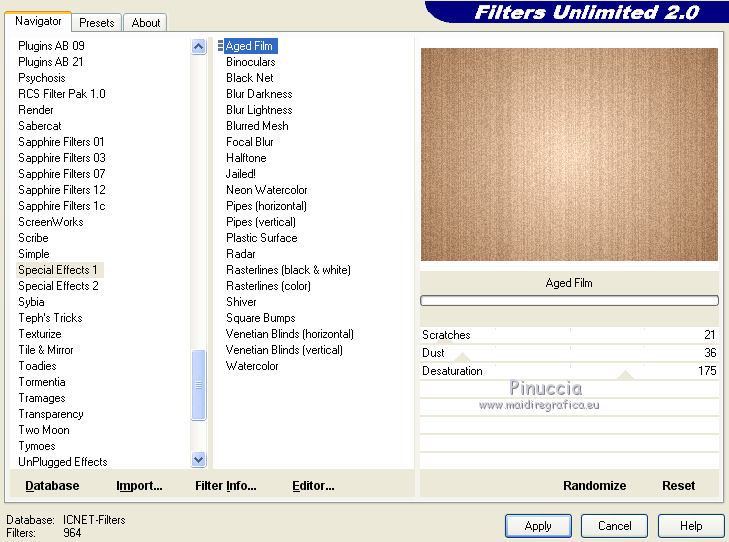
3. Effects>Plugins>Filters Unlimited 2.0 - Special Effects 1 - Aged Film, default settings.
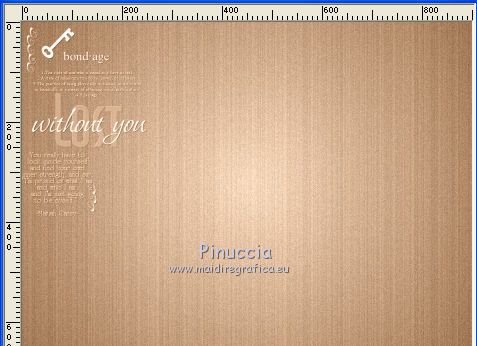
4. Open work schrift1 and go to Edit>Copy.
Go back to your work and go to Edit>Paste as new layer.
Image>Resize, to 80%, resize all layers not checked.
Move  the tube at the top left. the tube at the top left.
5. Change the Blend Mode of this layer to Luminance (Legacy).
6. Open the tube calguisrosemist2889 and go to Edit>Copy.
Go back to your work and go to Edit>Paste as new layer.
Image>Resize, 2 times to 80%, resize all layers not checked.
Don't move it.
7. Open Forma23_Nines and go to Edit>Copy.
Go back to your work and go to Edit>Paste as new layer.
Erase the watermark.
Don't move it.
8. Effects>Image Effects>Seamless Tiling, default settings.

9. Ouvrir Forma17_Nines and go to Edit>Copy.
Go back to your work and go to Edit>Paste as new layer.
Erase the watermark.
Don't move it.
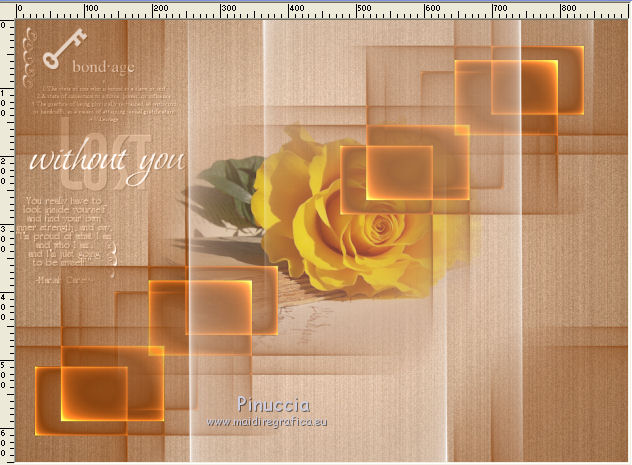
10. Layers>Merge>Merge All.
11. Image>Add borders, 2 pixels, symmetric, foreground color #b17041.
Image>Add borders, 5 pixels, symmetric, color #ffffff.
12. Set your foreground color to Pattern and select the golden pattern
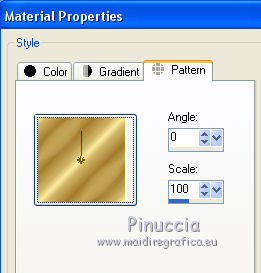
13. Activate the Magic Wand Tool 
and click on the white bord to select it.
Flood Fill  the selection with the golden pattern. the selection with the golden pattern.
Selections>Select None.
14. Layers>Promote Background layer.
15. Edit>Copy.
16. Image>Resize, to 90%, resize all layers not checked.
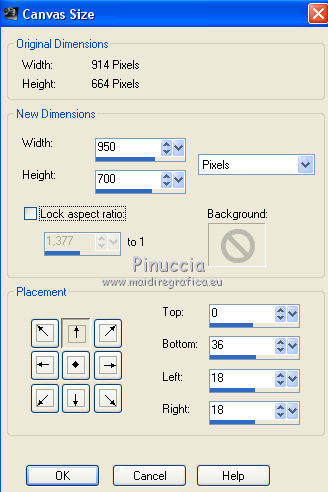
17. Image>Canvas Size - 950 x 700 pixels.
18. Layers>New Raster Layer.
Layers>Arrange>Send to Bottom.
Selections>Select All.
Edit>Paste into Selection.
Selections>Select None.
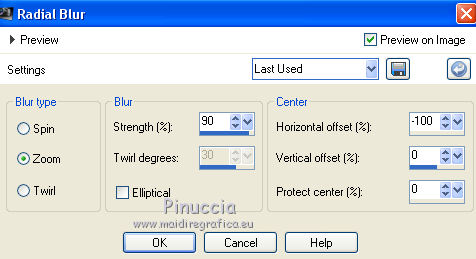
19. Adjust>Blur>Radial Blur.
20. Effects>Edge Effects>Enhance More.
21. Layers>Duplicate.
Image>Mirror.
Reduce the opacity of this layer to 50%.
Layers>Merge>Merge Down.
Effects>Edge Effects>Enhance.
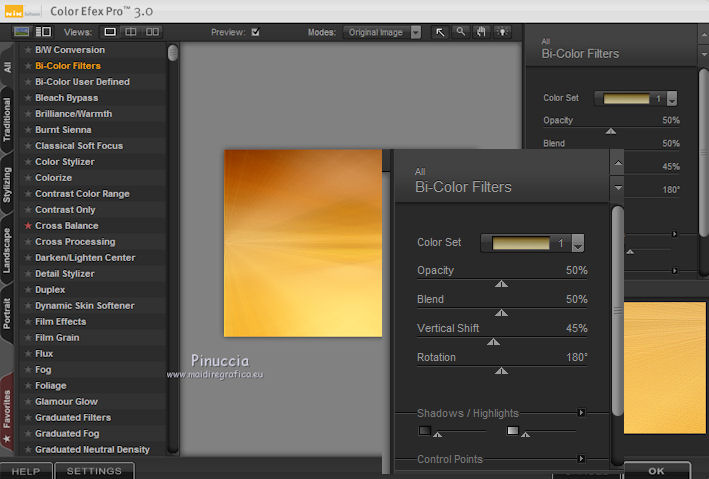
22. Effects>Plugins>Nik Software - Color Efex Pro
Bi-Color Filter - Color Set: Brown 1
23. Activate the top layer.
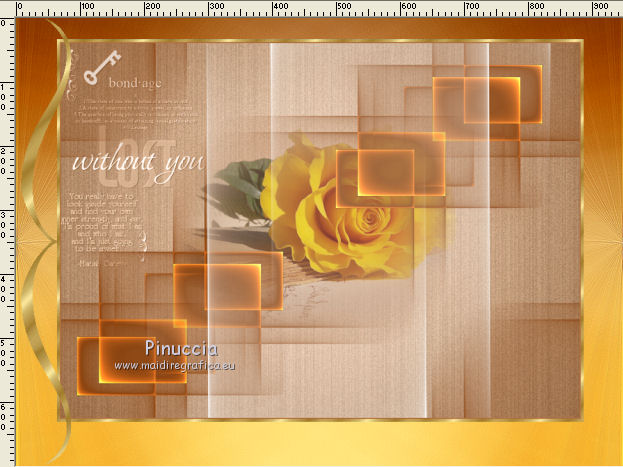
Open accent 8 by Tina and go to Edit>Copy.
Go back to your work and go to Edit>Paste as new layer.
Move  the tube to the left side. the tube to the left side.
24. Effects>3D Effects>Drop Shadow, color black.

25. Layers>Duplicate.
Image>Mirror.
26. Open the tube Femme 508 by Lily and go to Edit>Copy.
Go back to your work and go to Edit>Paste as new layer.
Image>Mirror.
Move  the tube to the right side. the tube to the right side.
27. Effects>3D Effects>Drop Shadow, color black.

28. Layers>Merge>Merge All.
29. Image>Add borders, 2 pixels, symmetric, foreground color #b17041.
Image>Add borders, 3 pixels, symmetric, color #ffffff.
30. Activate the Magic Wand Tool 
and click on the white bord to select it.
Flood Fill  the selection with the golden pattern. the selection with the golden pattern.
Selections>Select None.
31. Sign your work and save as jpg.
Your versions here

If you have problems or doubts, or you find a not worked link, or only for tell me that you enjoyed this tutorial, write to me.
5 August 2018
|
 ENGLISH VERSION
