|
TAG HAPPY NEW YEAR

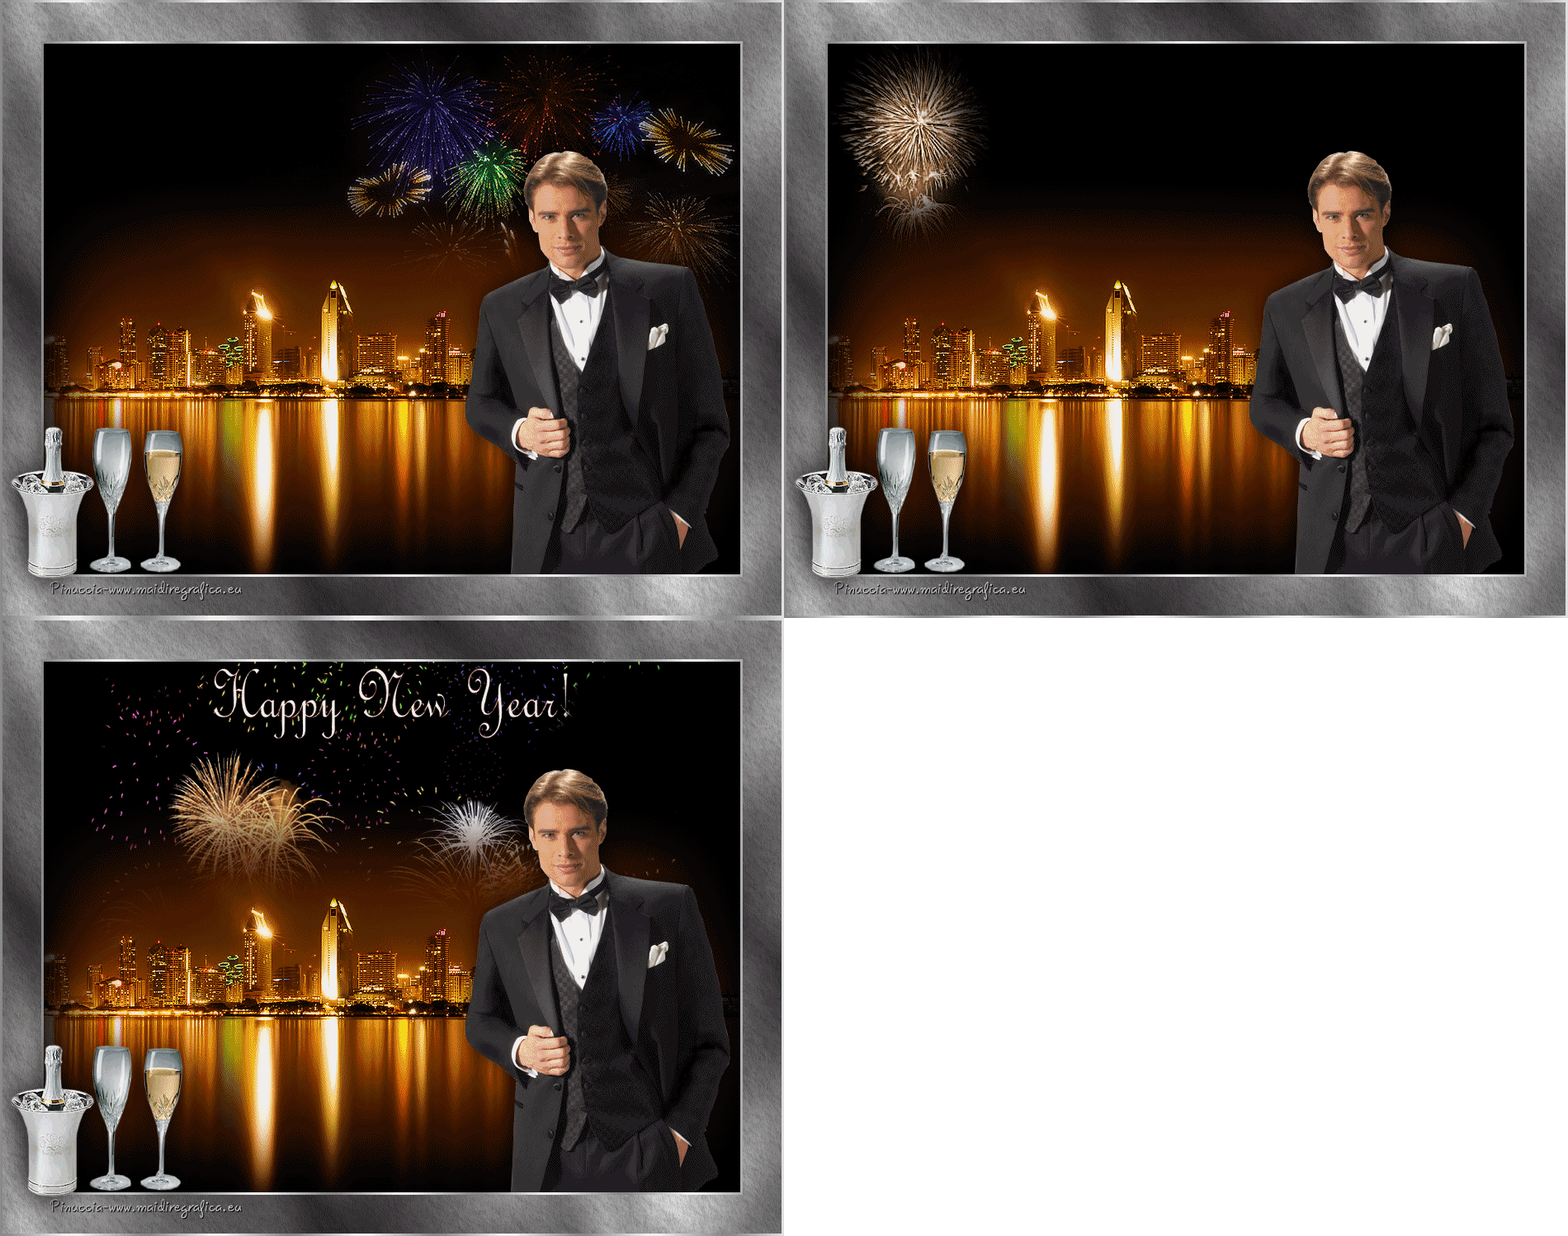
Here you find the original of this tutorial:

This tutorial was translated with PSPX3 but it can also be made using other versions of PSP.
Since version PSP X4, Image>Mirror was replaced with Image>Flip Horizontal,
and Image>Flip with Image>Flip Vertical, there are some variables.
In versions X5 and X6, the functions have been improved by making available the Objects menu.
In the latest version X7 command Image>Mirror and Image>Flip returned, but with new differences.
See my schedule here
French translation here
Your versions here
For this tutorial, you will need:
Material here
Tube Norma-man-HNY2009
Tube Macha_020811_ville
Tube calguisfeuxneawyear by Guismo
Tube lunapaisagem1578
Tube vuurwek2
Tube Crunch99_ChampagnelceBucket_Glasses
Plugins
consult, if necessary, my filter section here
Filters Unlimited 2.0 here
AAA Filters - Textures here
Tramages - Pool Shadow here
Filters Tramages can be used alone or imported into Filters Unlimited.
(How do, you see here)
If a plugin supplied appears with this icon  it must necessarily be imported into Unlimited it must necessarily be imported into Unlimited

You can change Blend Modes according to your colors.
In the newest versions of PSP, you don't find the foreground/background gradient (Corel_06_029).
You can use the gradients of the older versions.
The Gradient of CorelX here
Open the pattern silver in PSP and minimize it with the rest of the material.
1. Open a new transparent image 850 x 650 pixels.
2. Set your foreground color to black #000000,
Flood Fill  the transparent image with color black. the transparent image with color black.
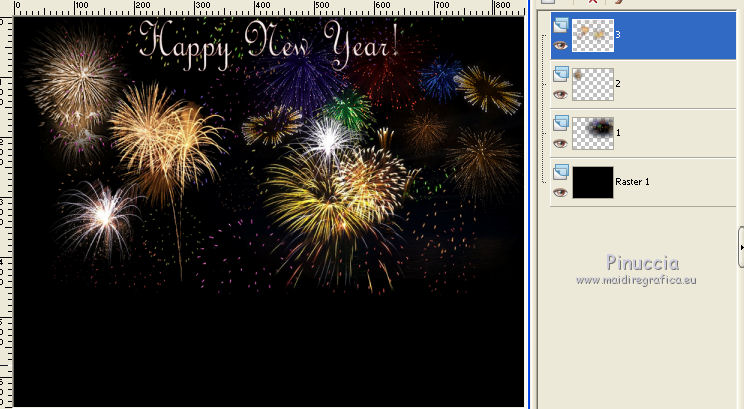
3. Open the tube lunapaisagem1578 - Edit>Copy.
Go back to your work and go to Edit>Paste as new layer.
Move  the tube at the upper right. the tube at the upper right.
Rename this layer "1".
4. Open the tube vuurwerk2 - Edit>Copy.
Go back to your work and go to Edit>Paste as new layer.
Move  the tube at the upper left. the tube at the upper left.
Rename this layer "2".
5. Open the tube calguisfeuxneayear, - Edit>Copy.
Go back to your work and go to Edit>Paste as new layer.
Image>Resize, to 90%, resize all layers not checked.
Move  the tube at the middle upper. the tube at the middle upper.
Rename this layer "3".
6. Open the landscape tube Macha02081_ville - Edit>Copy.
Go back to your work and go to Edit>Paste as new layer.
Move  the tube a bit down. the tube a bit down.
7. Open the tube Norma_Man - Edit>Copy.
Go back to your work and go to Edit>Paste as new layer.
Move  the tube at the bottom right. the tube at the bottom right.
8. Effets>Effets 3D>Ombre portée, couleur noire.

9. Layers>New Raster Layer.
Set your foreground color to Pattern and select the pattern silver.
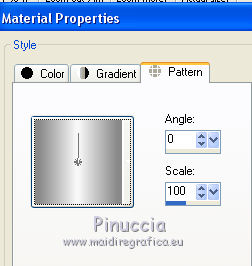
Flood Fill  the layer with the silver pattern. the layer with the silver pattern.
10. Selections>Select All.
Selections>Modify>Contract - 3 pixels.
Press CANC on the keyboard 
selections>Select None.
11. Activate the bottom layer.
To erase the shadows of the tubes that exceed the bords: Selections>Select All.
Image>Crop to Selection.
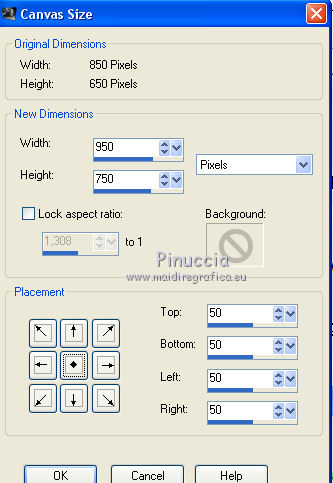
12. Image>Canvas Size - 950 x 750 pixels.
13. Activate the Magic Wand Tool 
and click on the transparent image to select it.
14. Set your foreground color to #c0c0c0,
and your background color to #302e2f.
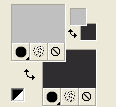
15. Set your foreground color to a Foreground/Background Gradient, style Linear.
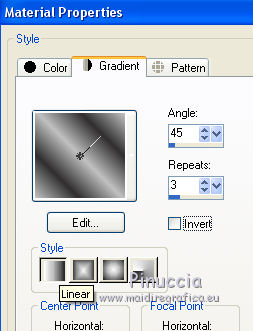
Flood Fill  the selection with your Gradient. the selection with your Gradient.
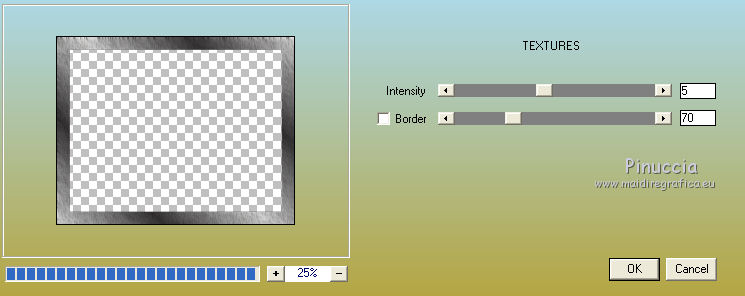
16. Effects>Plugins>AAA Filters - Textures
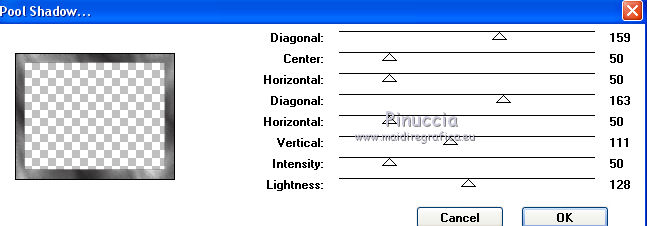
17. Effects>Plugins>Tramages - Pool Shadow.
Selections>Select None.
18. Open the tube Crunch99_ChampagnelceBucket_glasses, composed by 2 layers.
Copy/Paste as new layer the two layers.
Image>Resize, 2 times to 80%, resize all layers not checked.
Move  the tube at the bottom left. the tube at the bottom left.
19. Effects>3D Effects>Drop Shadow, color black.

20. Set your foreground color to Pattern.
Layers>New Raster Layer.
Flood Fill  the layer with the silver pattern. the layer with the silver pattern.
21. Selections>Select all.
Selections>Modify>Contract - 3 pixels.
Press CANC on the keyboard.
Selections>Select None.
22. Sign your work on a new layer.
23. Close the layers 2 and 3.
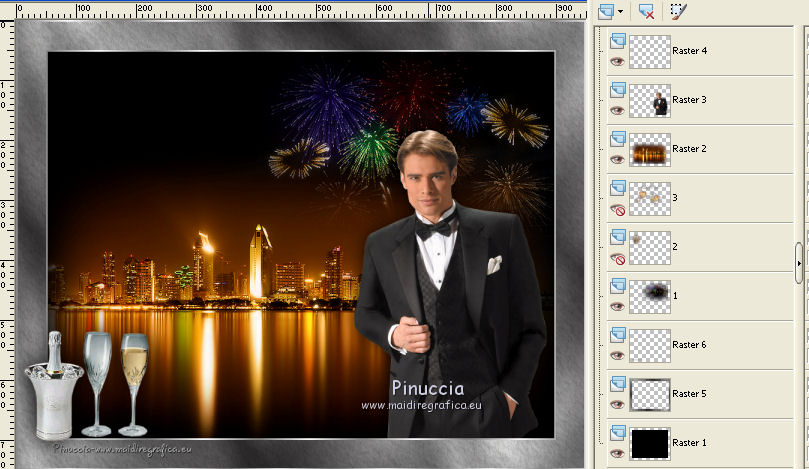
24. Edit>Copy Special>Copy Merged.
Open Animation Shop and Edit>Paste>Paste as new animation.
25. Go back to PSP.
Close the layer "1" and open the layer "2".
Edit>Copy Special>Copy Merged.
Go back to Animation Shop and go to EditP>Paste>Paste after the current frame.
26. Go back to PSP.
Close che layer "2" and open the layer "3".
Edit>Copy Special>Copy Merged.
Go back to Animation Shop and go to Edit>Paste>Paste after the current frame.
27. Select the frames 1 and 2.
Animation>Frame Properties and set to 50.
Select the frame 3.
Animation>Frame Properties and set to 100.
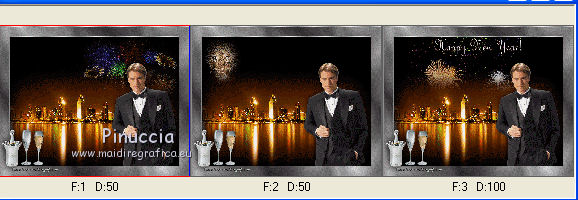
28. Check the result clicking on View Animation 
and save as gif.

If you have problems or doubts, or you find a not worked link, or only for tell me that you enjoyed this tutorial, write to me.
30 Novembre 2017
|

