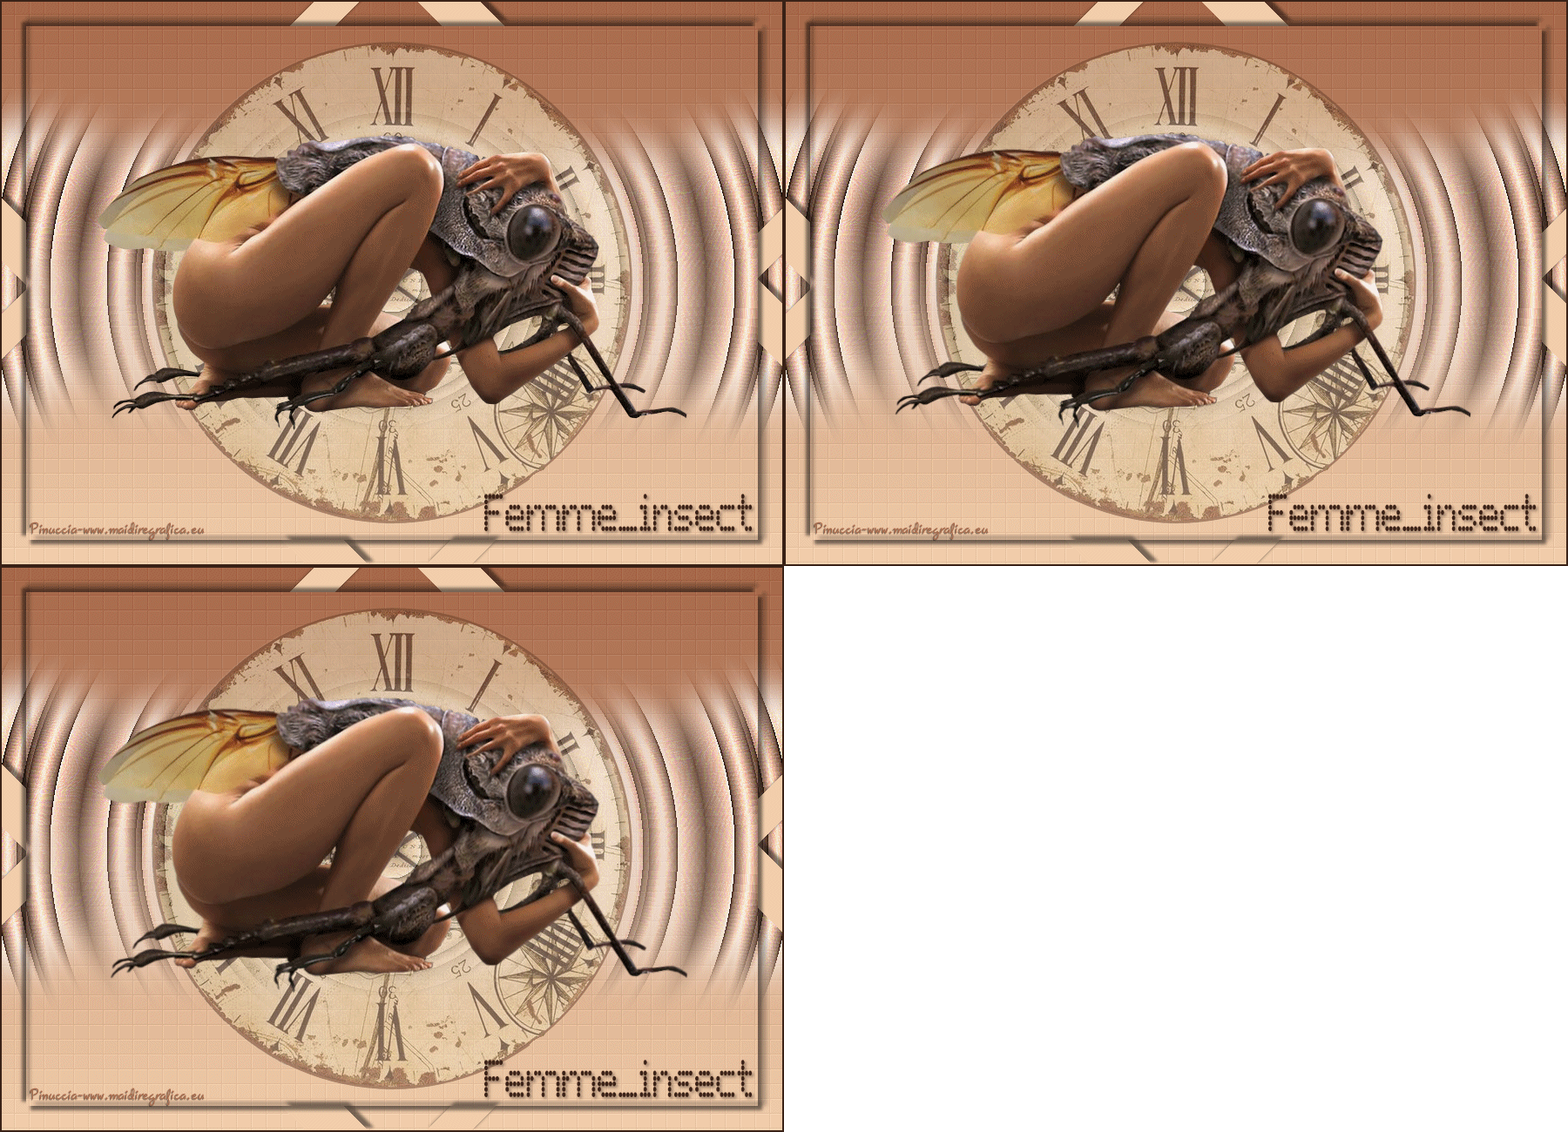
This tutorial was translated with PSPX3 but it can also be made using other versions of PSP.
Since version PSP X4, Image>Mirror was replaced with Image>Flip Horizontal,
and Image>Flip with Image>Flip Vertical, there are some variables.
In versions X5 and X6, the functions have been improved by making available the Objects menu.
In the latest version X7 command Image>Mirror and Image>Flip returned, but with new differences.
See my schedule here
French translation here
Your versions here
For this tutorial, you will need:
Material here
Tube Femme insect inter 745
Gabry-0rologio01
Texto Femme_insect_nines
Plugins
consult, if necessary, my filter section here
Filters Unlimited 2.0 here
Simple - Diamonds here
VM Natural - Welder here
Xero - Fritillary here
Filters Simple and VM Natural can be used alone or imported into Filters Unlimited.
(How do, you see here)
If a plugin supplied appears with this icon  it must necessarily be imported into Unlimited

1. Open a new transparent image 900 x 650 pixels.
2. Set your foreground color to #f2ceac,
and your background color to #a66748.
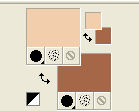
Set your foreground color to a Foreground/Background gradient, style Linear.

Flood Fill  the transparent image with your gradient.
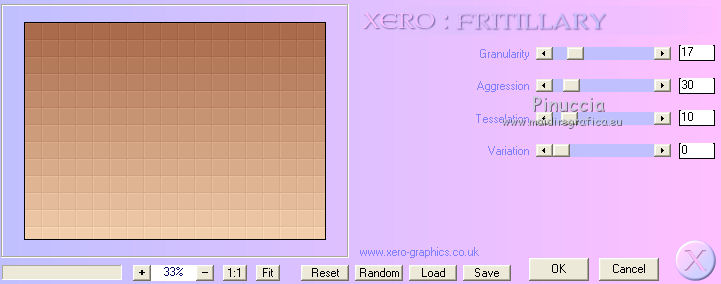
3. Effects>Plugins>Xero - Fritillary.
4. Open the tube Femme insect inter 745 - Edit>Copy.
Go back to your work and go to Edit>Paste as new layer.
5. Effects>Image Effect>Seamless Tiling, Side by side.

6. Adjust>Blur>Gaussian blur - radius 25.

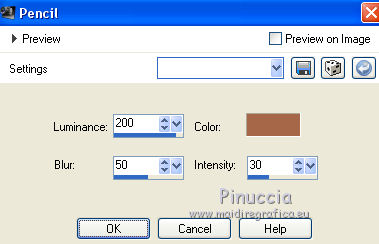
7. Effects>Art Media Effects>Pencil, background color #a66748.
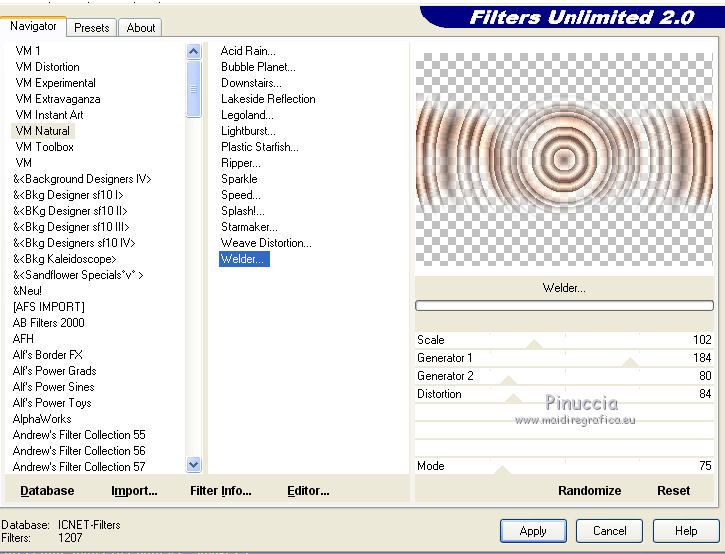
8. Effects>Plugins>Filters Unlimited 2.0 - VM Natural - Welder.
9. Adjust>Sharpness>Sharpen More.
10. Open the tube Gabry-0r0logio01, erase the watermark and go to Edit>Copy.
Go back to your work and go to Edit>Paste as new layer.
Change the opacity of this layer to 50%.
11. Open again the tube Femme insect inter 745 - Edit>Copy.
Go back to your work and go to Edit>Paste as new layer.
12. Layers>Duplicate - 2 times (we have 3 equal layers).
Rename these layers 1, 2 and 3.
13. close the layers 1 and 3.
14. Activate the layer 2.
Activer the Warp Brush Tool 

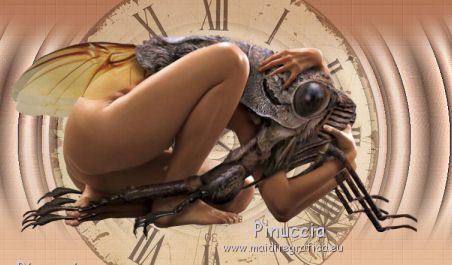
raise a bit the wings and the front and back legs.
15. Close the layer 2 and activate the layer 3.
Again raise a bit the wings and the front and back legs.
You should have about this.

16. Activate the top layer.
Set your foreground color to Color.
Flood Fill  the layer with your foreground colore #f2ceac.
17. Selections>Select All.
Selections>Modify>Contract - 30 pixels.
Pres CANC on the keyboard 
Selections>Invert.
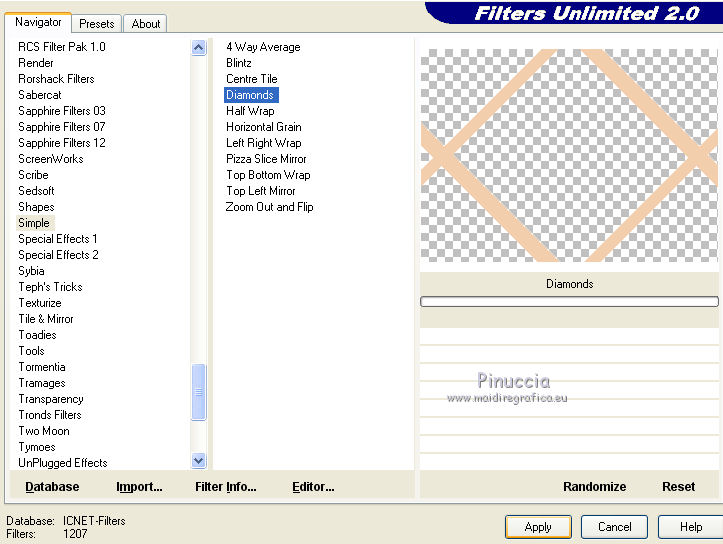
18. Effects>Plugins>Filters Unlimited 2.0 - Simple - Diamonds.
19. Selections>Invert.
20. Effects>3D Effects>Drop Shadow, color black.
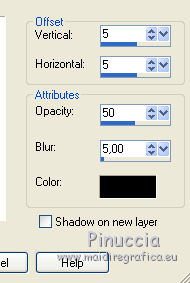
Repeat Drop Shadow, but vertical and horizontal -5.
Selections>Select None.
21. Effects>3D Effects>Drop Shadow, color black.

22. Layers>New Raster Layer.
Set your foreground color to #3c2116,
Flood Fill  the layer with your new foreground color.
Selections>Select All.
Selections>Modify>Contract - 2 pixels.
Press CANC on the keyboard.
Selections>Select None.
23. Open the texte Femme_insect - Edit>Copy.
Go back to your work and go to Edit>Paste as new layer.
Place  the text down to the right.
Sign your work.
Animation
1. Close the layers 2 and 3 and open the layer 1.

2. Edit>Copy Special>Copy Merged.
Open Animation Shop and Edit>Paste>Paste as new image.
3. Go back to PSP.
Close the layer "1" and open the layer "2".
Edit>Copy Special>Copy Merged.
Go back to Animation Shop and Edit>Paste>Paste after current image.
4. On PSP.
Close the layer "2" and open the layer "3".
Edit>Copy Special>Copy Merged.
On Animation Shop: Edit>Paste>Paste after current image.
5. Edit>Selection All.
Animation>Frame Properties, and set to 30.

6. Animation>Resize - to 90%.
View Animation

to check the result and save as gif.

If you have problems or doubt, or you find a not worked link, or only for tell me that you enjoyed this tutorial, write to me.
25 March 2016
