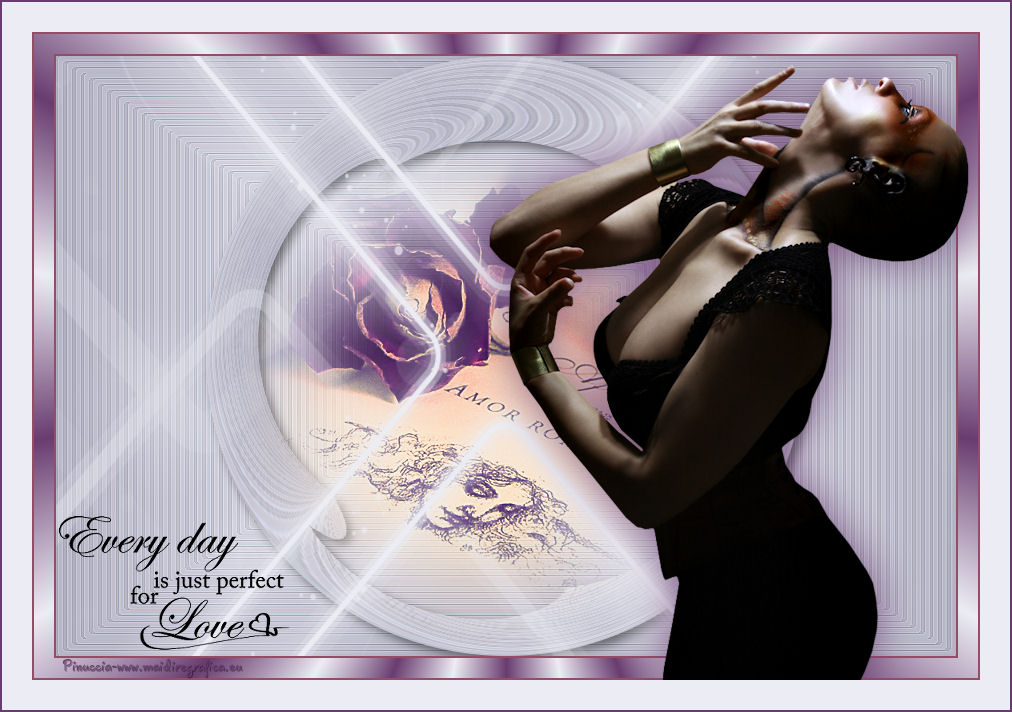
Here you find the original of this tutorial:

This tutorial was created with PSPX3 but it can also be made using other versions of PSP.
Since version PSP X4, Image>Mirror was replaced with Image>Flip Horizontal,
and Image>Flip with Image>Flip Vertical, there are some variables.
In versions X5 and X6, the functions have been improved by making available the Objects menu.
In the latest version X7 command Image>Mirror and Image>Flip returned, but with new differences.
See my schedule here
French translation here
Your versions here
For this tutorial, you will need:
Material here
Tube Gabry-woman 00-89
LF-MistedAmor-24022015
Narah_mask_0857
Texte LF-WA-10
Sélection sel_adri_nines
Plugins
consult, if necessary, my filter section here
Filters Unlimited 2.0 here
VM Distortion - Circulator 2 here
Flaming Pear - Flexify 2 here
Contours - Contour accentué here
Filters VM Distortion can be used alone or imported into Filters Unlimited.
(How do, you see here)
If a plugin supplied appears with this icon  it must necessarily be imported into Unlimited

Copy the selection in the Selections Folder.
Open the masks in PSP and minimize them with the rest of the material.
1. Set your foreground color to #ecedf4,
and your background color to #b0b0c0.

Set your foreground color to a Foreground/Background Gradient, style Rectangular.

2. Open a new transparent image 900 x 600 pixels,
Flood Fill  with your Gradient.
3. Effects>Plugins>Contours - Contour accentué.
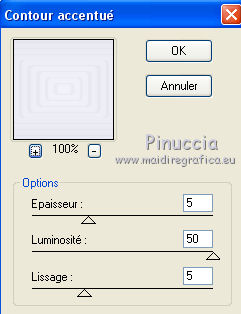
or, if you have in your list the english version of this plugin:
Effects>Plugins>Brush Strokes - Accented Edges
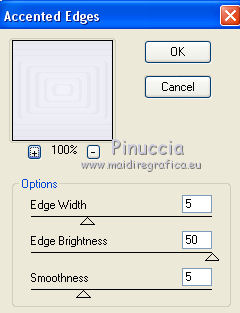
4. Effects>Edge Effects>Enhance more.
5. Selections>Load/Save a selection>Load Selection from disk.
Look for and load the selection sel_adri_nines.

6. Selections>Promote selection to layer.
Selections>Select None.
7. Effects>Plugins>Filters Unlimited 2.0 - VM Distortion - Circulator II.
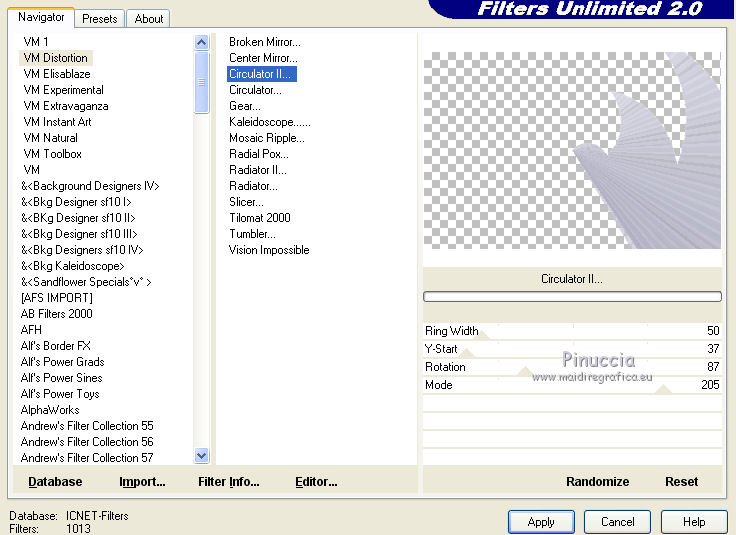
8. Effects>Plugins>Flaming Pear - Flexify 2.
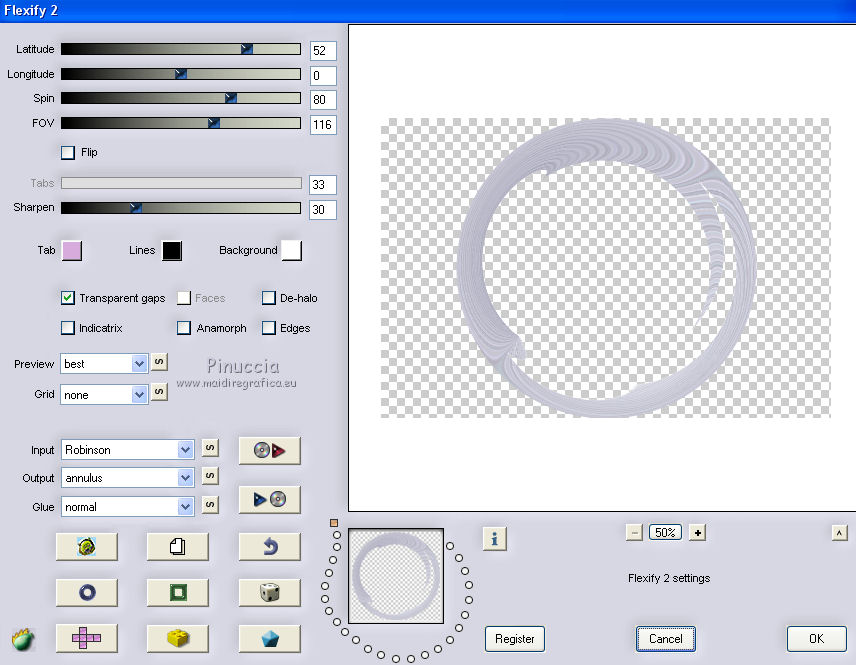
9. Effects>3D Effects>Drop Shadow, color black.

10. Open the tube LF-MistedAmor-24022015, Edit>Copy.
Go back to your work and go to Edit>Paste as new layer.
Place  the tube in the circle.
11. Layers>New Raster Layer.
Set your foreground color to Color.
Flood Fill  the layer with your foreground color #ecedf4.
12. Layers>New Mask layer>From image
Open the menu under the source window and you'll see all the files open.
Select the mask Narah_mask_0857:

Layers>Merge>Merge group.
13. Adjust>Sharpness>Sharpen more.
14. Layers>Merge>Merge All.
15. Image>Add borders, 2 pixels,symmetric, color #934d67.
Image>Add borders, 20 pixels, simmetric, foreground color #ecedf4.
16. Activate the Magic Wand tool 
clic in the 20 pixels bord to select it.
17. Keep your foreground color to #ecedf4,
and set your background color to #693c6f.
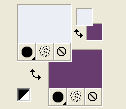
18. Set your foreground color to a Foreground/Background Gradient, style Radial.
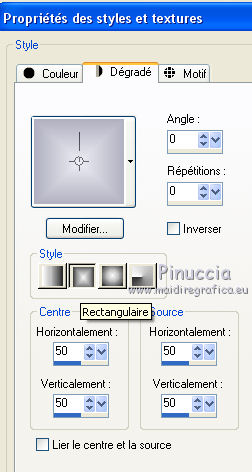
Flood Fill  the selection with your gradient.
Selections>Select None.
19. Image>Add borders, 2 pixels, symmetric, color #934d67.
20. Open the tube Gabry-woman-00-89, Edit>Copy.
Go back to your work and go to Edit>Paste as new layer.
Image>Resize, 80%, resize all layers not checked.
Move  the tube to the right side.
21. Effects>3D Effects>Drop Shadow, background color #693c6f.

22. Open the wordart LF-WA-10, Edit>Copy.
Go back to your work and go to Edit>Paste as new layer.
Move  the text to the bottom left.
23. Layers>Merge>Merge All.
24. Image>Add borders, 30 pixels, simmetric, foreground color #ecedf4.
Image>Add borders, 2 pixels, simmetric, background color #934d67.
25. Sign your work and save as jpg.

If you have problems or doubt, or you find a not worked link, or only for tell me that you enjoyed this tutorial, write to me.
16 September 2015
