|
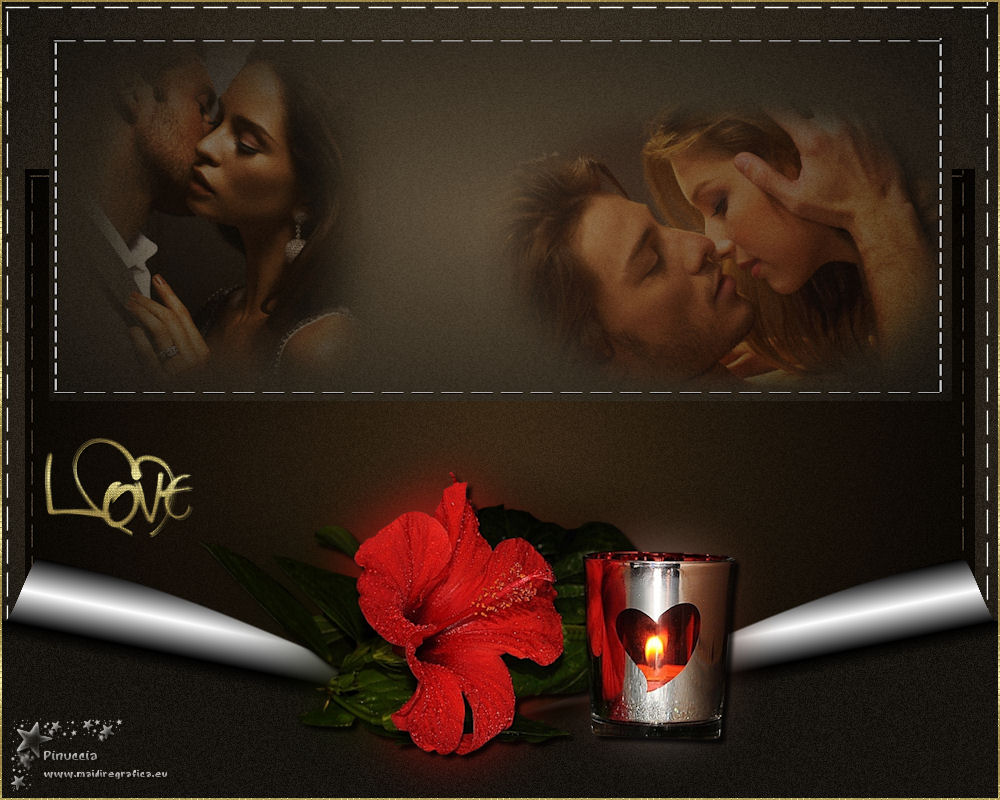
TOP PAREJAS


This tutorial was translated with PSPX7 but it can also be made using other versions of PSP.
Since version PSP X4, Image>Mirror was replaced with Image>Flip Horizontal,
and Image>Flip with Image>Flip Vertical, there are some variables.
In versions X5 and X6, the functions have been improved by making available the Objects menu.
In the latest version X7 command Image>Mirror and Image>Flip returned, but with new differences.
See my schedule here
 French translation here French translation here
 Your versions ici Your versions ici
For this tutorial, you will need:
Material
here
Tube Grisi_Misted_Romantic_339
Tube Mary 260112-2
Tube radi_flores_011
Texto love-ac
Patron dorado
(you find here the links to the material authors' sites)

You can change Blend Modes according to your colors.
In the newest versions of PSP, you don't find the foreground/background gradient (Corel_06_029).
You can use the gradients of the older versions.
The Gradient of CorelX here
Open the pattern in PSP and minimize it with the rest of the material.
1. Open a new transparent image 1000 x 750 pixels.
2. Set your foreground color to #5e4f3a,
and your background color to #17140f.
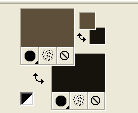
Set your foreground color to a Foreground/Background Gradient, style Sunburst.
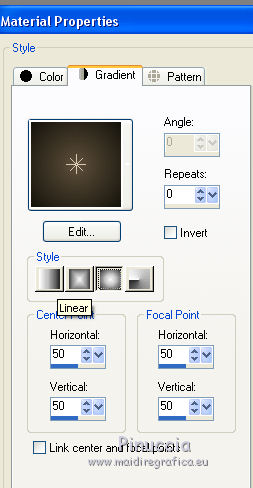
Flood Fill  the transparent image with your Gradient the transparent image with your Gradient
3. Activate your Pen Tool  , style de ligne Dashed , style de ligne Dashed

Set your foreground color to white #fffffff.
Draw the lines as below

4. Layers>Convert to Raster Layer.
5. Layers>Merge>Merge Down.
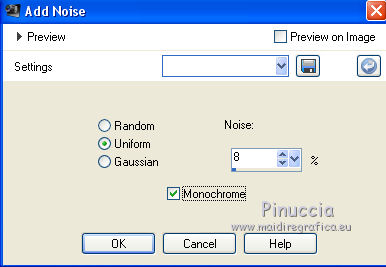
6. Adjust>Add/Remove Noise/Add Noise.
7. Layers>Duplicate.
Image>Resize, to 95%, resize all layers not checked.
8. Effects>Image Effects>Offset.
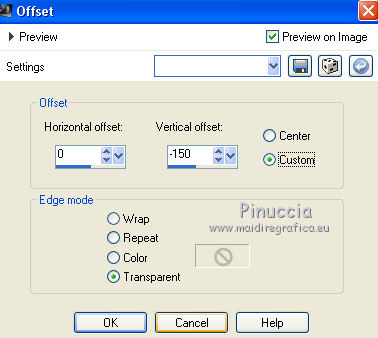
9. Change the Blend Mode of this layer to Overlay.
10. Activate your bottom layer.
Layers>Duplicate.
Image>Resize, 2 times to 95%, resize all layers not checked.
Layers>Arrange>Bring to Top.
11. Activate your Pick Tool 
and push the central bottom node up, until 400 pixels
(close the other layers, if you want to see better)
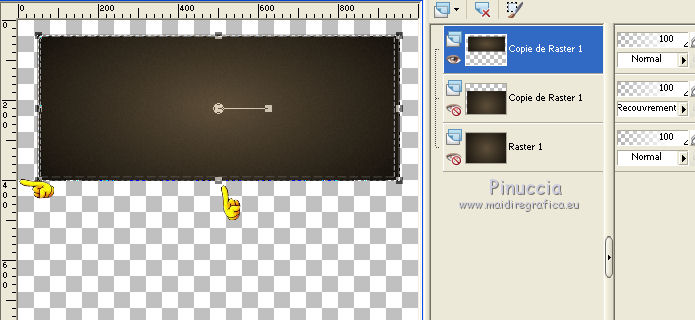
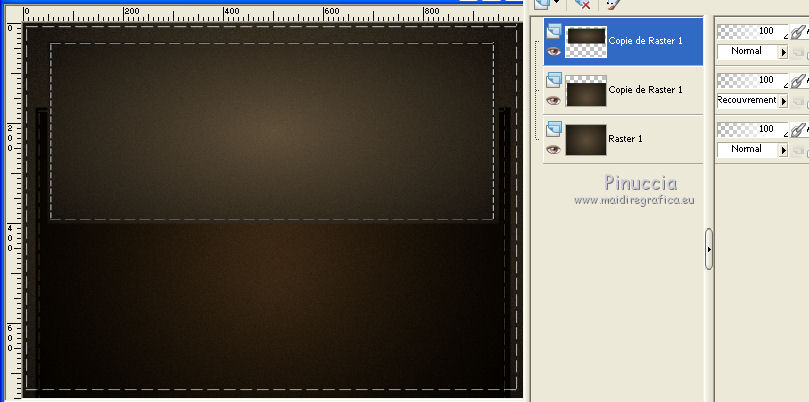
12. Open the closed layers and you'll get this
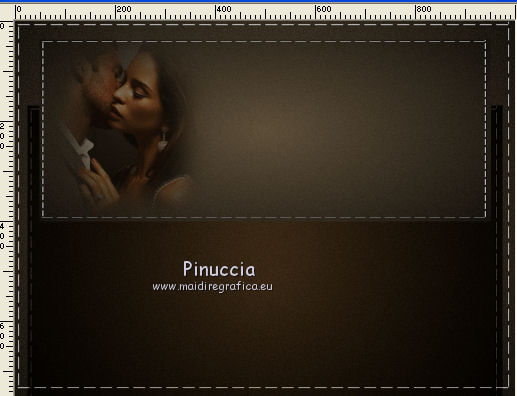
13. Open the tube Mary 260112-2 and go to Edit>Copy.
Go back to your work and go to Edit>Paste as new layer.
Image>Resize, 3 times to 80%, resize all layers not checked.
Move  the tube at the upper left. the tube at the upper left.
14. Change the Blend mode of this layer to Soft Light.
15. Open the tube Grisi_Misted_Romantic_339 and go to Edit>Copy.
Go back to your work and go to Edit>Paste as new layer.
Image>Resize, to 80%, resize all layers not checked.
Move  the tube at the upper right. the tube at the upper right.
16. Change the Blend Mode of this layer to Soft Light.
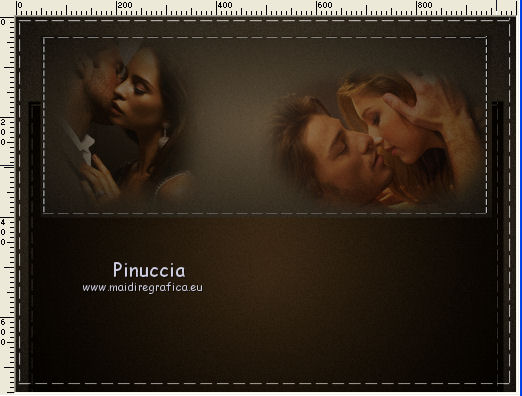
17. Layers>Merge>Merge visible.
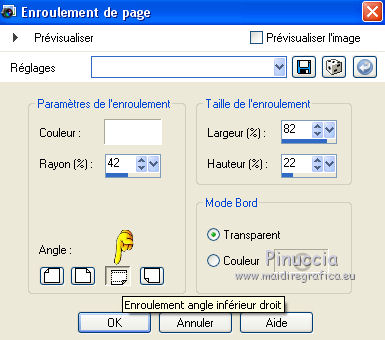
18. Effects>Image Effects>Page Curl

19. Effects>Image Effects>Page Curl
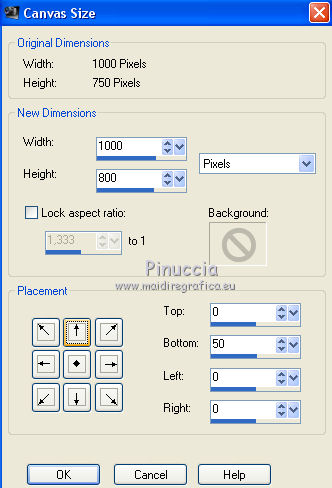
20. Image>Canvas Size - 1000 x 800 pixels.
21. Layers>New Raster Layer.
Layers>Arrange>Send to Bottom.
Flood Fill  the layer with your background color #17140f. the layer with your background color #17140f.
22. Adjust>Add/Remove Noise>Add Noise, same settings.

23. Activate the top layer.
Open the tube radi_flores_011 and go to Edit>Copy.
Go back to your work and go to Edit>Paste as new layer.
Image>Resize, 2 times to 80%, resize all layers not checked.
Move  the tube down, see my example. the tube down, see my example.
24. Layers>Duplicate.
Activate the layer below of the original.
25. Adjust>Blur>Gaussian Blur - radius 30.

26. Activate the layer above of the copy.
Effects>3D Effects>Drop Shadow, color black.

27. Open the text Love and go to Edit>Copy.
Go back to your work and go to Edit>Paste as new layer.
Move  the texte to the left side. the texte to the left side.
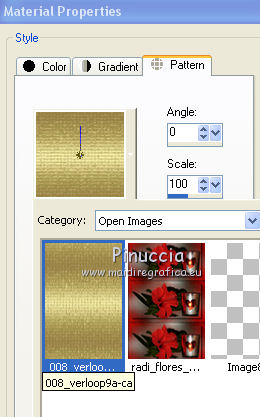
28. Set your foreground color to Pattern and select the Golden pattern.
Layers>New Raster Layer.
Flood Fill  the layer with your golden foreground pattern. the layer with your golden foreground pattern.
30. Selections>Select All.
Selections>Modify>Contract - 2 pixels.
Press CANC on the keyboard 
Selections>Select None.
31. Sign your work on a new layer.
Layers>Merge>Merge All and save as jpg.
 Your versions here Your versions here

If you have problems or doubts, or you find a not worked link, or only for tell me that you enjoyed this tutorial, write to me.
24 May 2021
|

