|
TAG TEXTIL

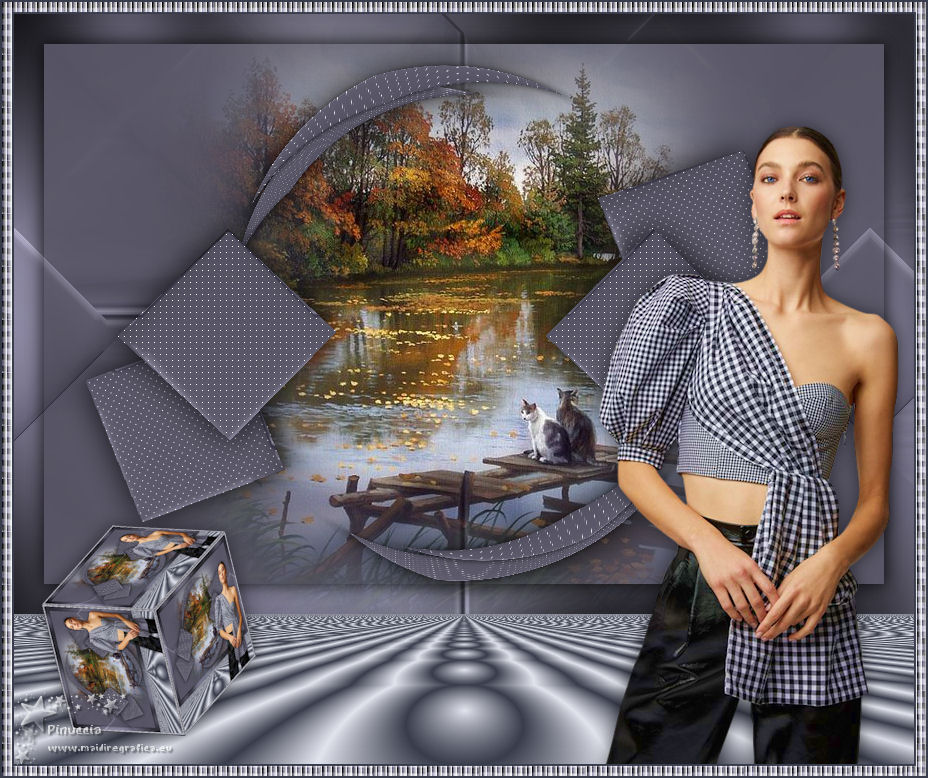

This tutorial was translated with PSPX7 but it can also be made using other versions of PSP.
Since version PSP X4, Image>Mirror was replaced with Image>Flip Horizontal,
and Image>Flip with Image>Flip Vertical, there are some variables.
In versions X5 and X6, the functions have been improved by making available the Objects menu.
In the latest version X7 command Image>Mirror and Image>Flip returned, but with new differences.
See my schedule here
 French translation here French translation here
 Your versions ici Your versions ici
For this tutorial, you will need:
Material
here
Tube femme729-coly by Colybrix
Paisaje314_beas_misted
Patron_cuadros_nines
Seleccion/sel.342.nines
(you find here the links to the material authors' sites)
Plugins
consult, if necessary, my filter section here
Filters Unlimited 2.0 here
Mehdi - Sorting Tiles here
AP [Lines] - Lines SilverLining here
Mura's Meister - Copies here
Mura's Meister - Pole Transform here
Mura's Meister - Perspective Tiling here
Tramages - Pool Shadow here
Ulead Effects - Gif-X Plugin 2 here
Filters Tramages can be used alone or imported into Filters Unlimited.
(How do, you see here)
If a plugin supplied appears with this icon  it must necessarily be imported into Unlimited it must necessarily be imported into Unlimited

You can change Blend Modes according to your colors.
In the newest versions of PSP, you don't find the foreground/background gradient (Corel_06_029).
You can use the gradients of the older versions.
The Gradient of CorelX here
Copy the selection in the Selections Folder.
Open the pattern patron_cuadros_nines in PSP and minimize it with the rest of the material.
1. Open a new transparent image 900 x 600 pixels.
2. Set your foreground color to Pattern,
and select the pattern patron_cuadros_nines.
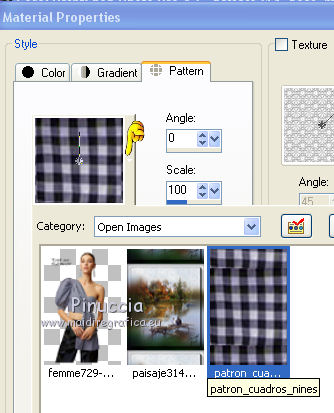
Flood Fill  the transparent image with your foreground pattern. the transparent image with your foreground pattern.
3. Adjust>Blur>Radial Blur.
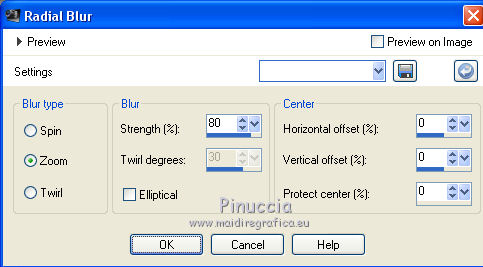
Adjust>Sharpness>Sharpen More.
4. Effects>Plugins>Mehdi - Sorting Tiles.
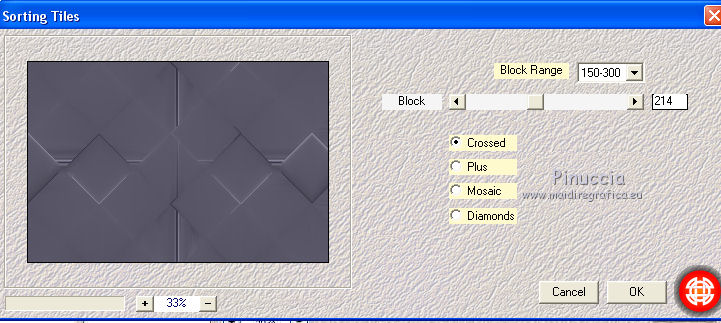
5. Selections>Load/Save Selection>Load Selection from Disk.
Look for and load the sélection sel.342.nines
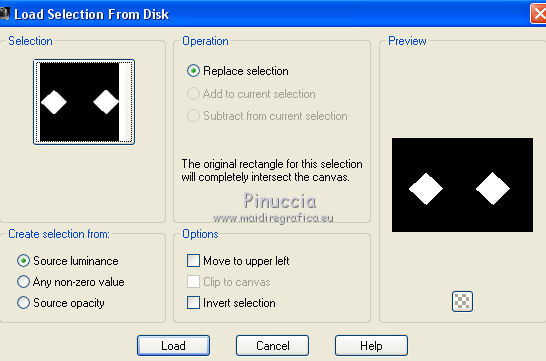
Selections>Promote Selection to layer.
6. Effects>Plugins>AP [Lines] - Lines SilverLining
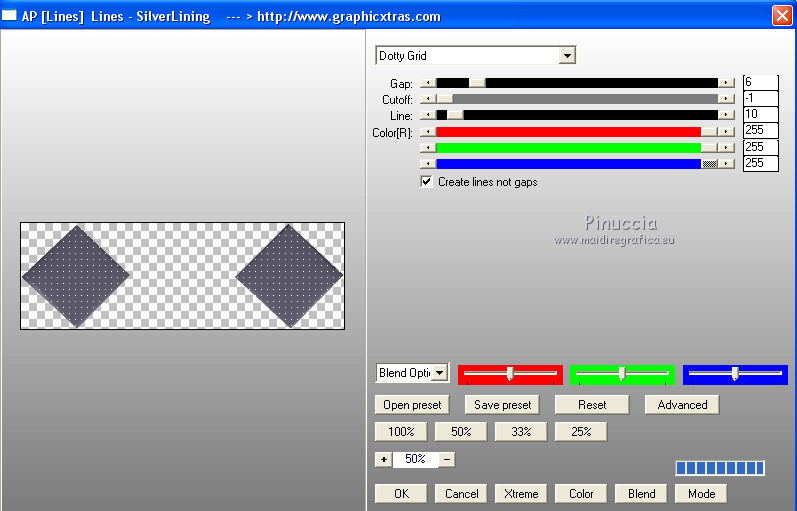
Selections>Select None.
7. Effects>3D Effects>Drop Shadow, color #000000.

8. Effects>Plugins>Mura's Meister - Copies.
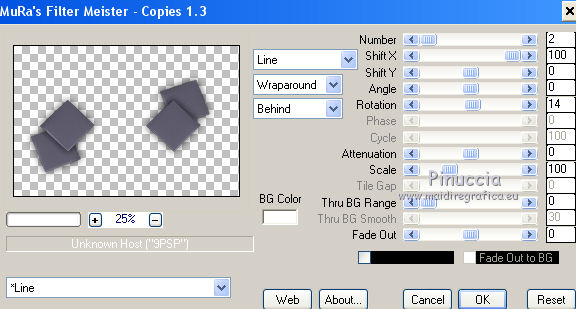
9. Layers>Duplicate.
Effects>Plugins>Mura's Meister - Pole Transform.
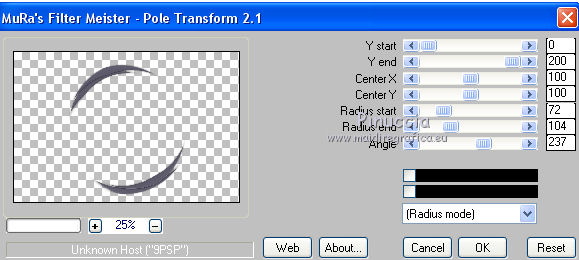
10. Effects>3D Effects>Drop Shadow, same settings.

11. Layers>Arrange>Move Down (under the layer of Copies Effects)
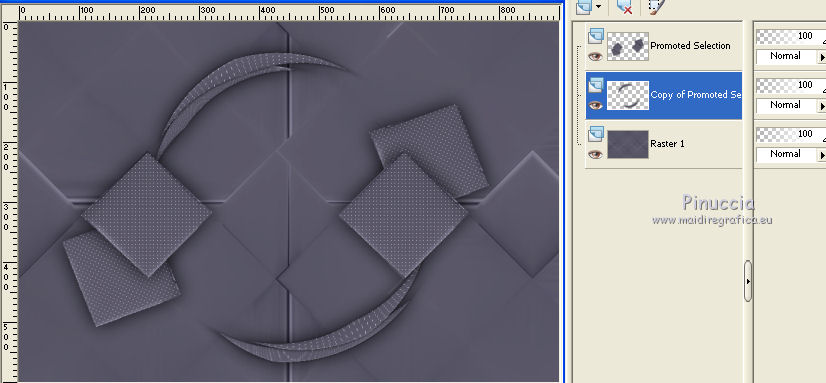
12. Activate the bottom layer, Raster 1.
Open the tube paisaje314_beas and go to Edit>Copy.
Go back to your work and go to Edit>Paste as new layer.
13. Layers>Merge>Merge visible.
14. Selections>Select All.
Selections>Modify>Contract - 30 pixels.
Selections>Invert.
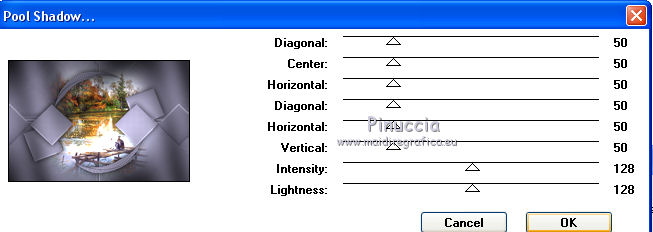
15. Effects>Plugins>Tramages - Pool Shadow, default settings.
16. Selections>Invert.
Effects>3D Effects>Drop Shadow, color #000000.
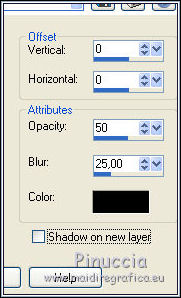
Edit>Repeat Drop Shadow.
Selections>Select None.
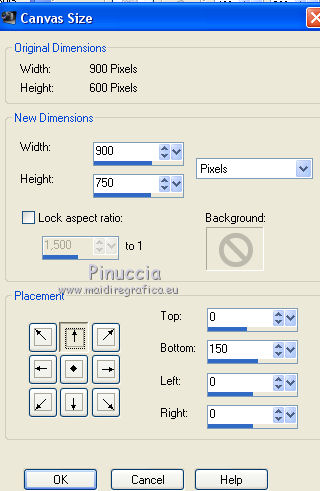
17. Image>Canvas Size - 900 x 750 pixels.
18. Activate your Magic Wand Tool 
and click on the transparent image to select it.
19. Set your foreground color to #e1e3ed,
and your background color to #393c4b.
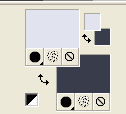
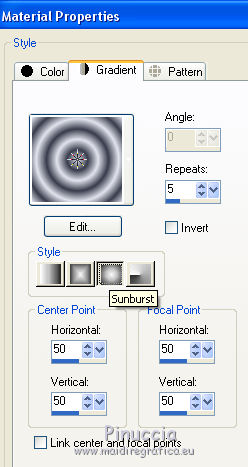
Set your foreground color to a Foreground/Background Gradient, style Sunburst.
Flood Fill  the selection with your gradient. the selection with your gradient.
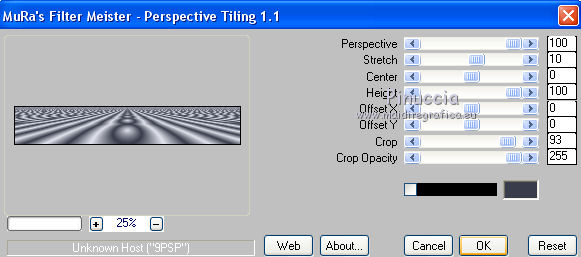
20. Effects>Plugins>Mura's Meister - Perspective Tiling.
Selections>Select None.
21. Open the tube femme729-coly, erase the watermark and go to Edit>Copy.
Go back to your work and go to Edit>Paste as new layer.
Image>Resize, to 80%, resize all layers not checked.
Move  the tube to the right side. the tube to the right side.
22. Effects>3D Effects>Drop Shadow, color #000000.

23. Layers>Merge>Merge All.
24. Image>Add borders, 2 pixels, symmetric, background color #393c4b.
Image>dd borders, 10 pixels, symmetric, foreground color #e1e3ed.
Selectionner this border with your Magic Wand Tool 
Set your foreground color to Pattern
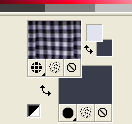
Flood Fill  the selection with your foreground pattern. the selection with your foreground pattern.
25. Effects>Texture Effects>Blinds - color #ffffff.

Selections>Select None.
26. Image>Add borders, 2 pixels, symmetric, background color #393c4b.
27. Layers>Duplicate.
Effects>Plugins>Ulead Effects - Gif-X
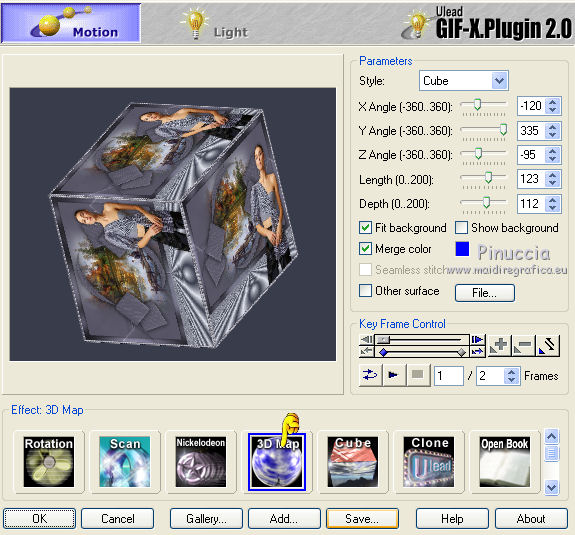
if your want to keep the image, save it
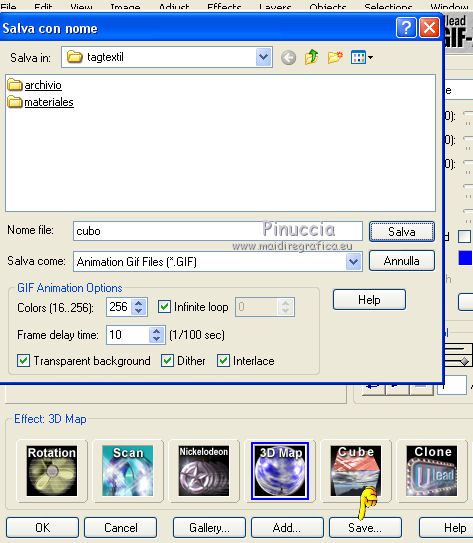
Click Ok to apply the filter.
28. Image>Resize, at your choice, for me 1 time to 50% and 1 time to 60%, resize all layers not checked.
Place  the image where you like, for me the image where you like, for me
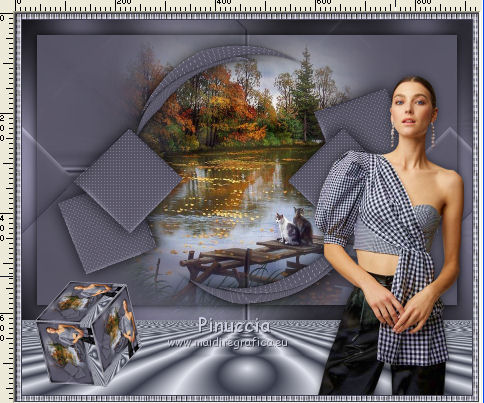
29. Effects>3D Effects>Drop Shadow, color #000000.

30. Sign your work on a new layer.
Layers>Merge>Merge All and save as jpg.
Version avec tubes de Valy and Mina

Animated version
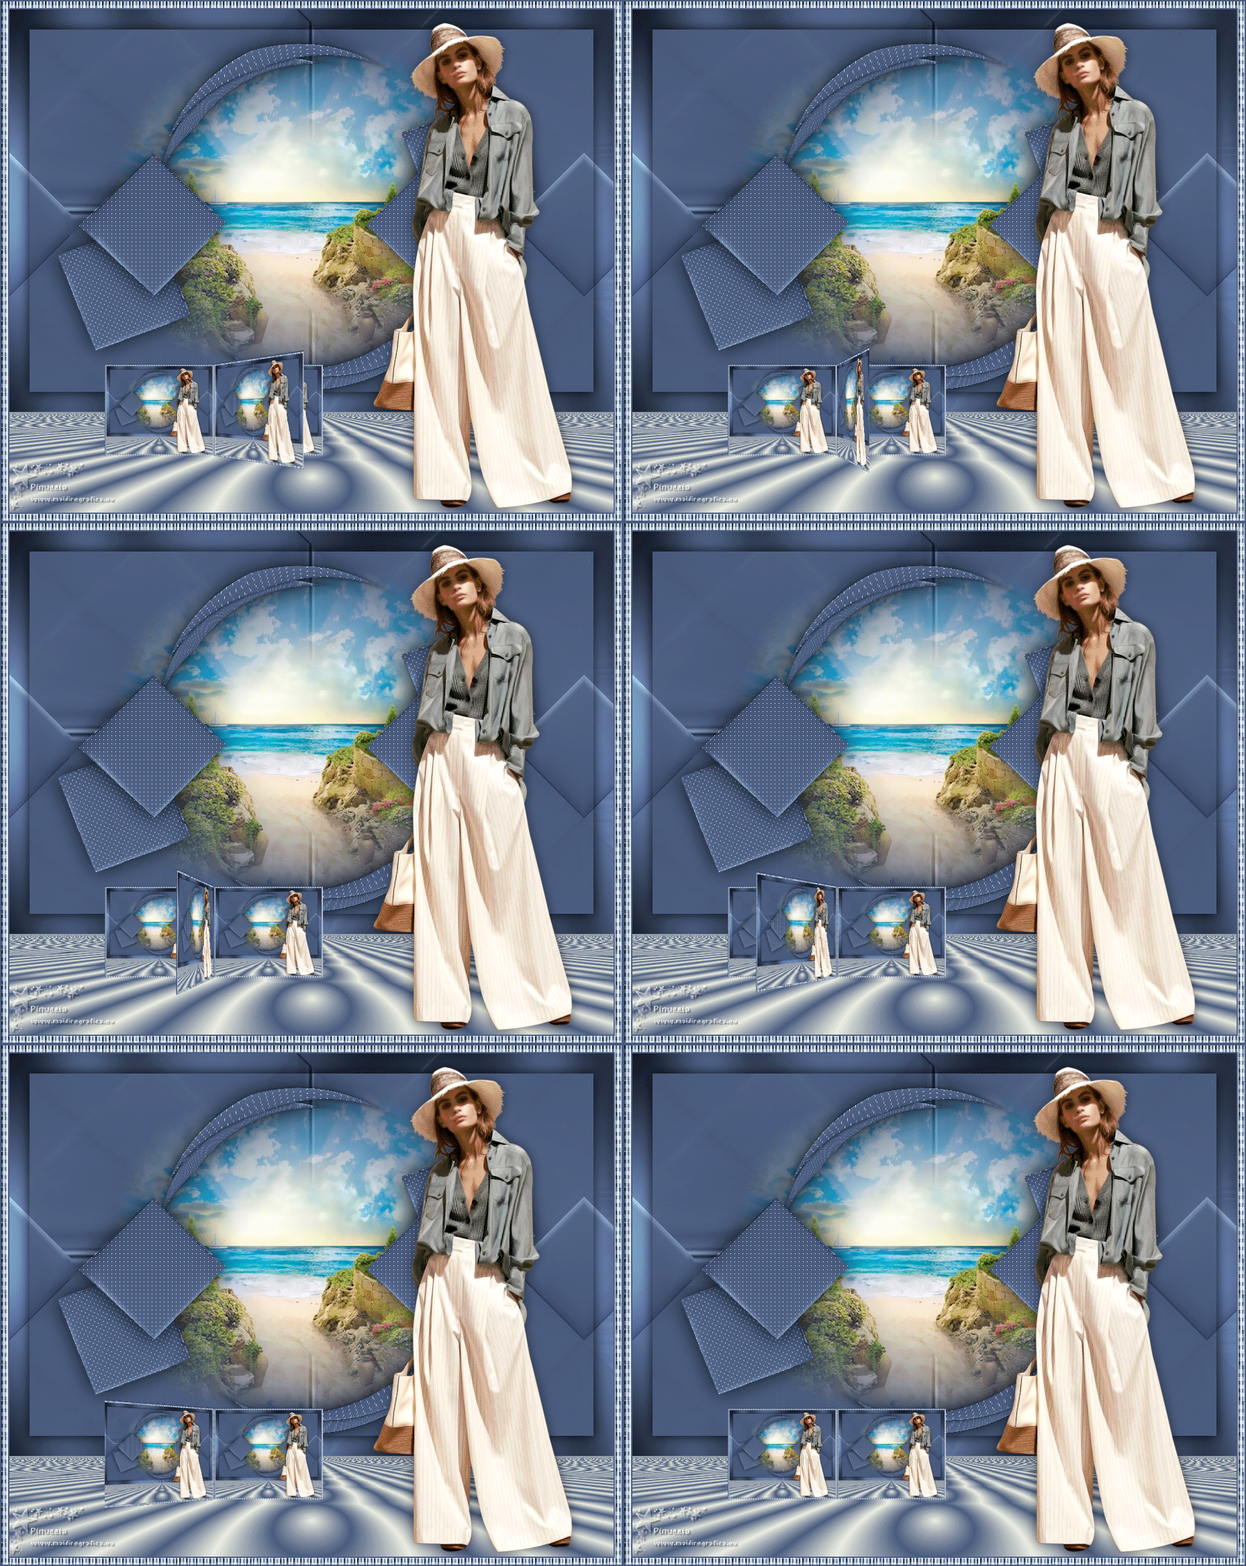
 Your versions here Your versions here

If you have problems or doubts, or you find a not worked link, or only for tell me that you enjoyed this tutorial, write to me.
6 April 2020
|

