|
TAG REHIER
 ENGLISH VERSION ENGLISH VERSION

Thanks Nines for the invitation to translate your tutorials.

This tutorial was translated with PSPX7 but it can also be made using other versions of PSP.
Since version PSP X4, Image>Mirror was replaced with Image>Flip Horizontal,
and Image>Flip with Image>Flip Vertical, there are some variables.
In versions X5 and X6, the functions have been improved by making available the Objects menu.
In the latest version X7 command Image>Mirror and Image>Flip returned, but with new differences.
See my schedule here
French translation here
Your versions ici
For this tutorial, you will need:
Material
here
Tube 2019-84-Nadege
AR9 paisagem by Ana Ridzi
Reiher d/a
Mask_b5950aae4587445cc972cf2463b3fffd-file-boxes14
Forma9_Nines
(you find here the links to the material authors' sites)
Plugins
consult, if necessary, my filter section here
Filters Unlimited 2.0 here
Simple - Left Right Wrap (bonus) here
Wavy Lab here
Filters Simple can be used alone or imported into Filters Unlimited.
(How do, you see here)
If a plugin supplied appears with this icon  it must necessarily be imported into Unlimited it must necessarily be imported into Unlimited

You can change Blend Modes according to your colors.
Copy the Preset Emboss 3 in the Presets Folder.
Open the mask in PSP and minimize it with the rest of the material.
1. Open a new transparent image 900 x 600 pixels.
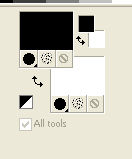
2. Set your foreground color to #000000,
and your background color to #ffffff.

Flood Fill  the transparent image with your foreground color #000000. the transparent image with your foreground color #000000.
3. Open the tube AR9 paisagem and go to Edit>Copy.
Go back to your work and go to Edit>Paste as new layer.
4. K key on the keyboard to activate your Pick Tool 
stretch the tube to cover the entire image.

Change the Blend Mode of this layer to Luminance (legacy).
5. Open Reiher and go to Edit>Copy.
Go back to your work and go to Edit>Paste as new layer.
Image>Resize, 2 times to 80% and 1 time to 90%, resize all layers not checked.
Image>Mirror.
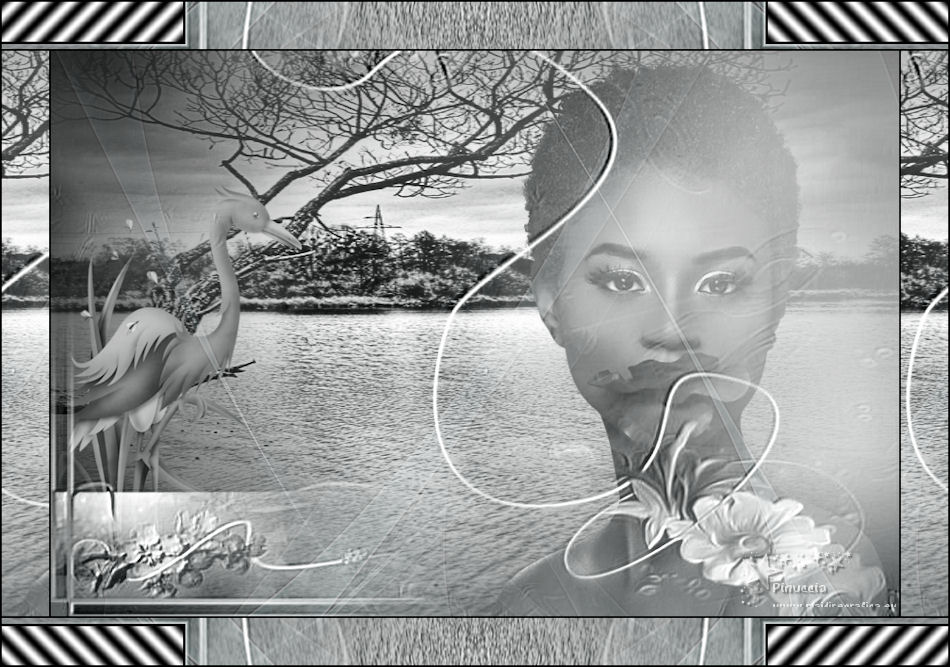
Move  the tube to the left side, see my example. the tube to the left side, see my example.
Change the Blend Mode of this layer to Luminance (legacy).
6. Open the tube 2019-84-Nadege, erase the watermark and go to Edit>Copy.
Go back to your work and go to Edit>Paste as new layer.
Image>Resize, 2 times to 80%, resize all layers not checked.
Move  the tube at the bottom right. the tube at the bottom right.
7. Layers>New Raster Layer.
Flood Fill  with color white. with color white.
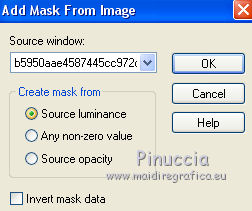
8. Layers>New Mask layer>From image
Open the menu under the source window and you'll see all the files open.
Select the mask b5950aae4587445cc972cf2463b3fffd-file-boxes14

Layers>Merge>Merge group.
9. Effects>User Defined Filter - select the preset Emboss 3 and ok.

10. Open Forma9_Nines and go to Edit>Copy.
Go back to your work and go to Edit>Paste as new layer.
Change the Blend Mode in Luminance (legacy).
Adjust>Sharpness>Sharpen More.
11. Layers>Merge>Merge All.
12. Image>Add borders, 2 pixels, symmetric, color black #000000.
Image>Add borders, 50 pixels, symmetric, color white #ffffff.
13. Activate your Magic Wand Tool 
and click on the white border to select it.
14. Effects>Plugins>Simple - Left Right Wrap.
Selections>Select None.
15. Select the two top and bottom white border with your Magic Wand Tool 
Effets>Modules Externes>Mehdi - Wavy Lab
This filters creates gradients with the colors of your Materials palette.
The first is your background color, the second is your foreground color.
Keep the third color created by the filter.

16. Effects>Reflection Effects>Kaleidoscope.

Selections>Select None.
17. Image>Add borders, 2 pixels, symmetric, color #000000.
18. Image>Resize, 95%, resize all layers checked.
21. Sign your work and save as jpg.
Version with tube de Tine

Your versions here

If you have problems or doubts, or you find a not worked link, or only for tell me that you enjoyed this tutorial, write to me.
18 Octobre 2019
|
 ENGLISH VERSION
